Trending

Tuesday, April 21, 2015

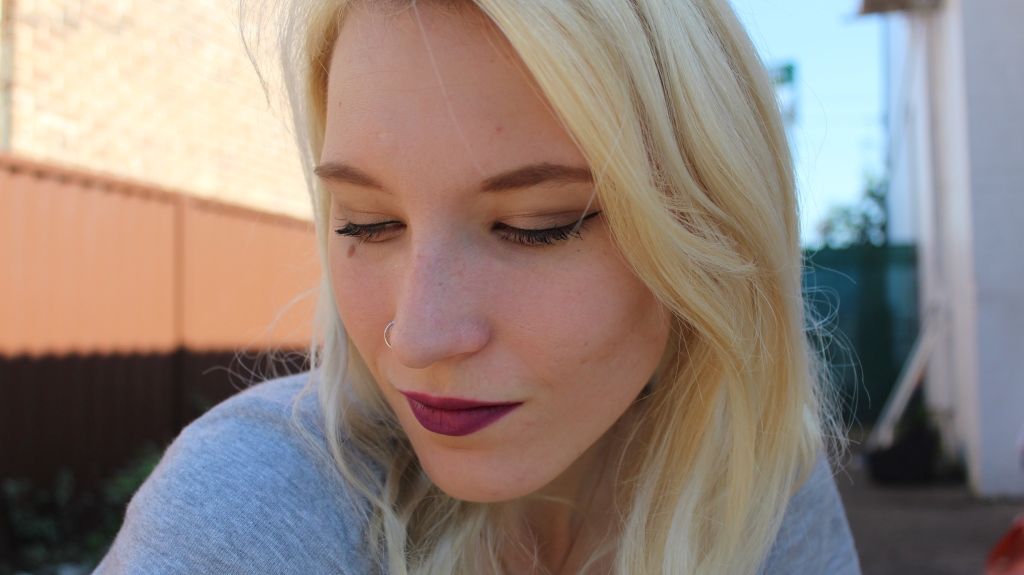
Eyes of the Night: Naked 3 by Urban Decay


I have been obsessed with the Naked 3 palette (and using it exclusively) since I bought it at the UD Launch a couple of weeks ago - it is so easy to create so many different eye looks with this beauty; there's a few darker shades which are great for night-time, but there's also so many shades which make this the perfect palette for work. 

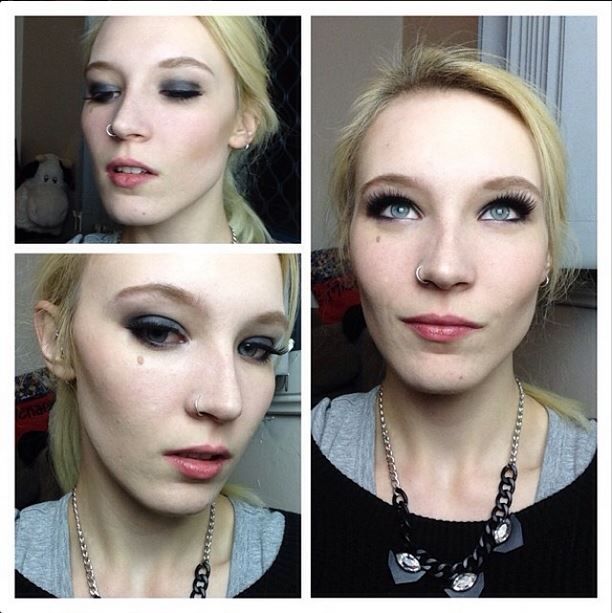
I wore this look out to dinner the other night with a friend (hence, no lipstick) so I went a bit darker with some of the colours. 


I used Nooner and Factory in the outer V, and Darkside in the crease and under my waterline. All over lid colour was Buzz, with a bit of Limit and Strange blended in the inner corner. 

I used Maybelline's Colour Tattoo in Inked in Pink as a base - this is the perfect colour-match for the Naked 3, however it does make blending a little difficult. 


I am still loving the Hourglass Ambient palettes; for this look I used Incandescent Electra (middle) from the blush palette, and Dim Light (left) as an all-over finishing powder from the lighting palette. 
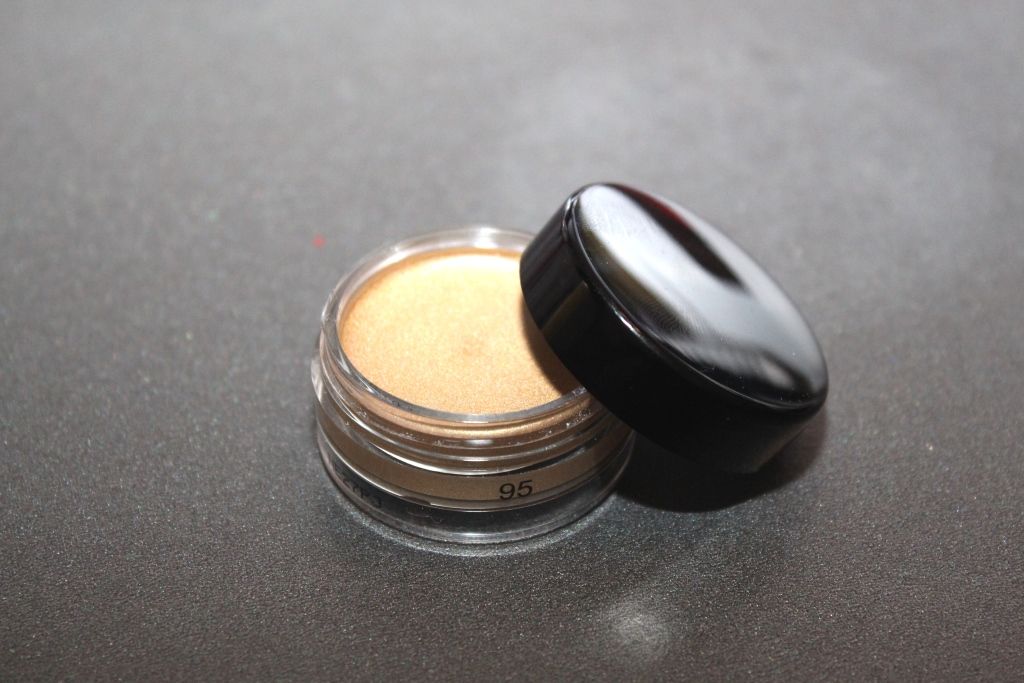
I am really loving the way the Make-Up Store's Microshadow in Meteor looks as a highlight; it creates such a pretty sheen without any glitter. 


 photo signature_edited-1_zpsas0u1ptz.png

Twitter | Youtube | Instagram | Pinterest | Facebook | Bloglovin
SHARE:

Wednesday, April 1, 2015

New In: Urban Decay!


Urban Decay finally graced Aussie shores last week, when it launched at Mecca Maxima nation-wide. I wasn't keen enough to line up and be the first to get through the door, but I did wander down during my lunch break and picked up two products I have wanted for years, but not bothered to get due to ridiculous exchange rates and long shipping times.


I don't think the Naked 3 needs any introductions. 
I went with 3 over 2 - I already own 1, and 2 was a bit too similar to what I already own in my collection. 3 though... 3 has shades that are unlike anything that I own - beautiful, rosey-toned neutral shades.This palette will be perfect for work eyes, and I will be able to mix and match it with other eyeshadow shades that I already own. 

I also picked up the Primer Potion in Eden; I have veins that show through my eyelids so I thought it would be a good idea to go with the primer that has a bit of concealer mixed in. The first time I used it though, it came out all separated. Is this normal? Looks like I'll have to remember to shake well before using.


 Did you pick up anything in the Urban Decay launch? There are so many more products that I want!


 photo signature_edited-1_zpsas0u1ptz.png

Twitter | Youtube | Instagram | Pinterest | Facebook | Bloglovin
SHARE:

Saturday, November 29, 2014

October Her Fashion Box: West Coast

It was a long wait this past month for the latest box from HFB. I received an email on the 10th saying all boxes had been shipped, and the shipping notification arrived promptly in my inbox. And then ... nothing. Usually, deliveries are overnight but I gad exams, and was busy, and kind of forgot about it.
As the end of the month snuck up on me, I realised it hadn't arrived and chased it up with HFB. They chased it up with the shipping company, who had lost my order!
The HFB team quickly came to the rescue though, and prepared my order to go out the next day, with a few extra goodies inside to make up for the inconvenience.


October's theme is 'West Coast', embracing minimalism and gypsy-inspired patterns. 


The 'Noir bag' (RRP $29.95) is a bit different to what I would normally go for in accessories. I think the size is perfect, but I would normally probably walk past a bag shaped like this if I saw it in the stores. This style is very on-trend at the moment, and the whole reason I signed up to this box was to challenge my sartorial choices. I definitely have some prints in my wardrobe that would work with this style. I think the key here is styling it the way that HFB have in their magazine - minimalist colours, a touch of print and having the bag as a statement. I really love the gold chain, and the clasp at the front. I also love that despite it being small, it would definitely fit more than a phone and lipgloss in it - yay for practicality! 


The other fashion piece in this box is inspired by silk scarves, and the print in the classic box is very Hermes-esque. The 'Carriage Scarf is really bold, and I do really like it. Again, there's styling inspiration contained in the mini magazine for those of us who aren't great with scarves, that highlight the versatility of these pieces. Wrapped around your head, your bag, your wrist...they add colour and texture to your outfit. At a RRP of $14.95, this particular scarf is obviously not made out of silk, and was a bit static-y when I took it out of the plastic it came on. Nevertheless, it seems to be pretty good quality, and at that price point you really can't complain. 


Bit spoiled for choice with beauty products in this month's box... 

HFB have come out with their own version of the beauty blender! I haven't tried the original, but am definitely keen to give this blending sponge (RRP $9.95) a go. HFB have also come out with their own eyelash curler (RRP $14.95). I got a bright green one (yay!) and am pretty impressed with it. It's a pretty sturdy construction, and quite rounded. I struggle with eyelash curlers, thanks to my deep-set eyes and I'm glad to report I experienced no pinching with this one! 

We also received an eyeliner from Coral Colours (RRP $5.95). I've only tried this brand once, about 10 years ago so it was a surprise seeing it again! This black eyeliner is super pigmented black, and applies easily with no dragging. It also smudges easily, which is great if you're going for a smokey look - not so great if you're going for clean and crisp. It contains Vitamin E and Aloe Vera, which is a nice touch. 

The last beauty product is a baked trio of mineral eyeshadows from Omshe Aromatherapy (RRP $14.95). I haven't heard of this brand before. These colours look really pretty, although a little bit strange to have these particular three paired together. 

Overall, I'm really happy with the October box - I love both the fashion items, and am interested in trying out all the beauty products. 


post signature

Twitter | Youtube | Instagram | Pinterest | Bloglovin
SHARE:

Tuesday, June 10, 2014

Face of the Night: Drama Eyes


I went out the other week to see some pole dancing with one of my good friends from uni. I was excited to leave the house, and took it as an excuse to have some fun with make-up. Ever since getting the Lorac Pro palette, I've really wanted to try out some of the darker shades it has to offer. I'm pretty happy with the way it turned out. 


On my eyes I used the colours (in order from L-R) Deep Purple and Slate as the main eye colours, and blended them out with Espresso and Black


Slate didn't turn out as silver on my eyes as I wanted, so I patted some of this gorgeous colour across the top. This is Bloom's Pure Mineral eye shadow in Moonstone. I love this colour, it's so dramatic and really pigmented. 


I finished up with some Maybelline Eye Studio gel eyeliner, and these gorgeous false lashes by Blync (now Model Rock Lashes)


For my face I used Revlon's Colourstay foundation, but in a lighter shade to what I normally wear. I wanted to make my face as pale as possible to really contrast with my dark eye make-up. A little bit of NYX blush in Mocha to bring a bit of colour to my face, stopping me from looking dead. I've also really been loving Maybelline's Instant Age Rewind concealer under my eyes. A lack of sleep has made those dark circles darker than normal, but this product brightens the whole area up nicely! 


And that's it! I love how this whole look turned out.
Do you wear dramatic make-up when you go out, or do you tend to keep it more natural? 

post signature

Twitter | Youtube | Instagram | Pinterest | Bloglovin
SHARE:

Thursday, May 15, 2014

Face of the Day: Defined Creases and Ruby Lips


You know those days where you just have a good make-up day, and you're so proud of your efforts? That was me, last week. I was so happy with my face, and my eye make up, and it made me have a little swagger in my step. (ha). So, it's only fair that I share the products that helped me get to that feeling. 


For my base, I used Revlon Colourstay for normal / dry skin in 150 Buff. For the first time in ages, I pulled out my Stila all over shimmer in pink shimmer, and used it as a highlight on the tops of my cheekbones. This product is a little too sparkly to use for highlighting your entire face, but I think it works well on the cheekbones. I used the Make Up Store micronized compact powder in chocolate, to contour my cheeks. I've talked about that product before here. For blush, I used NYX powder blush in mocha. This colour is such a pretty pink - it adds just enough colour to look natural. I finished my face off with the Australis fresh and flawless pressed powder. I love this for blending out my contouring efforts. For a more thorough review, click through to here


On my lips I'm wearing the Revlon colourbust lacquer balm in Provocateur. No photos of the actual product because like a pro, I forgot I was wearing it. I will have a thorough review on this line going up next week though, so hang around for that. I filled in my brows with my Inglot eyebrow powder, (more info here) and went over them with some clear gel. I'm a total doofus and took these photos before I put on my eyeliner. But, for the record I went with Maybelline eyestudio gel liner. I also used Maybelline falsies flared mascara. I used a bit of concealer as an eyeshadow base, and went to town with my Lorac palette

(colours listed in order of appearance below. Just like movie stars.)

I used Cream as the browbone highlight and to blend out my crease, with a little bit of White in the inner corner. My eyes don't do too well with inner corner highlight, so I literally use the tiniest amount blended into my base colour. I used Espresso for the crease, blending heaps into the crease and outer corner. I then went back, and defined more of a 'cut-crease' line, and then went back over and blended the hell out of it again. I really like the way that this technique turned out! (NB; Not sure if this is a proper technique) For my base colour, I used Light Bronze, and applied it to the rest of my eyelid once I was done with the crease defining. 


So, about an hour before I had to leave for uni last week I was in an experimenting mood, and that's what I came up with. I'm pretty happy with how the whole make up look turned out, especially because if it was shit I wouldn't have had time to re-do it hahaha.

post signature

Twitter | Youtube | Instagram | Pinterest |Bloglovin
SHARE:

Wednesday, April 9, 2014

New In: Inglot


This weekend I'm heading off to Queensland because my mum is getting married! I'm doing the make-up for myself and the other three bridesmaids, so last week I headed into Inglot at Bondi Junction to pick up some new colours and get some advice for the big day! 

The MUA at Inglot was so helpful, I told her what colour eyes the four of us have, showed her a picture of the dress we're wearing and told her a bit about the wedding and she had some awesome ideas. We ended up going with these four colours:


Top Row (L-R): 419 Pearl, 327 Matte
Bottom Row (L-R): AMC Shine 30, AMC Shine 21


(T-B): AMC Shine 30, 419 Pearl, AMC Shine 21, 327 Matte

We decided to go with a really pretty frosty champagne colour as the overall base colour. There will be a touch of green from the 419 Pearl blended out from the middle of the lid, blended into the bronze-y brown AMC Shine 21, with a bit of 327 Matte to darken the crease a little.


I was also recommended to pick up this AMC Eyeliner Gel, and to use the tiniest amount as a base to really make the colours pop.

As much as I love these colours, I'm not 100% certain that the green is going to completely match the dress (probably the only downside to inter-state weddings!), so I may end up leaving it out on the day and switching it with a more bronze colour. We'll see how it goes. I'm pretty excited to see how it all turns out, and I will definitely keep you updated when I get back on how it went!


post signature

Twitter | Youtube | Instagram | Pinterest | Bloglovin
SHARE:

Tuesday, April 8, 2014

Face of the Day: Purple Lips


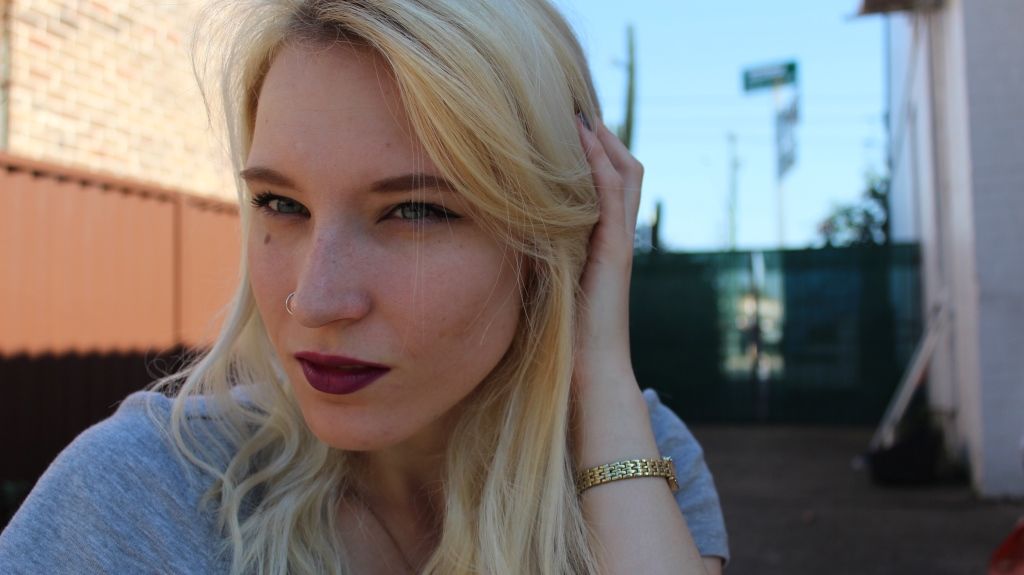
I was kind of surprised at how many compliments I got last week on my make-up for this look. The lips were absolutely the focus here, so I tried to keep my eyes polished, but still quite simple.


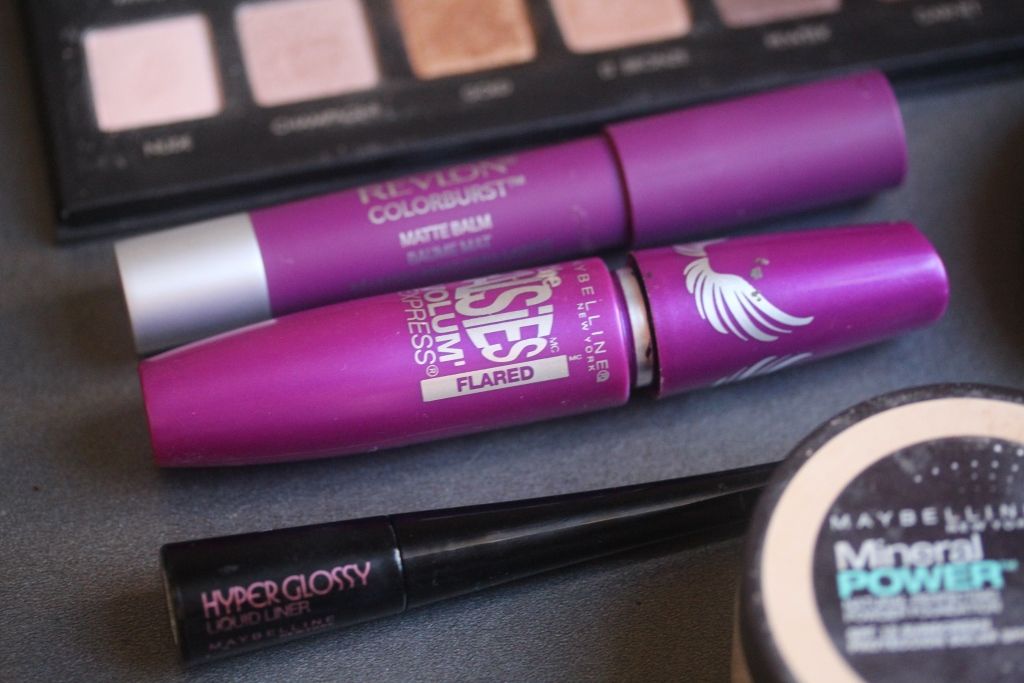
I used Maybelline's Mineral Power Loose Powder for my foundation. This is a medium coverage, but with a dense brush (I use Real Techniques Buffing Brush) it can build up to quite a high coverage. Less is definitely more with this powder, but I love how flawless it makes my skin look.

I used the Make Up Stores pressed powder in a darker shade for subtle contouring, which is pretty standard for me these days.


For my eyes I used colours from the Lorac Pro palette (side note: I am LOVING this to death atm). I used Lt. Bronze as an all-over lid colour, Taupe in the outer corner, with a bit of Sable and Espresso blended into the crease line. I used Champagne for the brow bone


For my lashes, I went back to my trusty Maybelline Falsies Flared, and I've been loving the Hyper Glossy Liquid Liner (also by Maybelline)

For my lips I used the Revlon Colourbust Matte Balm in Shameless. 


What do you think about purple lips? Would you wear it?

post signature

Twitter | Youtube | Instagram | Pinterest | Bloglovin
SHARE:
© Where is my mind?. All rights reserved.
Blogger Template by pipdig