Trending

Tuesday, July 28, 2015

What's in my travel make-up bag: Weekend Edition


A couple of weekends ago, J and I took a very quick trip down to Canberra, to help celebrate his mum's birthday. We literally weren't even in Canberra longer than 24 hours, but we were going to be going out for lunch so I did need to look somewhat nice.

I brought the bare necessities with me, basically whatever could fit into a tote bag.


Base: Australis Primer, the Original, Revlon Colourstay (not pictured) 
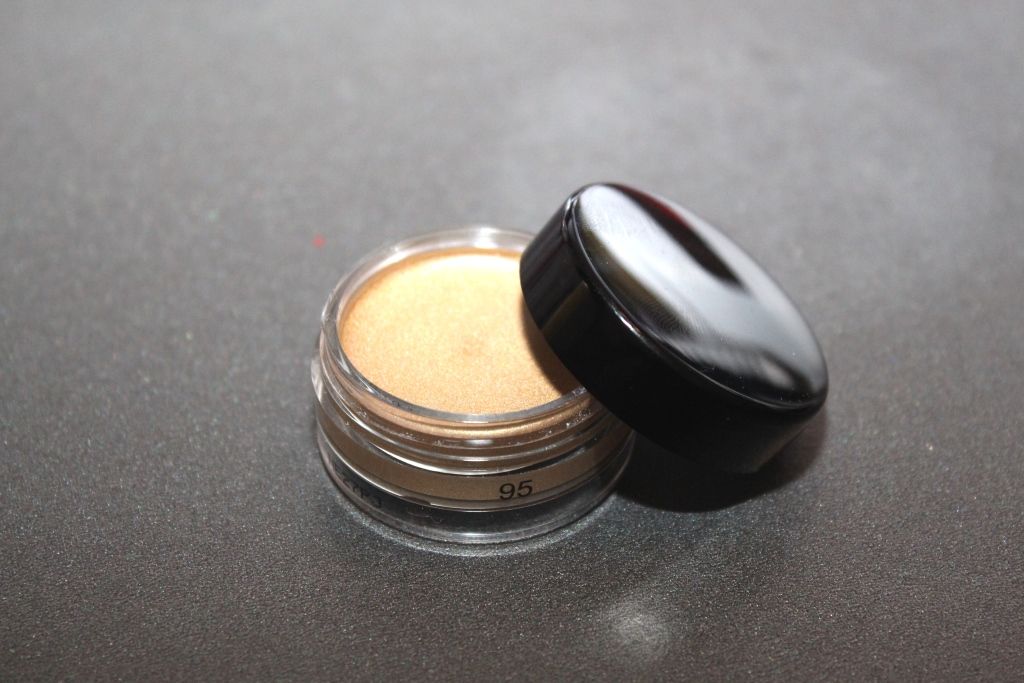
Face: NARS blush in Amour, Make Up Store microshadow in Meteor for highlight
Concealer: Maybelline Age Rewind and Revlon Photoready 


Eyes: Inglot four-pan eyeshadows (review here), MAC paint pot in painterly, Maybelline the falsies mascara, Kat Von D tattoo liner
Eyebrows: Australis Oh Hai Brow eyebrow kit


Brushes: Sigma P86, Sigma P84, Zoeva 122, Ecotools eyebrow brush, Make up Store 106, Zoeva 105, Sigma F80 (not pictured)


 photo signature_edited-1_zpsas0u1ptz.png

Twitter | Youtube | Instagram | Pinterest | Facebook | Bloglovin
SHARE:

Thursday, July 10, 2014

In My Travel Make-Up Case: Make-Up


This post is a follow on from this one, and I'll be talking all about what make-up I brought with me last week to Canberra, and what I found I used more than others. 


I kept all my make-up in the top big compartment, and a few smaller bits and pieces in the top tiny zippered compartment:


So in the small zippered part I kept: Maybelline HyperGlossy liquid liner. I love this product, but I think it irritates my eyes, so I don't use it too much. I brought my Body Shop brow gel (which is looking particularly disgusting...time for a new one?), the John Frieda Flyaway Tamer (This is for your hair and is an absolute staple for me!), Maybelline Colossal mascara, the Maybelline Instant Age Rewind under-eye concealer, Garnier Roll-On Eye cream, and the Lorac Behind-the-Scenes Eye Primer, which came with the Lorac pro palette. 


For eyeshadow, I brought both my Inglot 10 neutral palette, and the Inglot 4 palette. Together, these eye-shadows have almost every colour I could want while travelling (except for a black...) I also brought my eyelash curler. Although my Inglot 10 palette has a brow colour in it, I also brought my Body Shop brow palette. Which turned out to just take up space, because I exclusively used the one in the Inglot palette whilst I was away. So I'll definitely keep that in mind for  next time. 


For my face, I brought the Revlon Colourstay foundation, the Face of Australia FaceBase primer, the Australis Fresh&Flawless Pressed Powder, the Australis Conceal Correct 4-in-1 concealer correction palette. I love this because it has a green for covering red spots, and a purple for correcting under-eye circles. I also brought my Zoeva Mineral Highlighter - I really, realy love this, but I hate the packaging because it's so difficult to actually get any product out. For blush, I brought along NYX Mocha Blush - this is small, so is great for travel, and I just love the colour. 


I also brought my Revlon Photoready Concealer, which I find is a bit thicker than the Maybelline under-eye corrector. I also brought two travalo's with me, filled with Marc Jacobs' Daisy...and I can't remember what the other fragrance is. I think it's Versace Bright Crystal. Although I have a few of these all in different colours, I always forget what I've decanted...I should write it down. For contouring, I brought my trusty Make-Up Store compact powder in Chocolate


I brought a couple of lip products with me, just for a bit of variety (all Revlon, surprise, surprise). I brought the matte balm in Elusive, and three lip butters. Out of all the products I brought, I exclusively used 'Red Velvet' in the lip butter. I adore this colour, especially in the cold weather.


What are your must-have products when travelling? Are you like me, and bring more than you need, or are you able to control yourself?

post signature

Twitter | Youtube | Instagram | Pinterest | Bloglovin
SHARE:

Thursday, May 15, 2014

Face of the Day: Defined Creases and Ruby Lips


You know those days where you just have a good make-up day, and you're so proud of your efforts? That was me, last week. I was so happy with my face, and my eye make up, and it made me have a little swagger in my step. (ha). So, it's only fair that I share the products that helped me get to that feeling. 


For my base, I used Revlon Colourstay for normal / dry skin in 150 Buff. For the first time in ages, I pulled out my Stila all over shimmer in pink shimmer, and used it as a highlight on the tops of my cheekbones. This product is a little too sparkly to use for highlighting your entire face, but I think it works well on the cheekbones. I used the Make Up Store micronized compact powder in chocolate, to contour my cheeks. I've talked about that product before here. For blush, I used NYX powder blush in mocha. This colour is such a pretty pink - it adds just enough colour to look natural. I finished my face off with the Australis fresh and flawless pressed powder. I love this for blending out my contouring efforts. For a more thorough review, click through to here


On my lips I'm wearing the Revlon colourbust lacquer balm in Provocateur. No photos of the actual product because like a pro, I forgot I was wearing it. I will have a thorough review on this line going up next week though, so hang around for that. I filled in my brows with my Inglot eyebrow powder, (more info here) and went over them with some clear gel. I'm a total doofus and took these photos before I put on my eyeliner. But, for the record I went with Maybelline eyestudio gel liner. I also used Maybelline falsies flared mascara. I used a bit of concealer as an eyeshadow base, and went to town with my Lorac palette

(colours listed in order of appearance below. Just like movie stars.)

I used Cream as the browbone highlight and to blend out my crease, with a little bit of White in the inner corner. My eyes don't do too well with inner corner highlight, so I literally use the tiniest amount blended into my base colour. I used Espresso for the crease, blending heaps into the crease and outer corner. I then went back, and defined more of a 'cut-crease' line, and then went back over and blended the hell out of it again. I really like the way that this technique turned out! (NB; Not sure if this is a proper technique) For my base colour, I used Light Bronze, and applied it to the rest of my eyelid once I was done with the crease defining. 


So, about an hour before I had to leave for uni last week I was in an experimenting mood, and that's what I came up with. I'm pretty happy with how the whole make up look turned out, especially because if it was shit I wouldn't have had time to re-do it hahaha.

post signature

Twitter | Youtube | Instagram | Pinterest |Bloglovin
SHARE:

Wednesday, April 9, 2014

New In: Inglot


This weekend I'm heading off to Queensland because my mum is getting married! I'm doing the make-up for myself and the other three bridesmaids, so last week I headed into Inglot at Bondi Junction to pick up some new colours and get some advice for the big day! 

The MUA at Inglot was so helpful, I told her what colour eyes the four of us have, showed her a picture of the dress we're wearing and told her a bit about the wedding and she had some awesome ideas. We ended up going with these four colours:


Top Row (L-R): 419 Pearl, 327 Matte
Bottom Row (L-R): AMC Shine 30, AMC Shine 21


(T-B): AMC Shine 30, 419 Pearl, AMC Shine 21, 327 Matte

We decided to go with a really pretty frosty champagne colour as the overall base colour. There will be a touch of green from the 419 Pearl blended out from the middle of the lid, blended into the bronze-y brown AMC Shine 21, with a bit of 327 Matte to darken the crease a little.


I was also recommended to pick up this AMC Eyeliner Gel, and to use the tiniest amount as a base to really make the colours pop.

As much as I love these colours, I'm not 100% certain that the green is going to completely match the dress (probably the only downside to inter-state weddings!), so I may end up leaving it out on the day and switching it with a more bronze colour. We'll see how it goes. I'm pretty excited to see how it all turns out, and I will definitely keep you updated when I get back on how it went!


post signature

Twitter | Youtube | Instagram | Pinterest | Bloglovin
SHARE:

Sunday, February 16, 2014

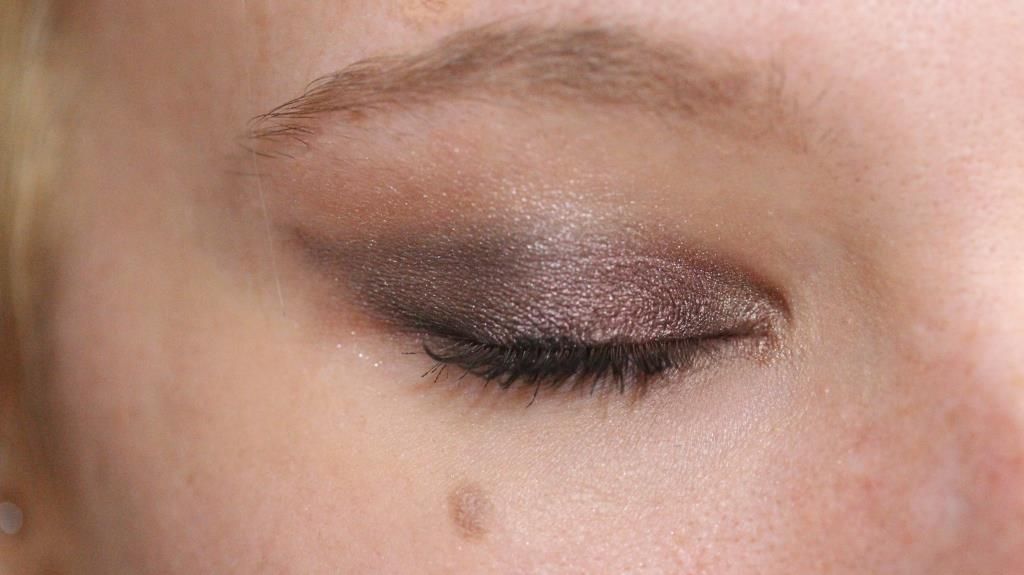
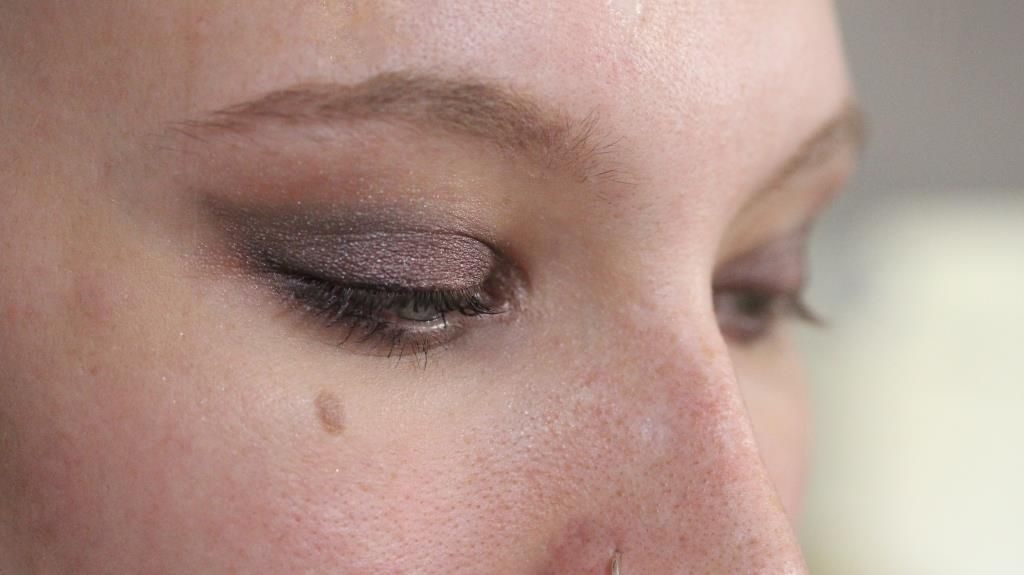
Smokey, Sultry Cat-Eye

There's something universally flattering about a well-done cat eye. I love winged eyeliner, and rely on it often to easily 'class up' my make up when I'm in a rush. 
I've been playing around quite a bit with blending and the different definition that can be achieved with eyeshadow. My beloved Inglot neutrals palette was used to create this eye look, which kind of came about by accident.


I used the darker shades in the palette to outline my cat eye, to give me a guide when I would later go back and outline it with liquid liner. But then I decided I kind of liked it without that harsh line. 


I think it creates a softer, more sultry cat eye.

What do you think?

post signature

Twitter | Youtube | Instagram | Pinterest | Bloglovin
SHARE:

Tuesday, January 7, 2014

Face of the Day

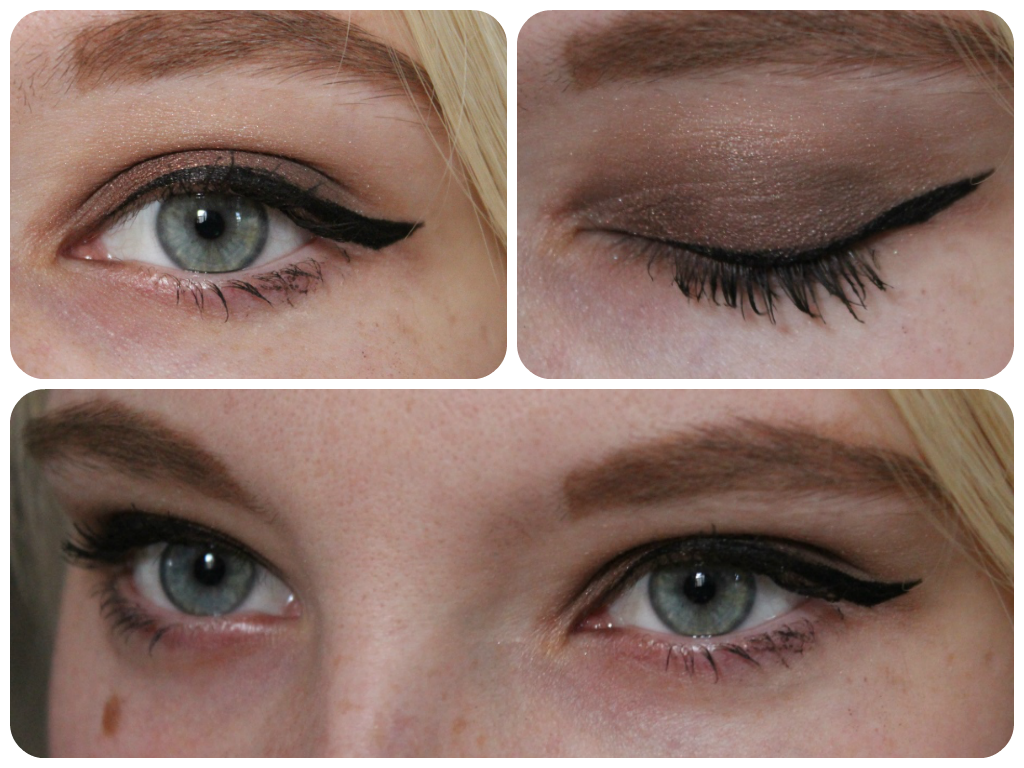
With the purchase of the Australis Curved Ink Eyeliner, I've been getting back into the winged eye a little bit this Summer. 

For this eye look I used a mix of colours from my Inglot palette and the Naked 1 palette:

You don't need to tell me how badly I need to book an appointment for those eyebrows...


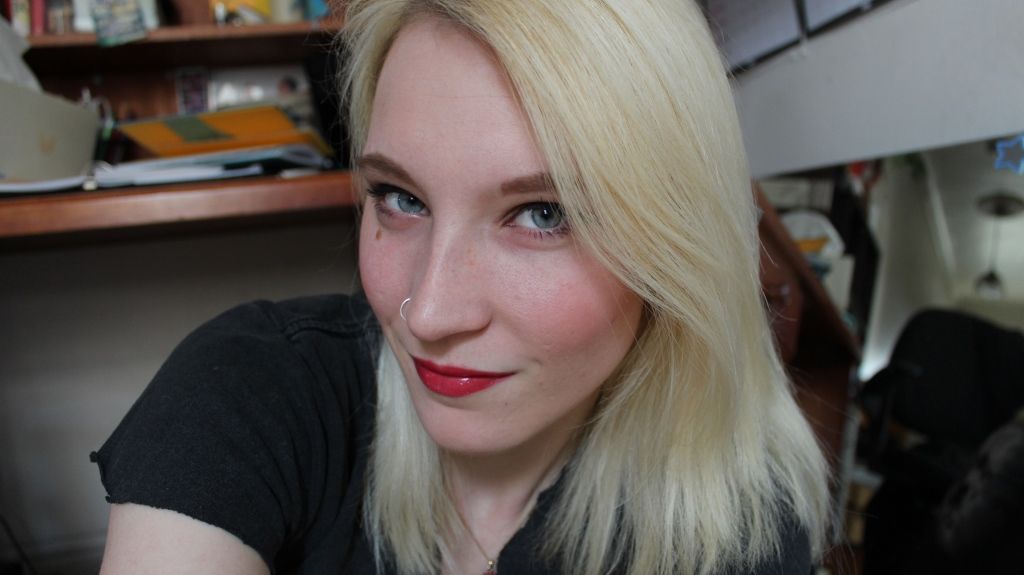
I think what's interesting is how much 'fresher' the whole face look becomes with the addition of red lips:


I've used the Make Up Store Micronized Compact Powder in Chocolate as a contour powder, and NYX blush in Mocha.
My foundation is Revlon ColourStay for Normal/Dry skin in 150 Buff.


I have filled my brows in with The Body Shop Brow and Liner Kit in 01 Blonde.
Undereye cirlces concealed courtesy of Revlon Photoready Concealer in 003 Light Medium
Lips coloured in with Bourjois Colour Boost Glossy Finish Lipstick in 01 Red Sunrise.


Weirdo head tilt courtesy of bad camera angles.

post signature

Twitter | Youtube | Instagram | Pinterest | Hellocotton | Bloglovin
SHARE:

Sunday, December 1, 2013

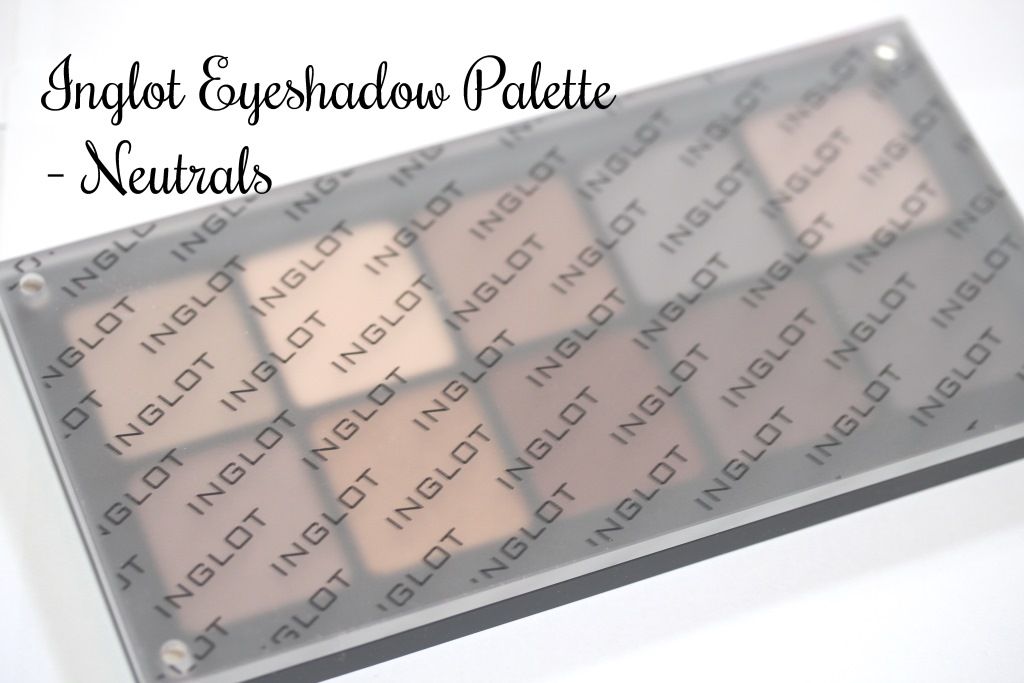
Inglot Neutrals Palette


Every year since I started law school I have bought myself a little something something at the end of the exam period. In the past, this may have been a new piercing or piece of jewellery, but this year I decided to make myself a 10 pan Inglot eyeshadow palette. I freaking love the Inglot eyeshadows I already own, and wanted some more neutrals to give my poor Naked 1 palette a rest.

So a couple of weeks ago I headed down to the little Inglot stand at Bondi Junction during my lunch break, and enlisted the help of one of the sales assistants / make up artists. She gave me a little magnetic plate and a bunch of tissues and baby wipes and I spent about 45 minutes choosing the colours.

The end result was this pretty little thing:
SHARE:

Friday, July 12, 2013

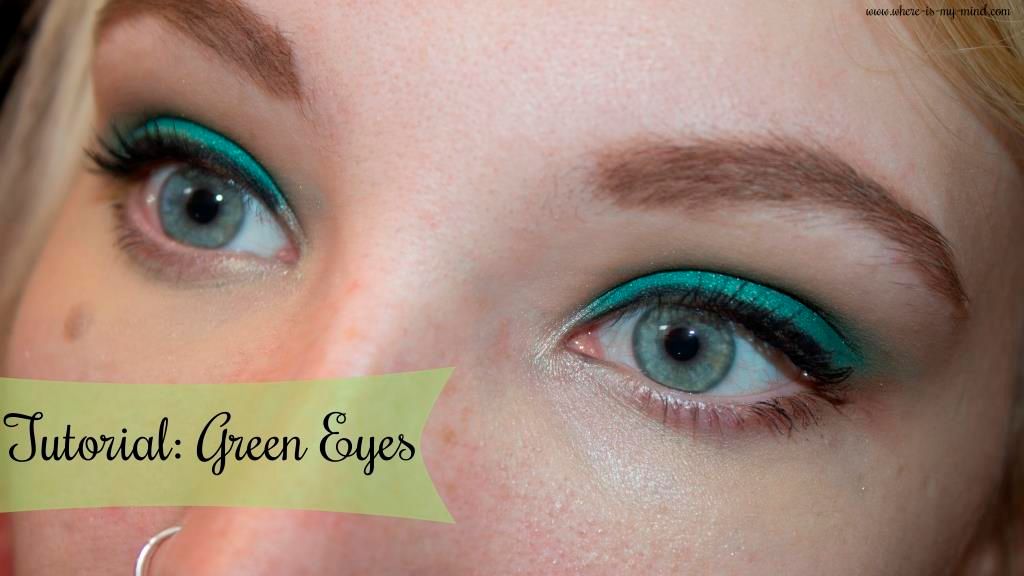
Tutorial: Green Eyes


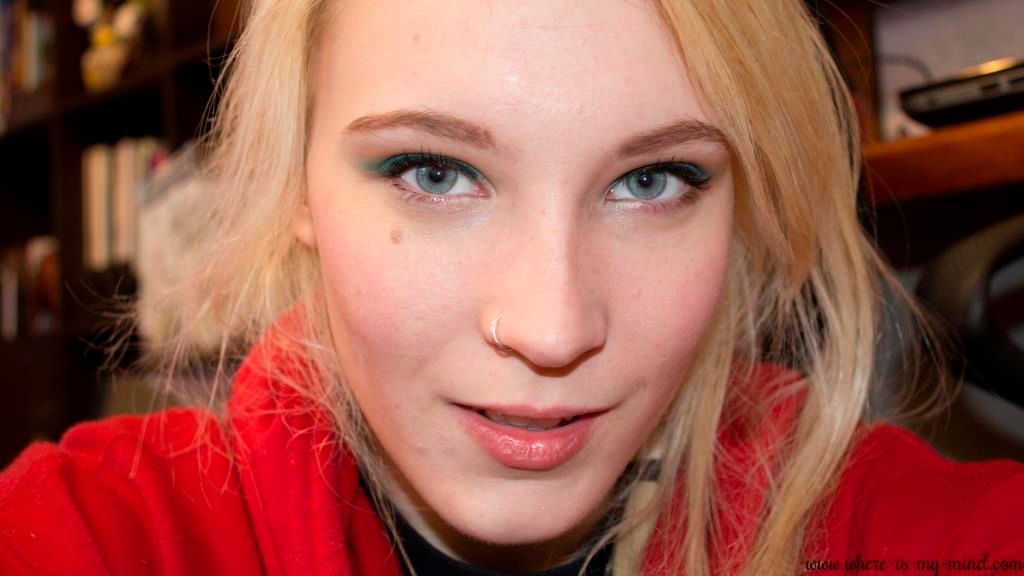
This is one of my favourite eye make-up looks, and I always get compliments when I wear it. 


These are the main colours I've used in this tutorial; 

INGLOT: matte 372 (top green) and 504 (bottom green)
URBAN DECAY: Sin and Naked, both from the Naked palette. 


To really intensify the colour, I've used Maybelline's Colour Tattoo in Edgy Emerald as a primer. If you don't have this, you can just use a regular primer, or even one with a white base to make the colour pop. 


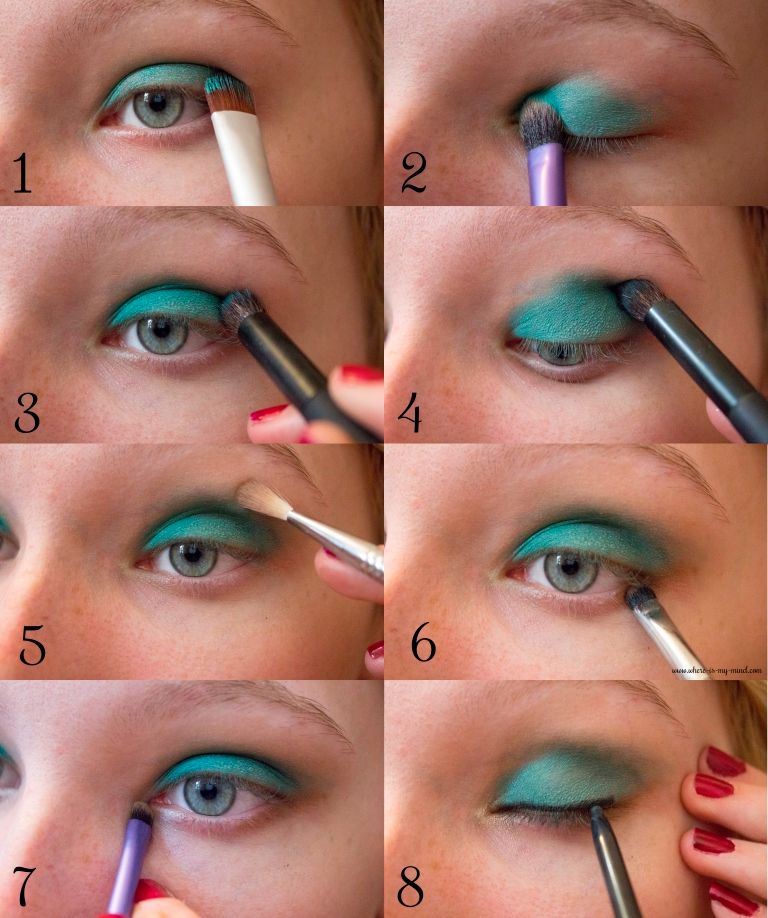
1. I apply the colour tattoo with an Ecotools concealer brush. I just really like the shape of this brush for slathering the colour across the eyelid. 
2. From the inner corner to about halfway across the eyelid, apply the matte green. 
3. Continue into the outer corner with the darker green. 
4. Smudge some more of the darker green into the crease, to create more definition and dimension. Make sure you blend in this colour well. You want to create somewhat of a gradient between the two colours. 
5. Blend out the edges with a fluffy brush. At this stage I've added a bit of Naked to the browbone and blended it in as well. 
6. My eyes are quite small, so rather than using an eyeliner on my waterline, I continue to blend Naked down to the outer corner of my bottom lash line. 
7. I add a bit of Sin to the inner corner, to brighten up my eyes
8. Finish off with some eyeliner on the top lashline and a coat of mascara. 


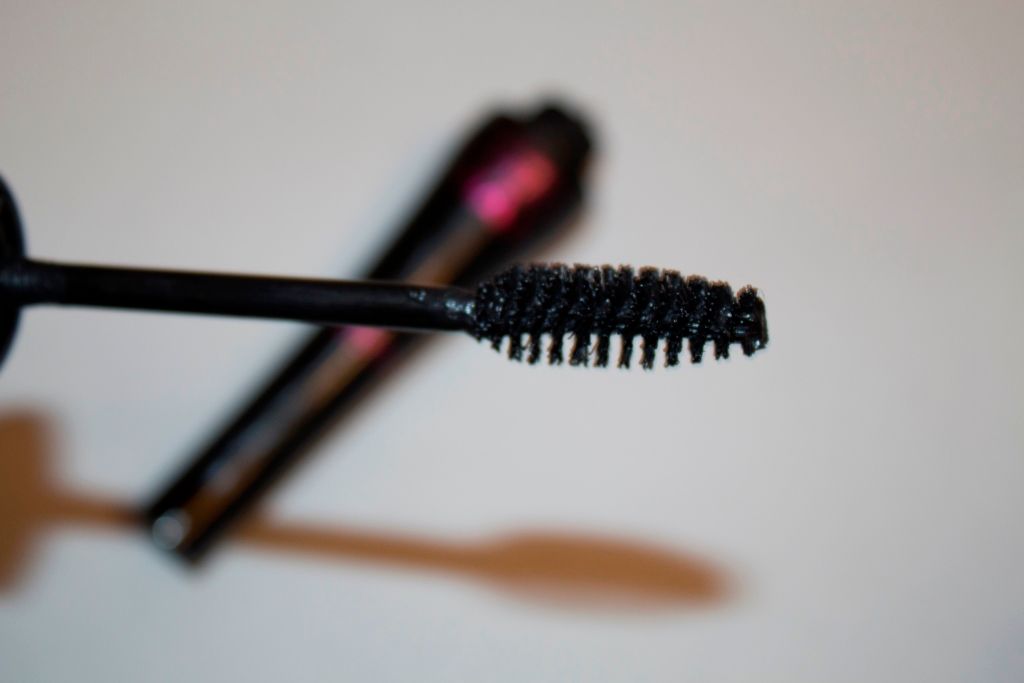
I've been using the Volume Glamour Max mascara from Bourjois...I love the thick bristles for adding heaps of volume to my lashes. 


Keep the rest of your face fairly neutral...I'll usually apply a tinted lip balm for a hint of colour. Really though, you want your eyes to be the focus of this look. 

Have you rocked green eyes before?

post signature

Twitter | Youtube | Instagram | Pinterest | Hellocotton | Bloglovin
SHARE:
© Where is my mind?. All rights reserved.
Blogger Template by pipdig