Trending

Friday, June 27, 2014

Fitness Friday: Leg Day

I do a lot of upper body work-outs, because of pole. So it's really important for me to include a specified routine in my workout regime that targets my legs.
I normally warm up with a brisk 15 minute walk on the treadmill. I hate running on the treadmill, it just feels really unnatural for me (I'm sure I'll get there one day), so for now I walk at 6.5-7km/h on a really high incline (usually starting at 2% incline, moving up to 10% by the end).
I'll then gently stretch it out a little, and then carry on with the below:


For the first set of 10 reps of each exercise I will 'warm up' through the range of motion, by starting at a lower weight. 
If you're  not sure what weight you should be starting out on, the basic rule is that you should be able to do 8-10 reps. The 10th rep should be really difficult. If you can do more than 10 reps, the weight is too light for you. If you can't get to 8, then the weight's too heavy. Of course, at all times, you need to be aware of your form. So if you can get to 10 reps, but your form is failing, then the weight is also too heavy, so dial it down a little. 

I personally currently lift: 1 set of 10 reps 20kg squats; then 2 sets of 10 reps at 25kg squats. 
1 set of 10 reps 15 kg deadlifts; then 2 sets of 10 reps 20 kg deadlifts.
For weighted lunges, I use 7 kg dumbbells.
For both the hamstring curl and leg extensions, I do 39kg. 

Rest for a minute in between each set. 

For detailed information on how to perform each exercise, check out these instructional videos:
(I'm not affiliated with this guy at all, but these videos are what I used to learn to do these exercises. Sharing is caring. It's a good idea to have someone check your form, and have a spotter if you're new to these. A personal trainer is awesome. Otherwise, start with light weights (5kg for eg) and film yourself, so you can double check your form.) 


I use the machine for hamstring curls / leg extensions, so if you're not sure how to do them, most machines have little diagram pictures, otherwise ask someone at the gym! 

And that's my whole leg routine! Let me know if you have any questions or if I missed anything out, or let me know what you'd like to see next! 


post signature

Twitter | Youtube | Instagram | Pinterest | Bloglovin
SHARE:

Saturday, May 10, 2014

Fitness Friday: The Form Guide

One of the things that has been really bothering me lately, is that there's an abundance of newly posted 'fitness for beginner' videos and blog posts springing up around the place. And the blogger or vlogger posts a video or some photos of them doing some exercises, to advise their followers on somewhere they can start out.
This is great, because encouraging easy fitness that anyone can do is always a good thing. But, not at the risk of injury. And what a lot of these people don't realise, is that they're demonstrating dangerous ways to do activities. They may not notice that their form is out while they're performing the exercise, but continue doing reps with the wrong form and you could end up doing some damage to yourself. Not cool.

So today I'm going to take you through the basic form for the most common exercises that I see being messed up. This post is a little  quite picture heavy, so click through to read.


SHARE:

Thursday, September 19, 2013

At Home Manicure...in Minutes!

So here's a poem I wrote the other day:

I love painting my nails. 
I love nail polish. 
I hate waiting for the nail polish to dry. 
I hate when you think the nail polish is dry, then you touch something and it smudges, and the world ends all my hard work is ruined. 


Smudgy nail polish drives me effing mental. I thought I'd share what nail polish products I use to keep my nails healthy, and dry my at home manicures quickly. 


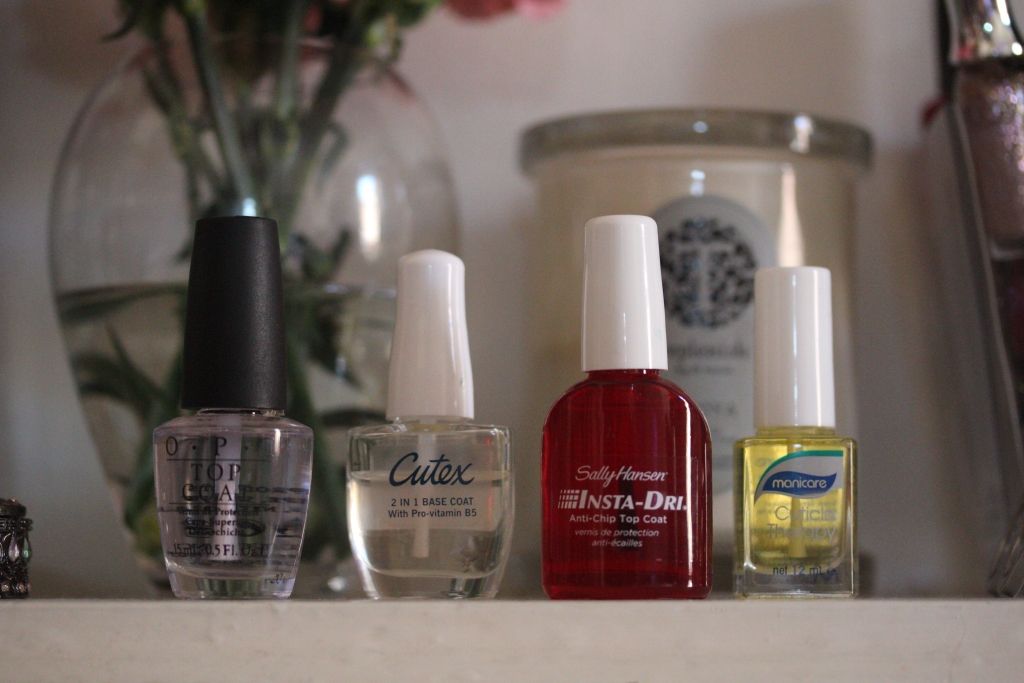
My nail painting arsenal. 


I always start my nail painting by rubbing some of Manicare's Cuticle Therapy into my nail beds. My cuticles and the skin around my nails gets quite dry, which causes wicks (which btw I totally just learnt the "proper" term for them is 'hangnail'....the more you know!) which are painful. So the cuticle therapy is like an oil that you massage into your nail bed, to keep your nails hydrated. 

Once that's rubbed in all good and proper, I apply a base coat. I love Cutex's base coats because they dry relatively quickly. The one I'm using at the moment is their 2-in-1, with vitamins to also nourish the nail. (Not sure if that actually does anything or if that's just a marketing tool) By the time I've finished base-coating the last nail, the first nail I painted is dry. 

Then I apply my nailpolish of choice! 


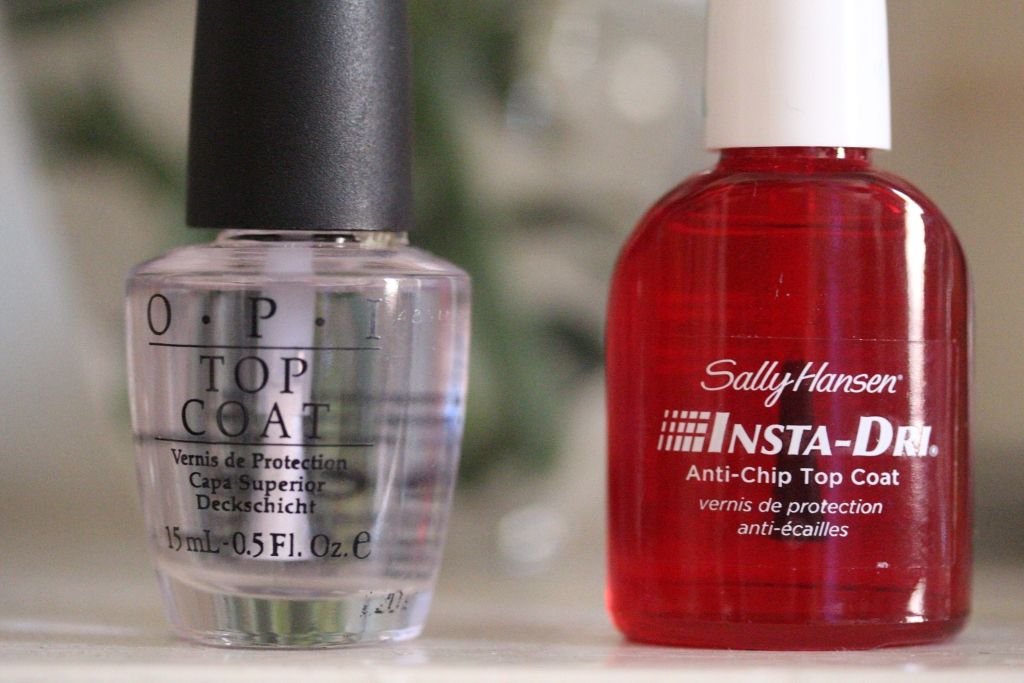
So once I've finished painting my final nail, I go over the top of the colour with Sally Hansen's Insta-Dri Anti-Chip Top Coat. This is not an "instant dry" formula by any means, but it is fast.
It takes less than 5 minutes to completely dry my nails. If I'm experimenting with multiple colour layers or 'nail art' (I only put that in inverted commas because I'm not that great at it) I'll wait for the next layer to dry and then seal it all in with OPI's Top Coat.

And that's it!

What products do you use when painting your nails at home?

post signature

Twitter | Youtube | Instagram | Pinterest | Bloglovin
SHARE:

Friday, August 23, 2013

6 Great Father's Day Gift Ideas!

Father's Day is coming up FAST...have you got your gift organised yet?
I've got some ideas below...you may either outright steal them (I won't tell, I promise!) or use them to get your own creative juices flowing!

father's day gift ideas

one
How about an ipod, or other musical player? Dads usually have a bit of a reputation for not being too tech-savvy. Ipods are so easy to use, ANYONE can operate them...I'm not even joking when I say that if my dad can, anyone's dad can. (My dad based the decision on which laptop to buy based on which one had the biggest keys for him...bless!)

two
Comic strip books are also a great idea! Zits is a great one for any parent...if you're not acquainted with it, basically it's about living with a teenager...as narrated by a teenager. Another reason why comic strips are so great, is because they're quick, require not much reading and are funny! Or you could make your own, by cutting out your dad's favourites from the paper and sticking them into a book...get really personal and add your own annotations!

three
Tool kits are a pretty standard dad's day gift...this one is a bit different though...it's a mini, all-in-one. Although it's technically a bike tool, it has a number of allen keys, and both types of screw-drivers, making it perfect for basic fixing-up around the house

four
If your dad's a suit, how about some gorgeous new stationery for him? This A4 leather compendium from kikki.K is currently on sale... and will give dad the perfect place to jot down meeting notes, and keep all those loose papers.

five
How about a bottle of his favourite expensive alcohol? I think the trick with this one though, is that you need to then volunteer to come around and have a glass with him. Although gifts are great, and everyone loves getting them, I think the most important thing that all parents want is to spend more time with their kids. ESPECIALLY as their kids get older and move out and get their own lives...

six
This is the adult version of the DIY gift you would give as a child! I found this one on pinterest, and it's been doing the rounds lately. Basically, use a sharpie to draw, write, decorate a plain ceramic mug, bake in the oven for 30 minutes at 220C (pop the mug in while the oven is still cold) and voila! Cool, personal gift!
Check out this blog post for awesome tips and instructions!

What are you getting Dad for father's day??

post signature

Twitter | Youtube | Instagram | Pinterest | Bloglovin
SHARE:

Thursday, May 23, 2013

How To: Apply False Eyelashes


FAR OUT I LOVE FALSE EYELASHES.
The first time you apply false eyelashes is really, really hard. It can be fiddly, confusing and frustrating.
As with most things in life, there is more than one way to do something. If you try out my method below and find out it doesn't work for you, then check out Michelle from Lab Muffin's here, because hers is slightly different to mine. This tutorial is just going to cover strip eyelashes. If there's demand for it, I might write up another post later about individual lashes.

So, strip lashes are always going to be too long for your lash line, and you'll need to trim them first. I usually just use a pair of nail scissors for this part. Take the lashes out of their packet, and hold them up to your upper lash line. Unless you're Asian, you want them to end about half a cm in from your natural lash line, so that's your trimming point. Always trim from the end, and not the inner part, because the lashes on that side are generally shorter.

Also - applying false lashes is the LAST part of your eye makeup routine.


So all you need is the lashes, some glue and some tweezers. I personally prefer Duo glue, they have one for sensitive eyes (above) and a standard one as well. I find it dries quickly, doesn't irritate my eyes and the best part is it has a brush-on applicator, which makes it really easy.


Picking up the eyelashes with your tweezers, lightly brush on a small amount of glue onto the lash line. As you can see in the picture above, you only need the tiniest amount - in fact, less is definitely more in this case.

The most common problems people have with applying false eyelashes is applying too much glue and not allowing it to dry. Think of it this way; you can always apply more quickly if you haven't applied enough, but you'll be waiting longer (and may even need to start over) if you apply too much. So a light coat is all that's needed. Give it about 10-15 seconds to dry. Sometimes waving the lashes in the air can make it dry a bit quicker. I know this is counter-intuitive, but when it dries it will be a tacky consistency, which will help them stick to your eyelid better. If it's still too wet, it won't be able to stick and will slide around on your eyelid. FRUSTRATING.


Position the eyelashes in the centre of your eye - like I mentioned earlier, you want the end to be about 0.5 cm in from your natural lash line so it doesn't drag down your eyes. Disregard this part if you're Asian though - generally Asian eyes have a straighter lashline, so the lashes won't droop. 


So I usually stick the middle part down with tweezers and then once they're positioned, stick the inner and outer ends down with my fingers. Gently pressing them together with your natural lashes will make them blend in a bit more, and help you get as close to your lashline as possible. 

It's really that simple! Repeat for the other side (obviously) and flutter, flutter away! 

So now I ask you guys; 
What's your best "applying false lashes" trick?

post signature

Twitter | Youtube | Instagram | Pinterest | Hellocotton | Bloglovin


SHARE:
© Where is my mind?. All rights reserved.
Blogger Template by pipdig