Trending

Wednesday, September 9, 2015

6 Tips for Cleaning Out and Organising Your Wardrobe


So, it's now Spring! Spring and cleaning go hand-in-hand; new life, new beginnings, etc etc.

I've done a few wardrobe clean-outs recently, so thought I would share some things I've learned along the way, and things that have worked best for me. Unfortunately, my actual wardrobe isn't that beautiful blog or instagram-worthy - one of the many downsides to renting!
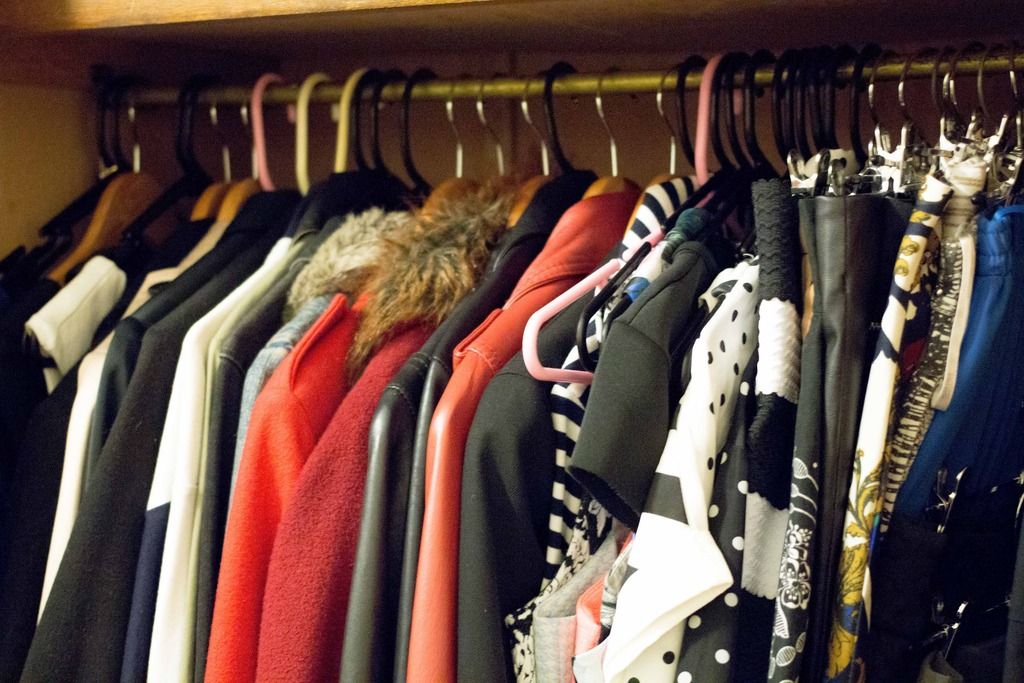


1. Be Brutal
I think this is the most important thing to keep in mind; if you're cleaning out your wardrobe, there's probably a good reason you've chosen to do so. Maybe you have too many clothes, maybe your clothes are uninspiring... whatever the reason, something has made you decide "I've had enough". So hold on to that feeling, don't get sentimental and that will keep you from being distracted.


2. Questions to ask yourself...
These are the questions I ask myself when being brutal and deciding whether I'm going to keep something:


- Do I love it?
- Does it fit me? No? Get rid of it.
- Have I worn it in the last two years?
- If I haven't worn it in the last two years, why? I have some fancy dresses and things that I haven't had a function to attend where I can wear them. Those items stay.
- Is this damaged? Yes? How bad is the damage? Am I willing to pay someone tomorrow to fix it? No? Get rid of it. 
- How many different ways can I wear this?
- If I was shopping right now, would I buy this?
- Which is more valuable - the clothing item, or the space?

3. Decide where the "rejects" go
I usually sort my clothes with the options of "donate", "keep", "sell", and "bin" in mind.
If I love an item then it obviously stays in the "keep" pile. 
If I don't love an item because it doesn't fit me, isn't my style or I'm just over it, then it goes into the "donate" pile. If I don't love it, and think it's worth my time to try selling it (honestly, usually only worth it for expensive name brands), then it goes in the "sell" pile.
If an item is badly damaged, or is underwear, then I'll throw it out. 

4. Invest in matching hangers
I have wooden hangers for my "heavier" garments (such as blazers, longer dresses etc), and then slim plastic hangers for the rest of my clothes.
Not only does this look a lot neater but your clothes will all sit the same way in your wardrobe,  and can save space. I think having matching hangers makes you more inclined to keep your wardrobe looking organised as well.
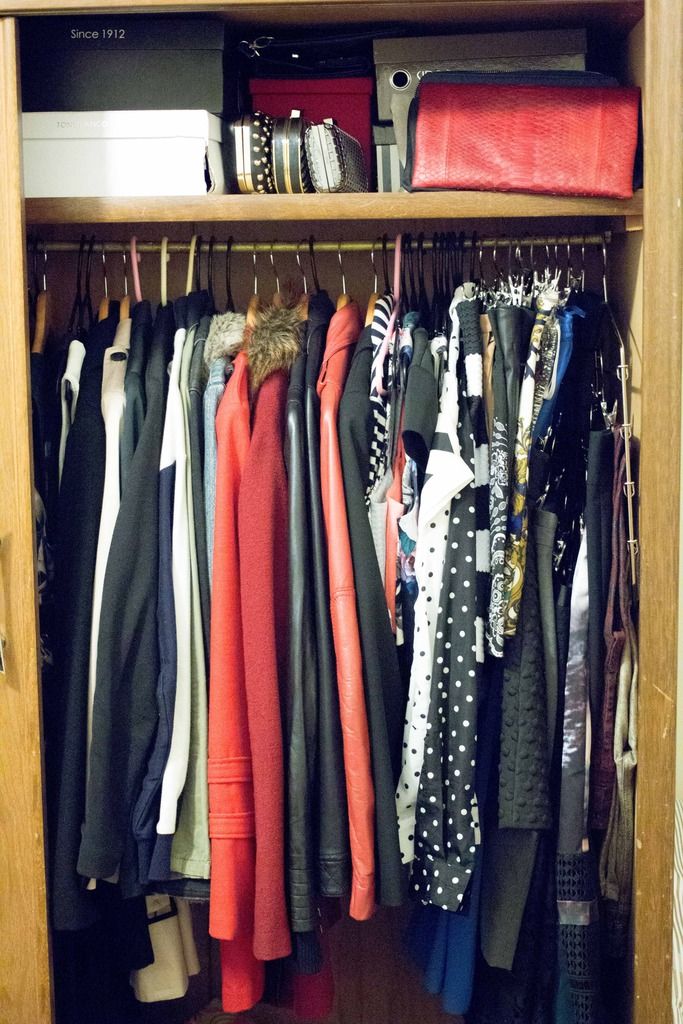

5. Research space-saving ideas
The built-in wardrobe in our current house is so much tinier than the one in our previous house. And I've been struggling to work out how to fit all my clothes in the wardrobe (side note: although those wooden hangers are beautiful, they take up a tonne of space). So I did a bit of research, and invested in things like underbed storage solutions for off-season items, space saving hangers, and multi-pants hangers.

6. Sort your clothes based on how you get dressed
If you prefer to get dressed by matching colours, then colour-code your wardrobe. I personally sort by type, then by colour. So my wardrobe is:
dresses / coats / short sleeve tops / long sleeve tops / short skirts / long skirts / pants.
Within coats I have: woolen coats / leather jackets / light jackets.
I then have black woolen coats, red wool coat, black leather jacket, red leather jacket, etc etc.



 photo signature_edited-1_zpsas0u1ptz.png

Twitter | Youtube | Instagram | Pinterest | Facebook | Bloglovin
SHARE:

Monday, August 17, 2015

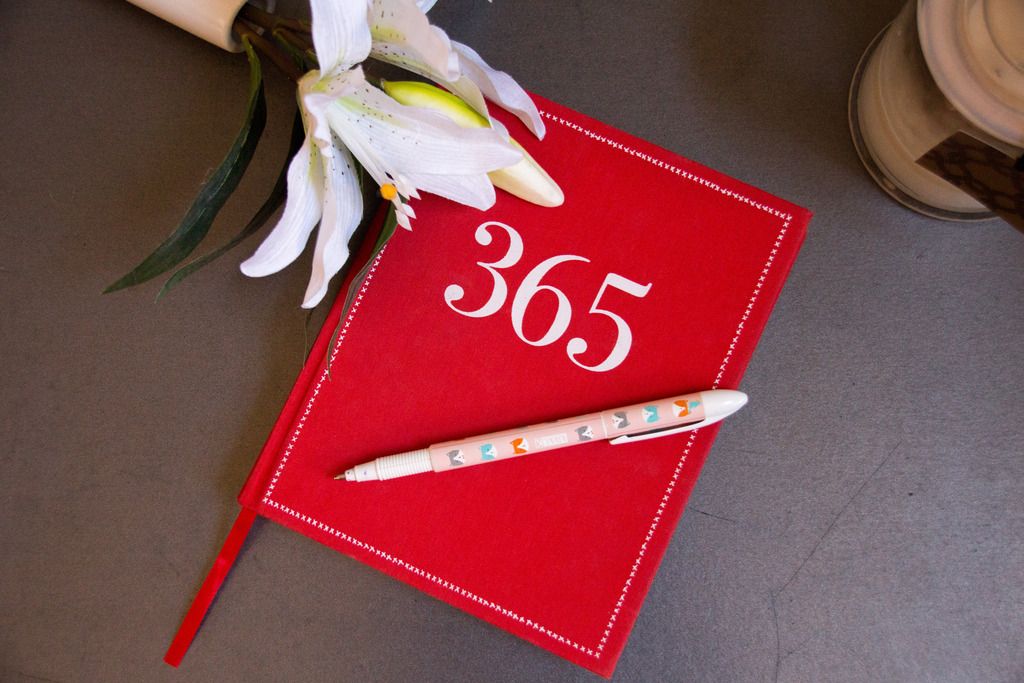
My 5 Top Tips for Journalling


I had so many diaries as a kid that I poured my heart and mind into. I would tell anyone who would listen that I was going to grow up to be a writer (not entirely untrue...lawyers write a surprisingly large amount of words each day), so in my diaries I would write down all my thoughts, dreams, latest stories and characters, the latest playground gossip and whatever else tickled my fancy at that time.

I don't always keep all my journals, (some are wayyy too cringey for that) but I think they're great to look back on, even just from a personal development point of view.

Even now as an adult, I still try to regularly take time out of my day to pen my latest thoughts. I've tried to do journals on the computer, but I think at hear I'm always going to be a pen-and-paper kind of girl.

So, because journalling is kind of a big part of who I am, I thought I'd share with you my top tips for journalling, as committing pen to paper is kind of really hard sometimes.


1. Work out what you want in your journal
Your journal is your place, so it can be whatever you want! You can write about what happened in your day, key life events, your thoughts and reactions to world events, goals you're working towards, to-do lists, quotes and poetry that inspires you, favourite passages from books, the possibilities are endless.

I have a friend who is on this year-long project where every day she snaps a polaroid of something she did that day, and draws a picture in her journal, and that's her way of recording her life.

I personally have a few journals - I have one where I write my thoughts and feelings about what's happening around me, and I stick mementos in it and try to make it this book I can eventually look back on, and then I usually have a journal that I take with me where I scribble to-do lists and random thoughts, song lyrics etc.

Work out what works for you.

2. Never wait for inspiration
Honestly, you'll be waiting for a long time, and your journal will sit there gathering dust. I try to journal every morning on the train, on my way to work, and I try to journal at least once a week - usually on the weekend.
It may seem to take the "fun" out of it, but if you make journalling more of a habit, rather than waiting around for inspiration, you're more likely to actually stick to it.

3. Find a book that works for you
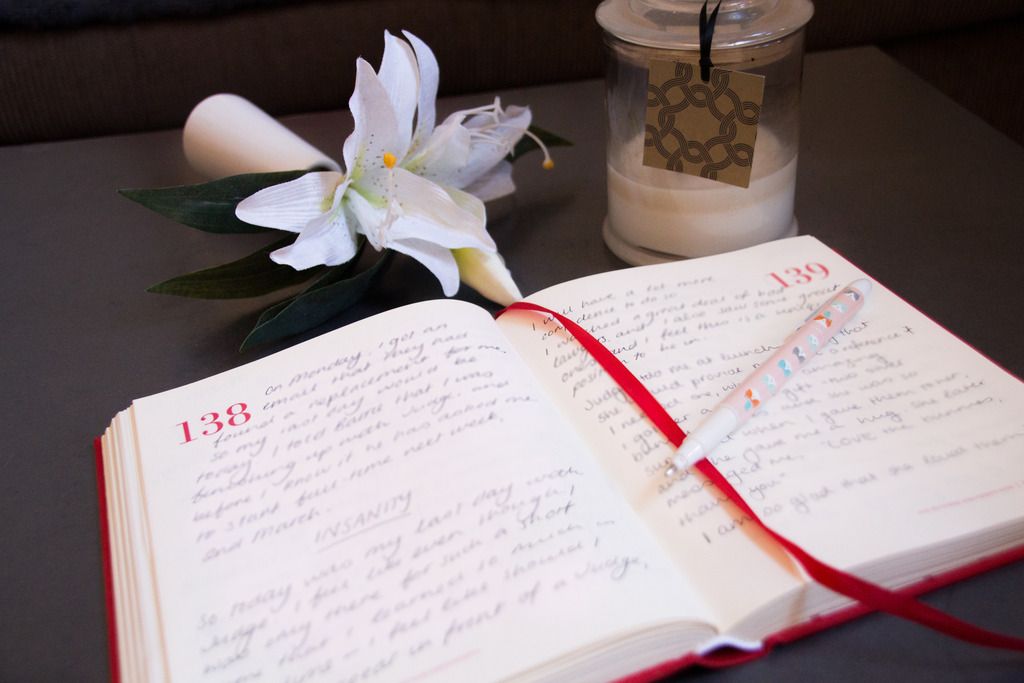
Do you like lines, or do they restrict you? Do you prefer more structured journalling, with pre-written questions? Will you be carrying it around with you? If so, you might want something smaller, and made of a sturdy material, such as leather.

I remember reading once that really beautiful journals actually stifle creativity, because we get too afraid to write in them for fear of "ruining" the beautiful pages.
Think about the way you'll be using your journal, and then try get something that works well with that.

4. Look up "journal prompts"
Sometimes I have writer's block, and can't think about what to write. And if I let that stop me from writing too often, then I would fall out of the habit of doing so. When this happens, I like to look up "journal prompts" online for some inspiration. These are usually lists such as "Goals for the next year, ways to improve my life, things I'd do if I had time, fears I'm having right now".

I don't always then follow them, but I find that by reading through these ideas, my brain starts whirring and I'm able to come up with my own ideas!

5. Stick with it
It takes 21 days to create a habit. If you're new to journalling then I suggest giving it a go for at least a month. Set a goal to write for 10 minutes every day, or 20 minutes every couple of days, and just do it.

I think our lives are so busy, and constantly on the go that it's really beneficial to take time out for your own thoughts.

Do you journal? 

 photo signature_edited-1_zpsas0u1ptz.png

Twitter | Youtube | Instagram | Pinterest | Facebook | Bloglovin
SHARE:

Wednesday, April 22, 2015

Blogging Tips: Organisation


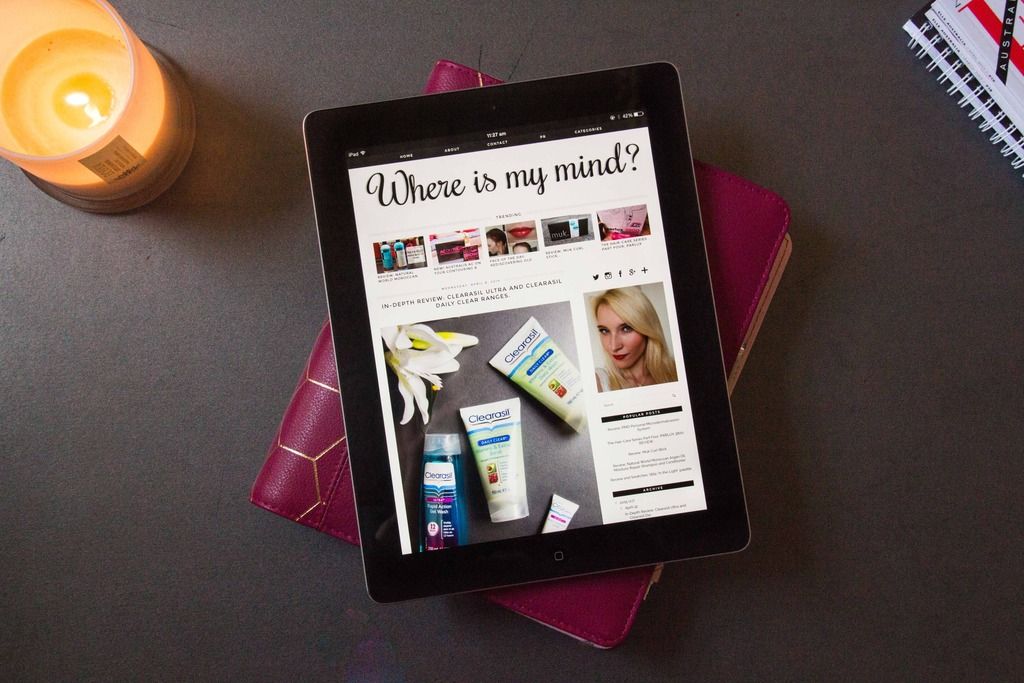
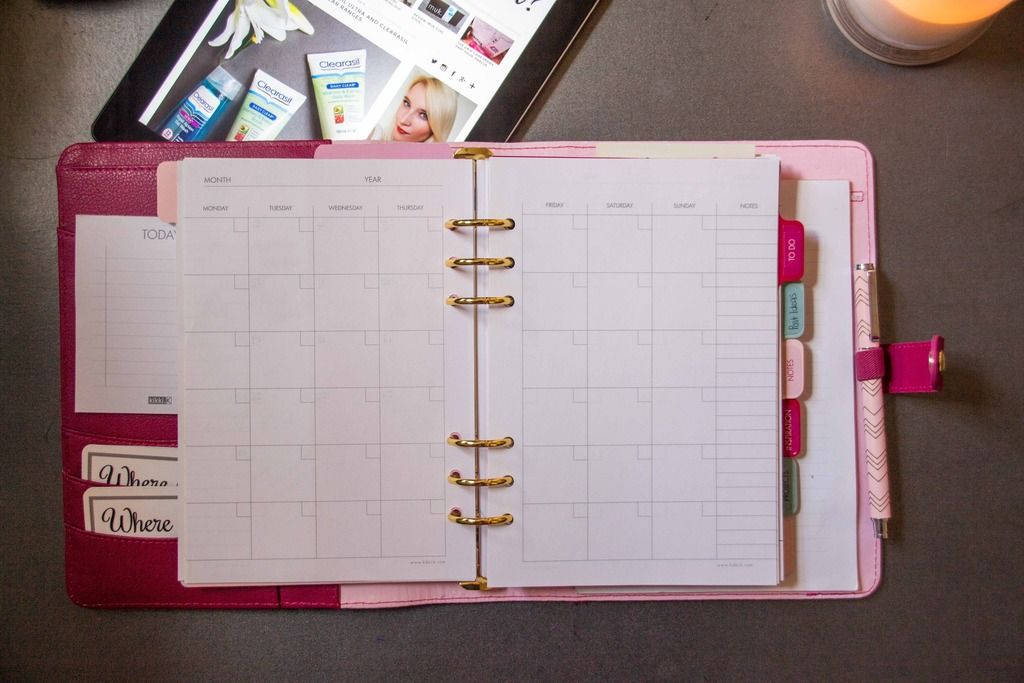
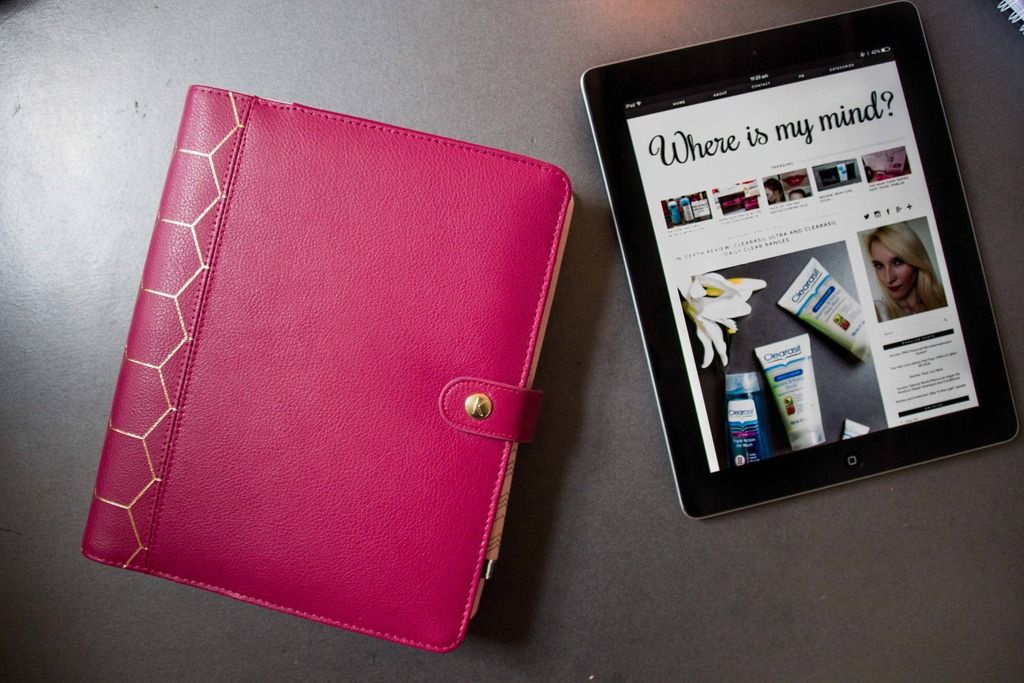
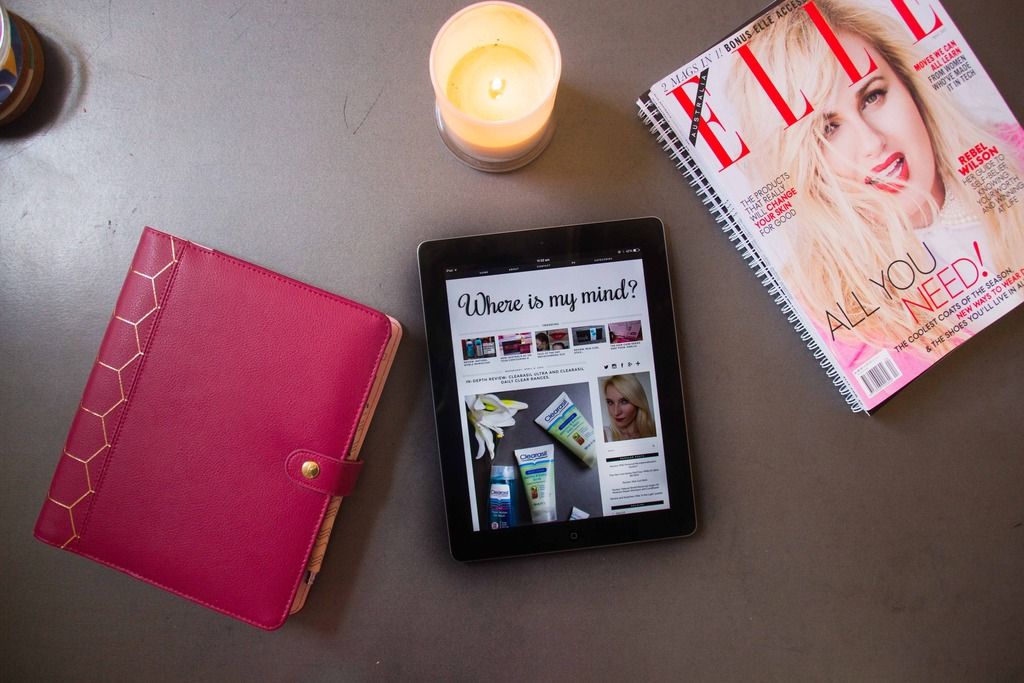
Organisation is one of those things that is crucial for me to get through my day. I have tried so many different ways of planning out my blog posts, and this way is definitely the best for me. I've been using this type of planner for a couple of years, and recently bought this beautiful "dark cherry" colour from kikki.K. 


I use different sections to plan; 
"Calendar" / "To Do" / "Post Ideas" / "Notes" / "Inspiration" / "Projects"


I love that this is a perpetual calendar - I usually plan a month ahead at a time. There's certain posts that go live every week so I fill those in first, then refer to my "Post Ideas" tab to fill in the blanks. 


I write everything in pencil, and then when it's scheduled to go live, I write it in pen - this allows me a bit of freedom to move things around without it getting messy with white-out. 


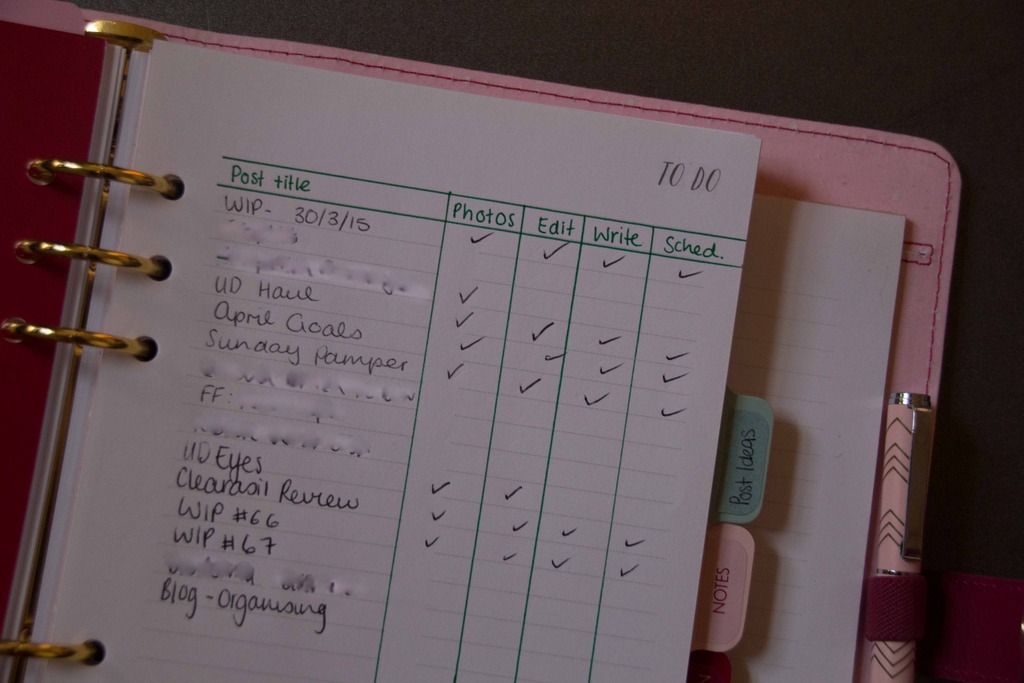
I create a to-do list table, that allows for me to check off when I have taken and edited the photos for each post, when it's written and then when it's scheduled to go live. I usually plan in my day-planner when I am going to take a whole bunch of photos at once; then another day for editing, and then a day to write and schedule. I find by breaking all the tasks up I don't experience "bloggers block" as often. Blogging can take up hours, so breaking up the tasks also makes it all a bit more manageable. 


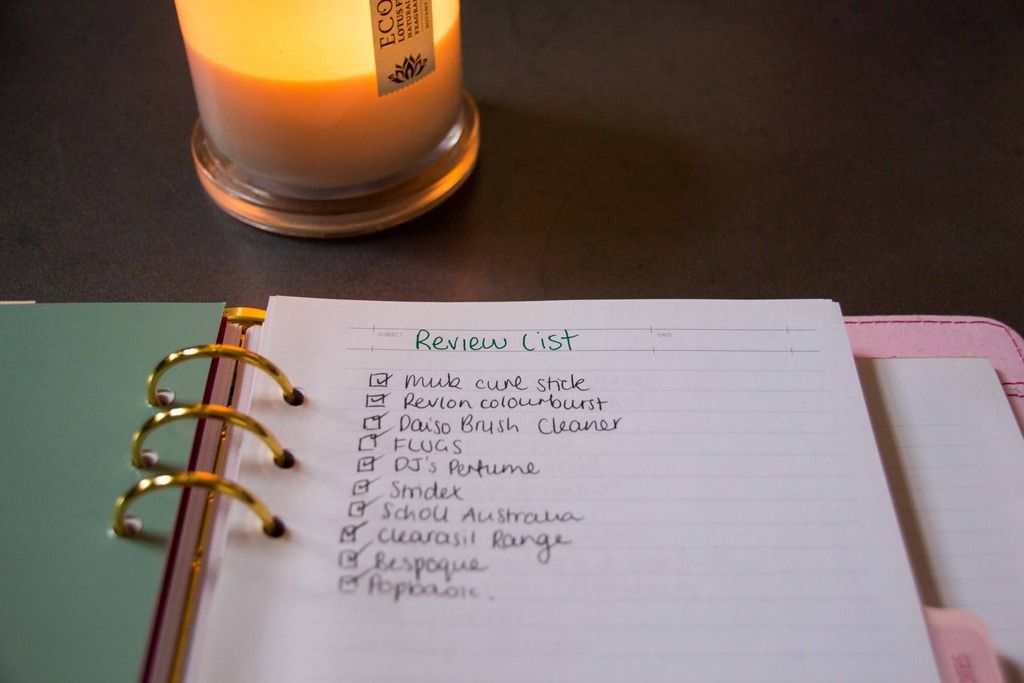
In my 'Post Ideas' tab, I keep a couple of lists - one is my 'review list', where I keep track of products I've either been sent or that I've bought that I want/need to review. 
I also keep a more general 'Post Ideas' tab, where I scribble possible future posts - I try to brainstorm here regularly so that I never run out of ideas. 

Sometimes I get inspired from other blogs, pinterest, magazines etc, and I keep track of this in the 'Inspiration' tab - this way, if I do run a post or build an idea I can easily head here and refer back to it

When I'm planning giveaways, or collaborating with other bloggers / instagrammers, I keep track of this in the 'Projects' tab. 


So that's how I plan my blog posts - I usually plan a couple of times a month to try keep on top of everything. Do you plan your blog posts? What do you use? 

 photo signature_edited-1_zpsas0u1ptz.png

Twitter | Youtube | Instagram | Pinterest | Facebook | Bloglovin
SHARE:

Friday, March 14, 2014

Fitness Fridays: Making Time for Exercise


There's no doubt that everyone seems to be pretty time-poor these days.
Whether it's technology that's to blame, high expectations of ourselves an inability to say "no", or a million other reasons...time can be tricky to manage.

At the moment, I'm pretty busy. I'm studying full time, in my last year of a double undergraduate degree. I also work part time as a manager in a retail store, and I'm working part time in a law firm. This leaves me with no days off until mid-April, when (thankfully) my work-load will lessen. I'm one of those people who struggles to say "no", and I cram so much into my days. I like to think though, that I do this without burning out. Once upon a time I didn't think too much about what consequences keeping so busy had on my health, but today I'm hyper-aware of it.
Keeping active is incredibly important to me, and something that I really enjoy so I try to make time for it.

So these are my tips for making time to exercise.

1. Write everything down.
I schedule in every single activity in my day. Every hour, every minute (within reason) is scheduled. This allows me to see where I have a couple of hours here and there as breaks. Even if I don't have hours, I have minutes and those minutes can add up to hours. Being aware of this time is the first key, I think to using time wisely. Which brings me to my next tip...

2. Multi-task when you can.
If I have 40 pages of reading to do for class, I'll get that done on the train to uni. I spend about 4 hours every day travelling to uni, and if I didn't recognise that I had that 'free time' it would get wasted. Using up these dead minutes and hours in my day means that it's one less thing I have to do when I get home, which leaves me with more free time at home. An hour spent on the train reading frees up that hour in the evening, and I can use that time to stretch or go for a run.

3. Incidental exercise.
This is a big one. I walk to the train station every day, which all up adds about 40 minutes of walking into my day. This doesn't even feel like any time since it's broken up across the day into tiny increments. Put that coffee jar on the top shelf and suddenly you're adding stretches into your morning coffee routine. Get off the bus a stop early. Always take the stairs instead of the lift. I always try to do forward bends when I get out of the shower and my muscles are all warm. Rather than bending my knee when shaving my legs, I bend at the waist and stretch out my hamstrings. It all adds up!

4. Get up an hour early
If you set the task you least want to do as your first task of the day, then the rest of the day can only improve. Waking up and exercising in the morning means it's done and dusted for the day and you don't even have to think about it. It also means you're less likely to make up excuses!

5. Work out while you watch T.V.
This is really just more multi-tasking. We usually watch an hour of television while we eat dinner. After our meal, and some time to digest I always make an effort to stretch. That way I'm still spending time with J, still getting to watch T.V, and I'm fitting in a quick stretch session. You can add in crunches, hold planks, do push ups. You really don't need equipment to work out and watching T.V. is the perfect distraction from the hard work you're doing.

6. Make an Appointment
I add in half an hour to an hour of yoga into my week by making appointments to myself. I add them into my diary, and once they're written I can't cancel it. I'm the same with attending pole classes. That's an appointment that I've paid money to attend. So I can't miss it.

What are your best tips for finding time to exercise?

post signature

Twitter | Youtube | Instagram | Pinterest Bloglovin
SHARE:

Sunday, February 2, 2014

Quick Tip: Removing Stickyness From Your Products

I have mixed thoughts about stores using sticky-tape to seal cosmetics.
I love it because it means that I know the product I'm buying has not been opened before by some feral in the store, and no one else has put their fingers inside it because they were too lazy to find the tester.
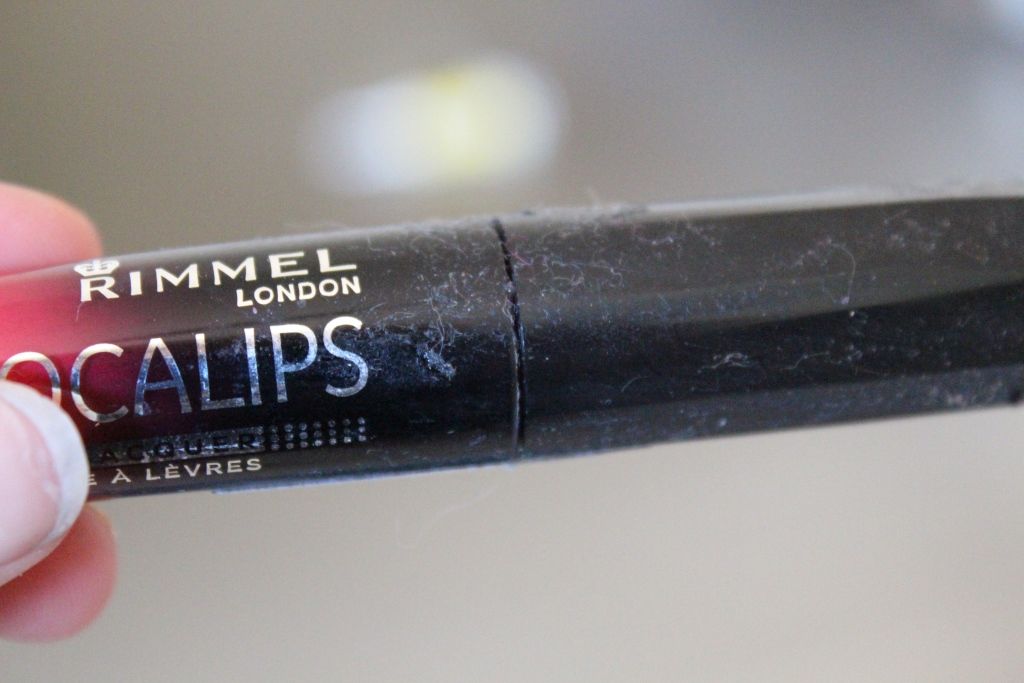
I hate it because the sticky tape is hard to remove, and when I do finally get it off it leaves a sticky, gross mess all over the product that dust and cat hair loves to stick to.

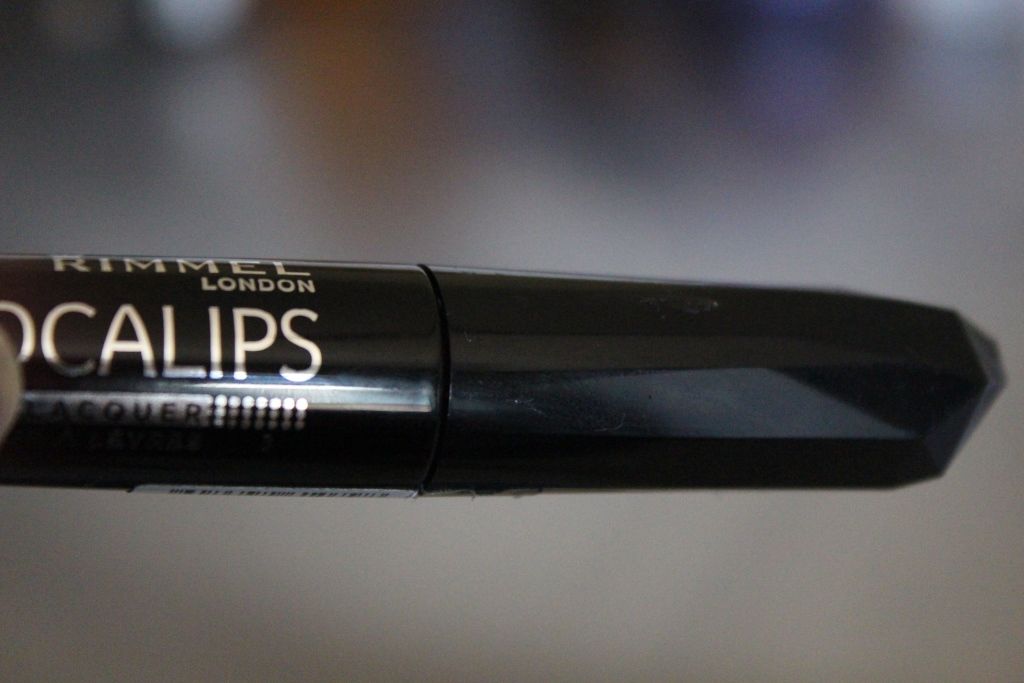
Exhibit A:


In my efforts to use more natural products for cleaning, I've tried out a few different things for removing this sticky-ness. And I've found the holy grail.


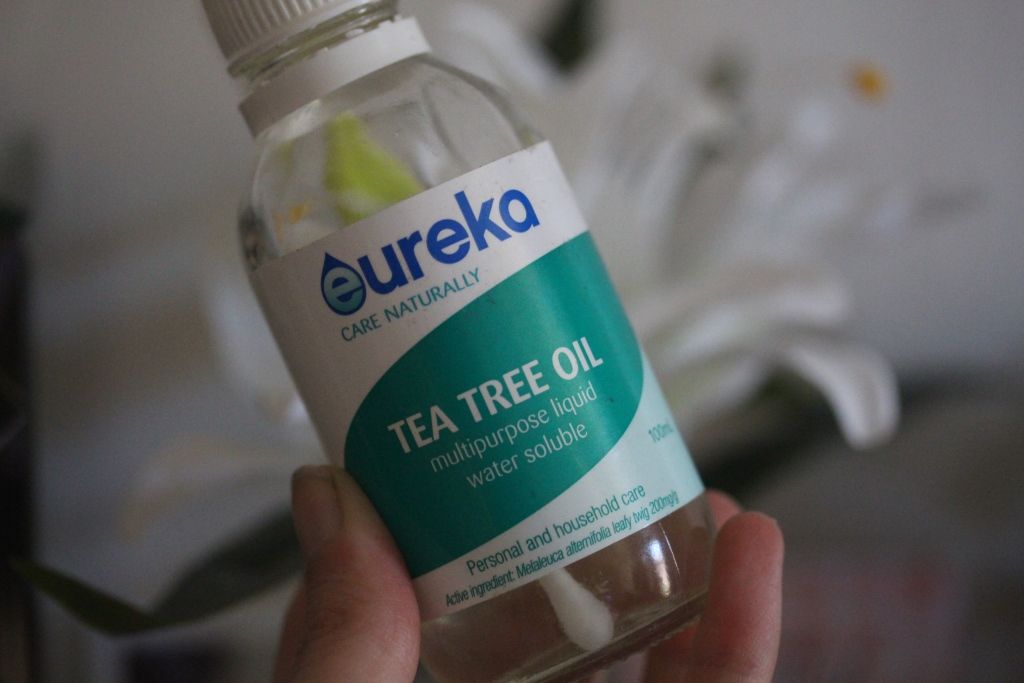
Just pour a little tea tree oil (non-diluted) onto a cotton pad or cotton ball (one that won't dissolve easily...don't use tissues!) and wrap it around the sticky mess. Leave for a couple of minutes, and then gently wipe down. 

Voila! All sticky residue gone!
Exhibit B:


Just like magic!

post signature

Twitter | Youtube | Instagram | Pinterest | Bloglovin
SHARE:

Saturday, December 14, 2013

Skincare Tips: Blackheads vs Sebacious Filaments

Have you ever gazed into one of those magnifying mirrors...or even a regular mirror...and been well and truly disgusted by what looks like a huge amount of blackheads covering your schnozz?
Have you ever used a pore strip on your nose, and been incredibly satisfied when inspecting it post-rip off, to find heaps of slimy little buggers embedded there?

Well...what I'm about to tell you will blow your mind. No, those are not blackheads on your nose. They are sebacious filaments. Everyone has them, they are never, ever going to go away and you're doing more harm than good worrying over them.

What is a sebacious filament?
Wikipedia's definition summed it up in a nutshell, so I'll just copy+paste that right here: "sebaceous filament is a tiny collection of sebum and dead skin cells around a hair follicle, which usually takes the form of a small hair-like strand". They allow the sebum a path from the pore to the surface. Basically, they are oil glands. Not so gross, right? 

The most comforting thing is that...
Every. Single. Person has these. And, in my experience, once you stop attacking and extracting them, they stop being so inflamed and you tend to notice them a whole lot less. 

How do I know if they REALLY are sebacious filaments or blackheads?
The general rule of thumb is that if they are the same size and shape as every other one on your nose / face, then it is most likely a sebacious filament. If it's bigger or a different shape than the others, it's most likely a blackhead. Also, blackheads are generally a lot darker than sebacious filaments. 

How do I get rid of them? 
Well, like I mentioned, you can't actually get rid of them. They actually form part of your skin. You can however, kind of un-clog them. To do this, you'll need to use chemical exfoliants, for example, fruit acids, or an AHA solution. Trying to squeeze them out, or using pore strips or any other irritating, harsh products will only irritate your skin and make them more noticeable. 
Sebum is only darker in colour once it oxidises (gets exposed to the air). By using harsh products and squeezing and pore-stripping you can actually damage your pores, make them larger, and create a larger surface area for the sebum to be exposed to the air. Thus, making them darker. You can also try treating the skin with benzoyl peroxide, which will lighten them and make them less noticeable. 
Of course, make up is also an option to hide them! 

post signature

Twitter | Youtube | Instagram | Pinterest | Hellocotton | Bloglovin
SHARE:

Thursday, September 19, 2013

At Home Manicure...in Minutes!

So here's a poem I wrote the other day:

I love painting my nails. 
I love nail polish. 
I hate waiting for the nail polish to dry. 
I hate when you think the nail polish is dry, then you touch something and it smudges, and the world ends all my hard work is ruined. 


Smudgy nail polish drives me effing mental. I thought I'd share what nail polish products I use to keep my nails healthy, and dry my at home manicures quickly. 


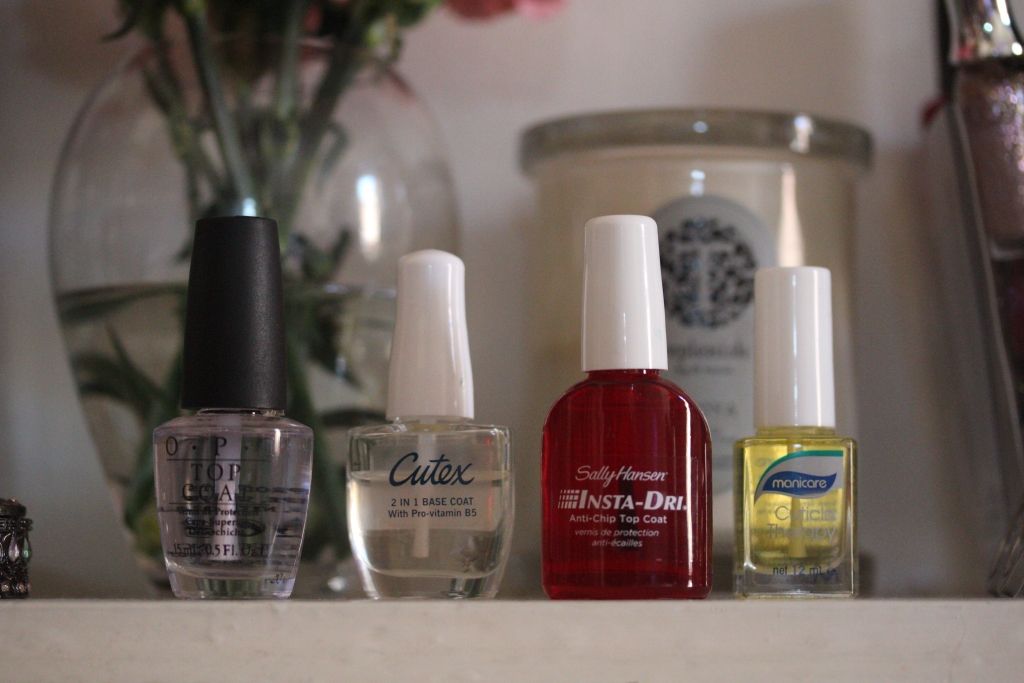
My nail painting arsenal. 


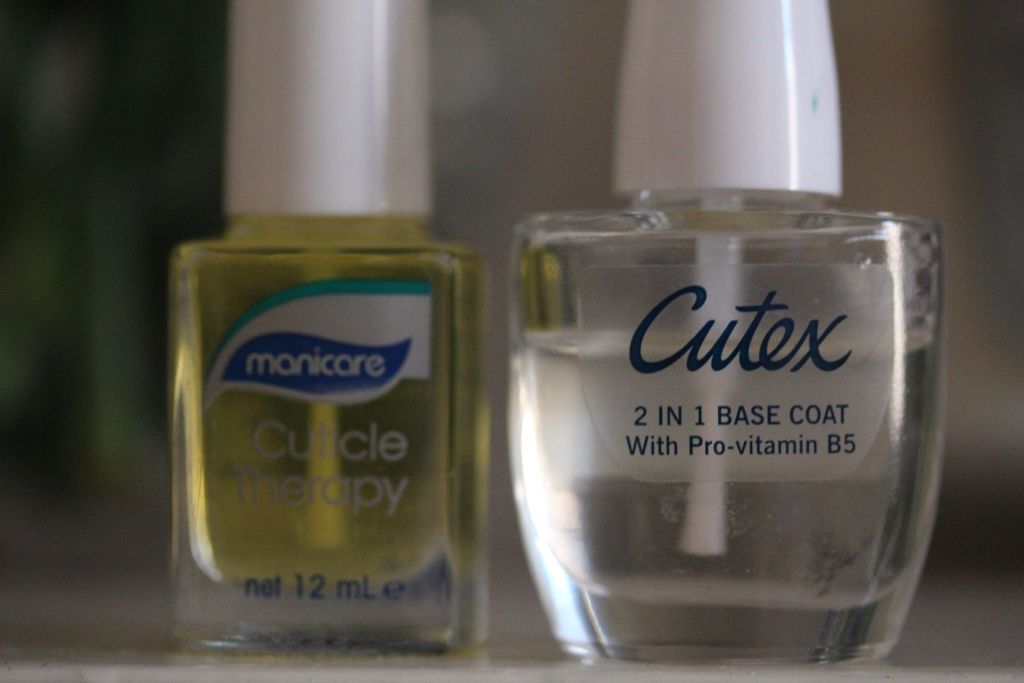
I always start my nail painting by rubbing some of Manicare's Cuticle Therapy into my nail beds. My cuticles and the skin around my nails gets quite dry, which causes wicks (which btw I totally just learnt the "proper" term for them is 'hangnail'....the more you know!) which are painful. So the cuticle therapy is like an oil that you massage into your nail bed, to keep your nails hydrated. 

Once that's rubbed in all good and proper, I apply a base coat. I love Cutex's base coats because they dry relatively quickly. The one I'm using at the moment is their 2-in-1, with vitamins to also nourish the nail. (Not sure if that actually does anything or if that's just a marketing tool) By the time I've finished base-coating the last nail, the first nail I painted is dry. 

Then I apply my nailpolish of choice! 


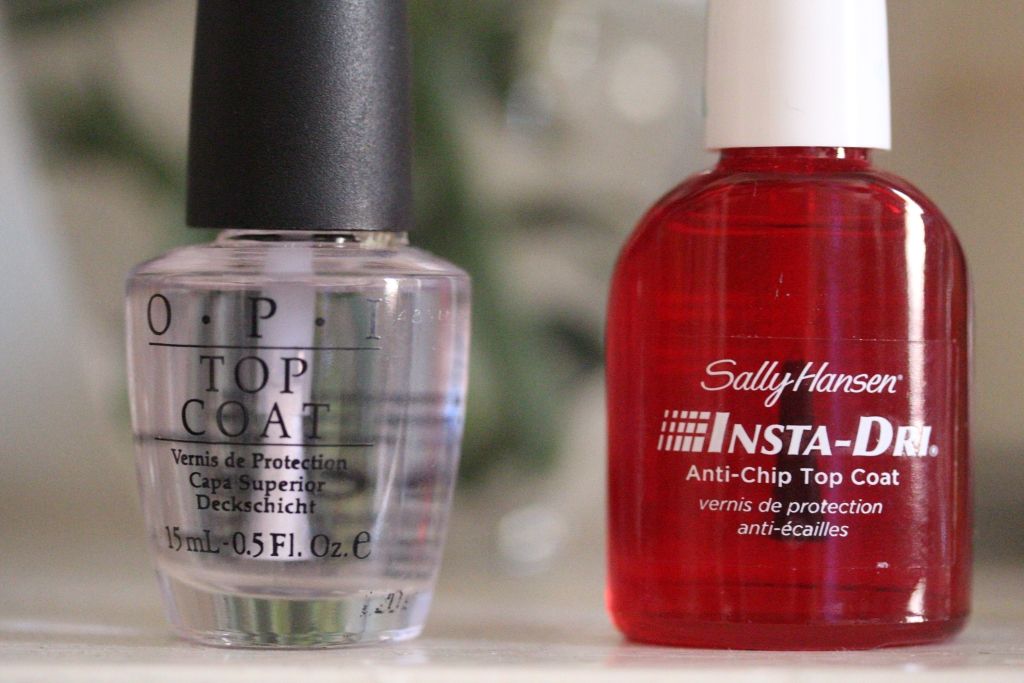
So once I've finished painting my final nail, I go over the top of the colour with Sally Hansen's Insta-Dri Anti-Chip Top Coat. This is not an "instant dry" formula by any means, but it is fast.
It takes less than 5 minutes to completely dry my nails. If I'm experimenting with multiple colour layers or 'nail art' (I only put that in inverted commas because I'm not that great at it) I'll wait for the next layer to dry and then seal it all in with OPI's Top Coat.

And that's it!

What products do you use when painting your nails at home?

post signature

Twitter | Youtube | Instagram | Pinterest Bloglovin
SHARE:
© Where is my mind?. All rights reserved.
Blogger Template by pipdig