
Today I'm hear to show you that firstly, no - being over-dressed is always better than being underdressed. and secondly, a neutral smokey eye can do wonders to brighten up and draw attention to your eyes.
Let's begin after the jump:
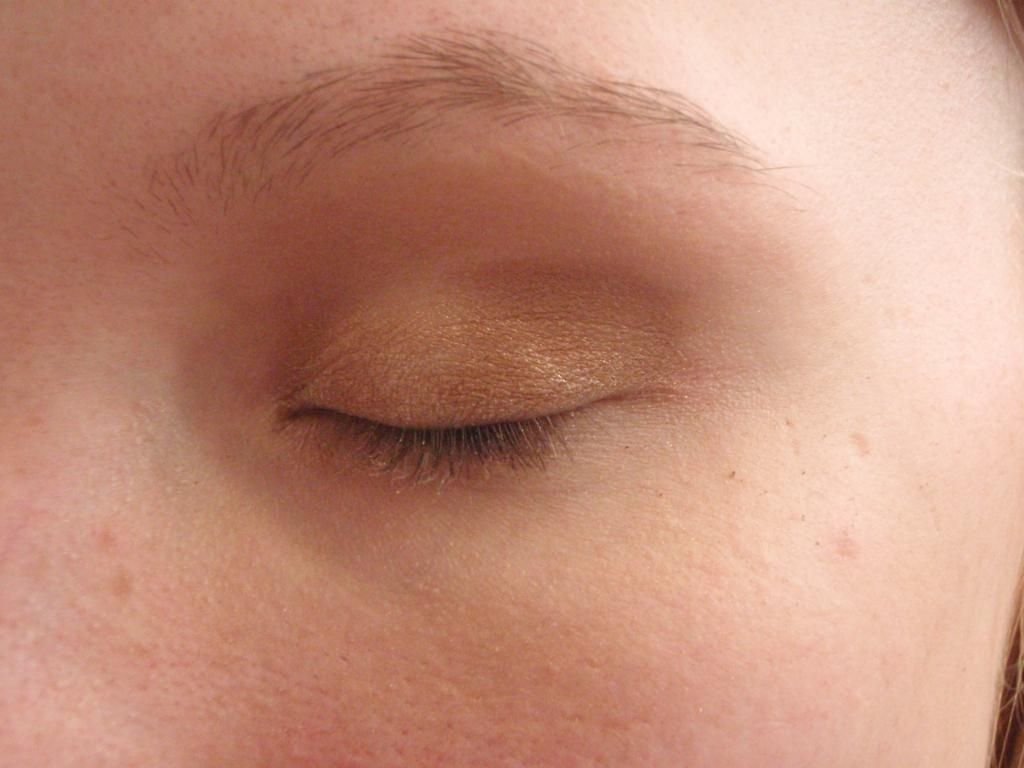
Okay, so let's start by taking a look at my tired eyes and face with no makeup on:
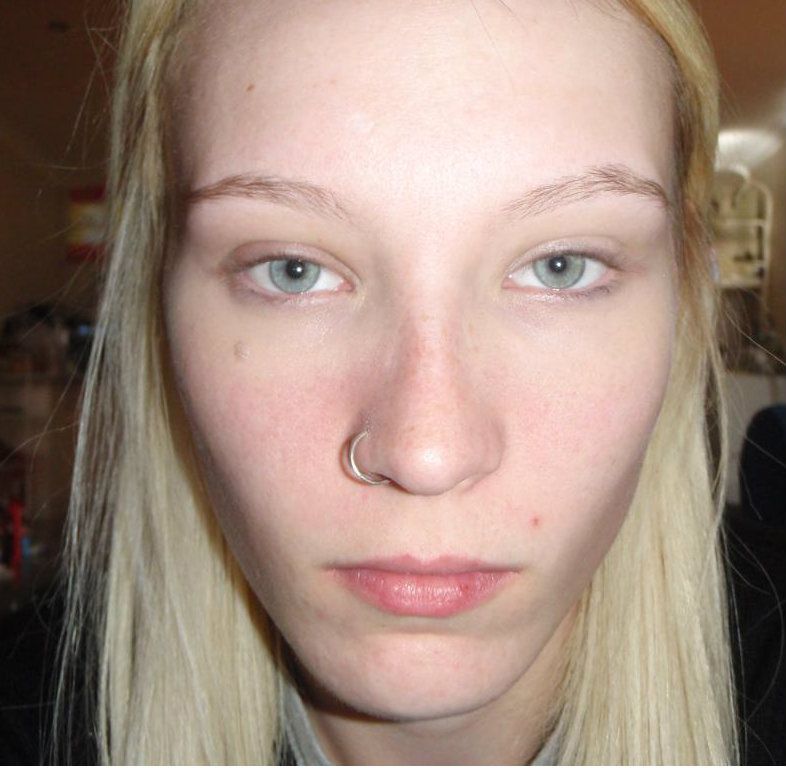
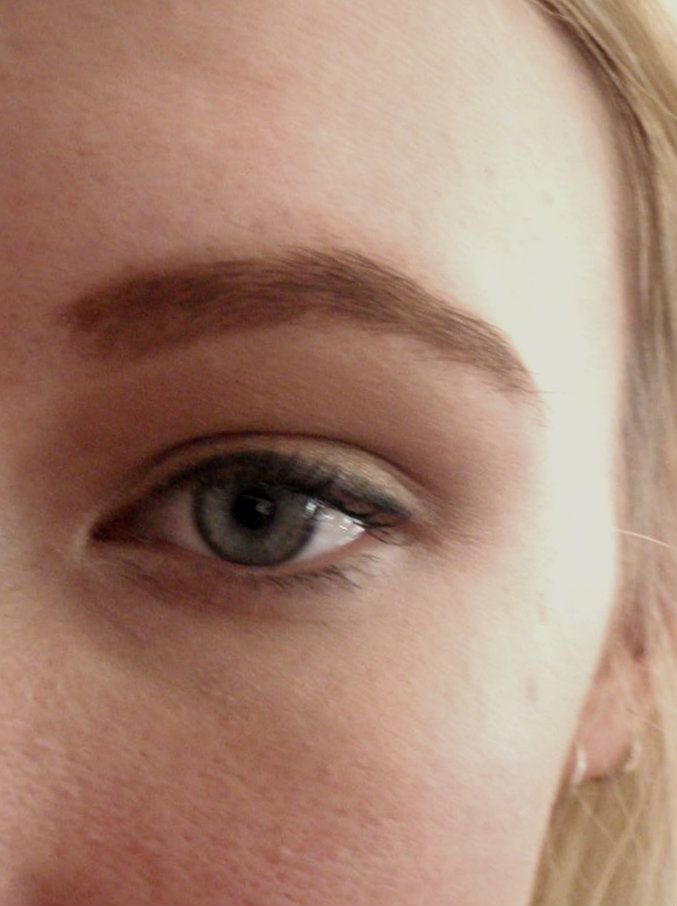
See, tired and uninviting, as opposed to:
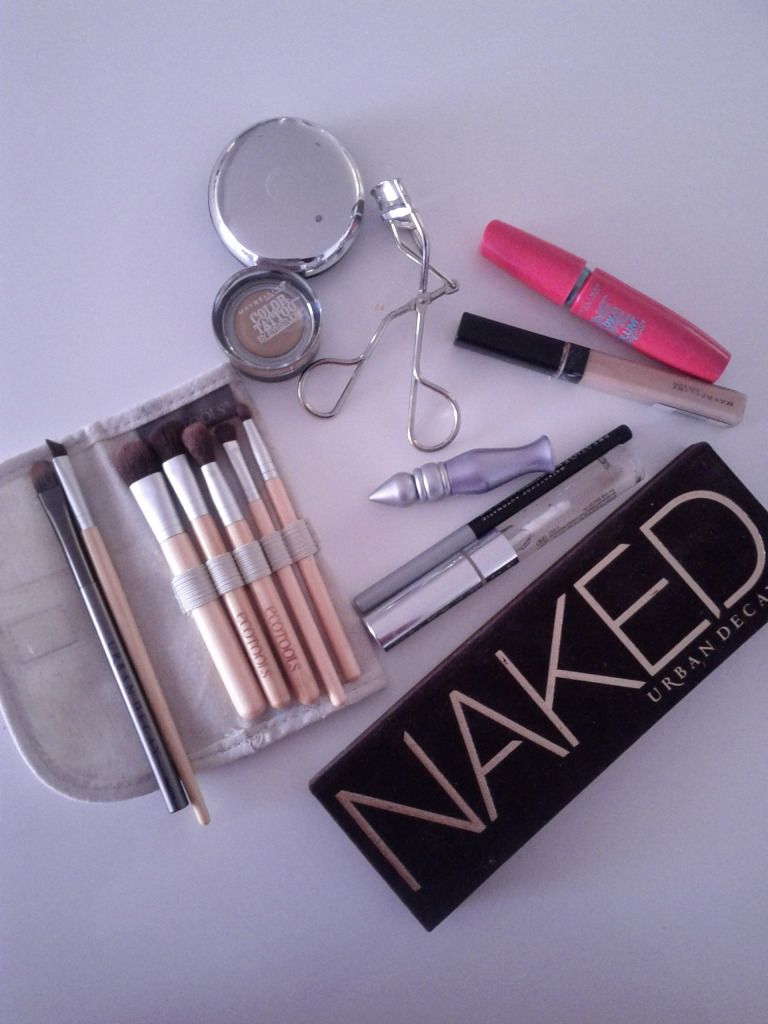
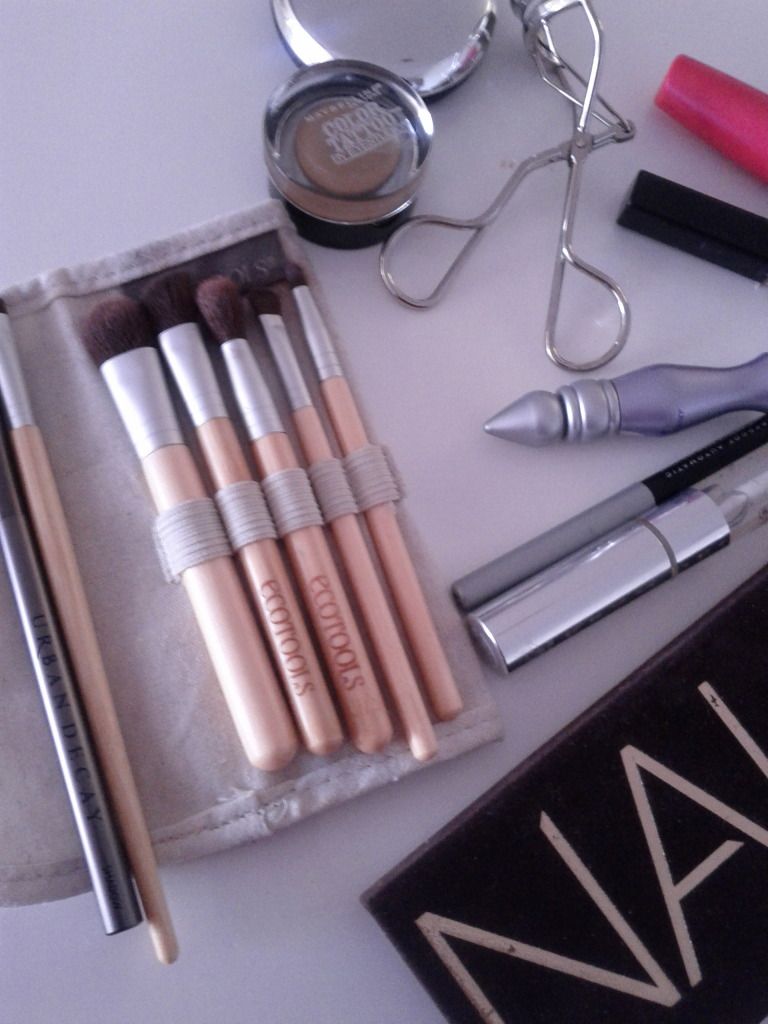
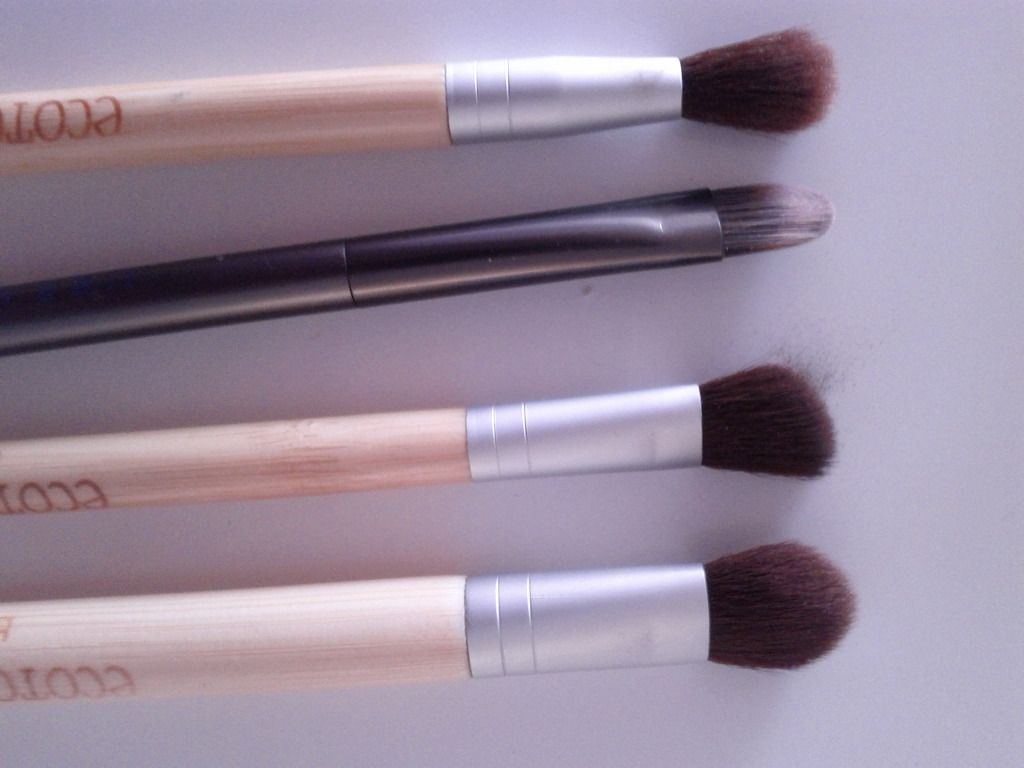
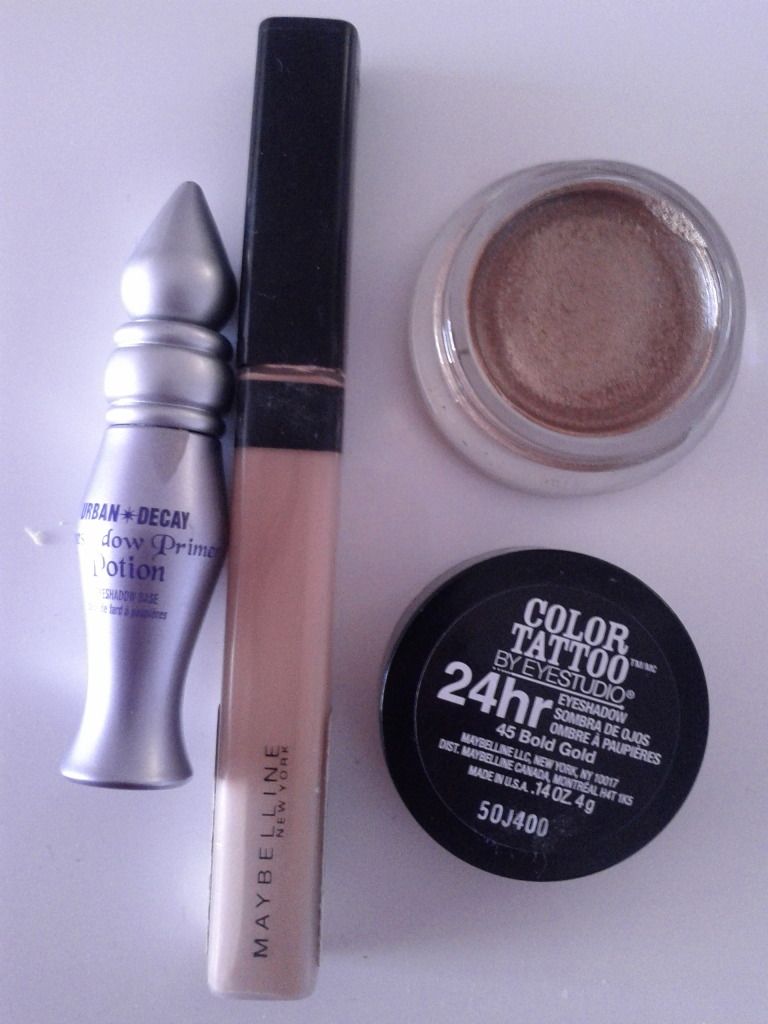
So let's take a look at the products I used to achieve this look:
Highlight - Base colour - Crease colour
Step One: Conceal and Prime
Conceal those under-eye circles, and prime those eyelids for some colour!
I use Maybelline's Fit Me concealer for my under-eye area as it has a slight yellow tone to it, which helps to combat my dark circles, and Urban Decay's "Shadow Primer Potion" - which I got with my Naked palette.
Priming is really important as it will help your eyeshadow last longer, will help prevent fallout and creasing. Magical, huh! If you don't have a primer then never fear - you could use some concealer or a cream based eyeshadow, such as the Maybelline Colour tattoos. I reviewed them here - but have not used them in the end look here. If you are thinking of using a cream eyeshadow as your base then just pick one with similar tones to the eyeshadow colour that will be your base colour.
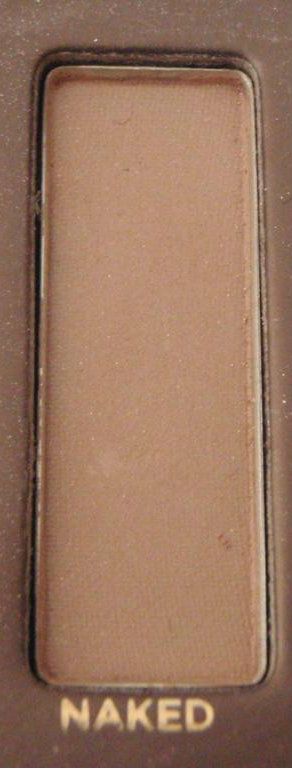
Step Two: Highlight
Choose a colour for your "highlight". I used "Naked" in the Naked Palette. If you don't have this, then just look for a beige, light brown or taupe-y kind of colour - depending on your skin colour. Ideally, it should be lighter than your base colour. Apply this all over the lid, going up to the brow-bone.
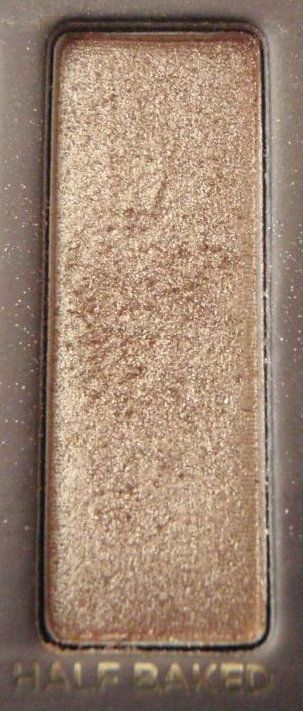
Step Three: Base Colour
You should have already chosen your base colour by now. I've chosen to use "Half Baked". It's a gold, shimmery colour.
I've found that with shimmery colours which may have a bit of fallout it's best to apply the colour by "patting" it onto the eyelid as opposed to sweeping it on. Holding a tissue under the eye can also help prevent it getting on your face.
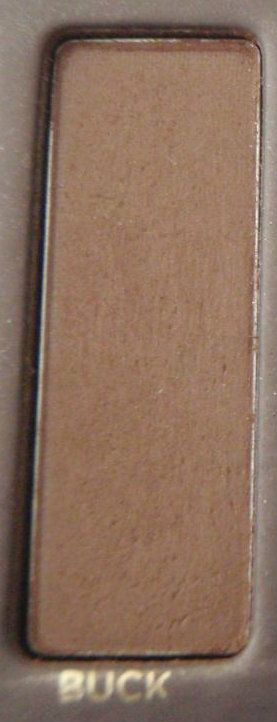
Step Four: Crease Colour
For the crease you want a colour that is darker than your base colour. Look at browns for this step.
I've chosen "Buck", which is matte. The crease colour will help to add definition to your eyes, as well as providing a slight gradient in colour.
Now as you can see in this picture, it looks a bit messy when you first put it on. The colours may not look like they go very well together at all, and you may be freaking out about just how dark this colour looks on you. But that's okay, because you're now going to blend the three colours together. You want to be able to tell where the general colour is placed, but not exactly where you placed your brush:

Step Five: Mascara / Eyeliner
Curl your lashes and swipe on your favourite mascara to really open up your peepers. Eyeliner is an optional extra, but if you go with it remember to only apply it to the top lid, close to the lashline and only from the outer-corner to about halfway in. Don't go all the way to the inner corner as this will close the eye off.
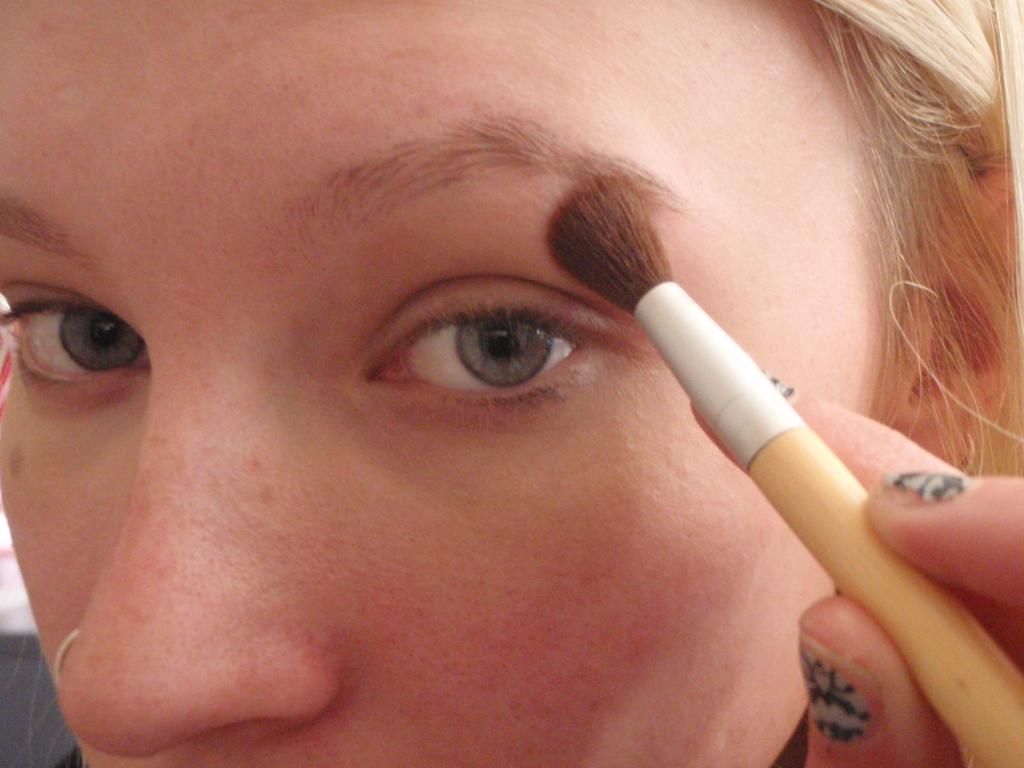
Step Six: Brows *optional*
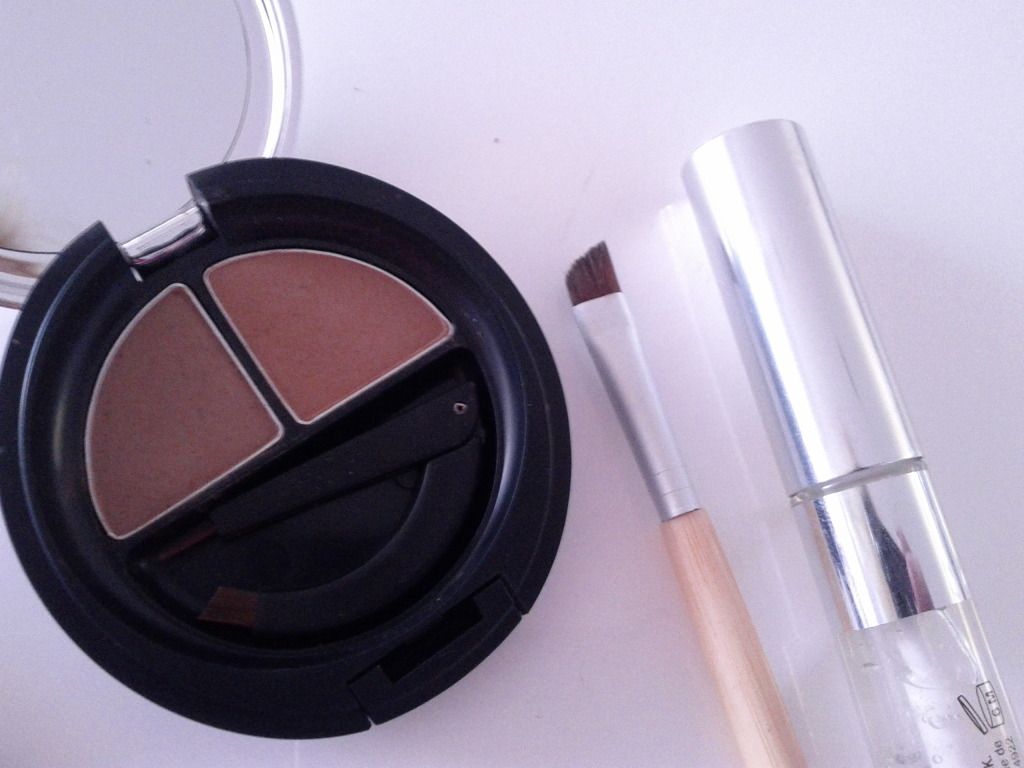
As a finishing touch, fill in your brows. This will help define the eye area and create a nice frame!
I use this brow kit from the Body Shop in "blonde", and apply with an angled brush. I then give a quick swipe with a clear lash & brow gel to keep my hairs in place.
And then you're done!
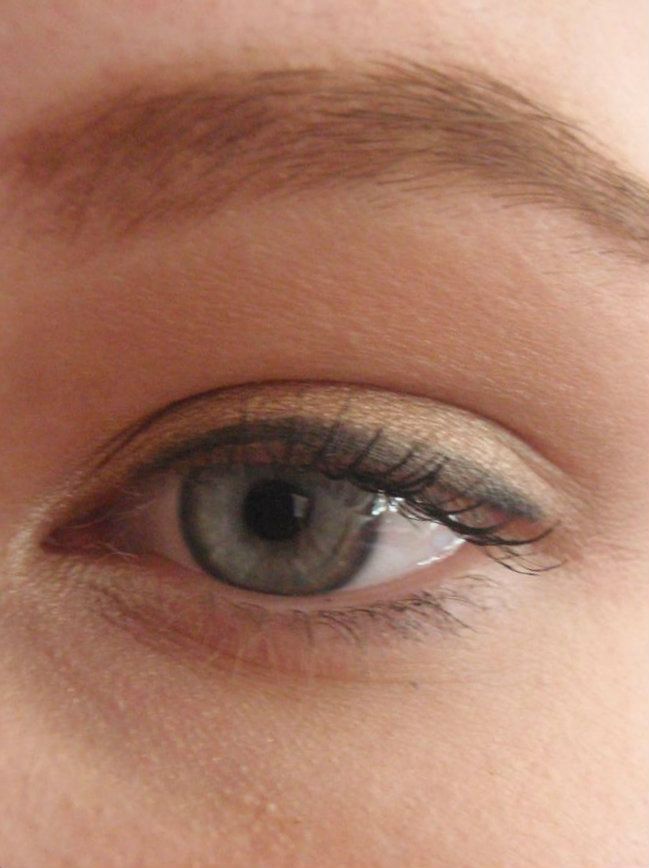
Six simple steps that can be rushed in the morning because you're using neutrals!
Let me know if you want me to post a video with more detail: e.g. which brushes I use etc.
I know that some people are visual learners so written instructions may not be very helpful.
What about you? Do you love the smokey eye? Are you a regular eyeshadow wearer?