Trending

Friday, August 23, 2013

6 Great Father's Day Gift Ideas!

Father's Day is coming up FAST...have you got your gift organised yet?
I've got some ideas below...you may either outright steal them (I won't tell, I promise!) or use them to get your own creative juices flowing!

father's day gift ideas

one
How about an ipod, or other musical player? Dads usually have a bit of a reputation for not being too tech-savvy. Ipods are so easy to use, ANYONE can operate them...I'm not even joking when I say that if my dad can, anyone's dad can. (My dad based the decision on which laptop to buy based on which one had the biggest keys for him...bless!)

two
Comic strip books are also a great idea! Zits is a great one for any parent...if you're not acquainted with it, basically it's about living with a teenager...as narrated by a teenager. Another reason why comic strips are so great, is because they're quick, require not much reading and are funny! Or you could make your own, by cutting out your dad's favourites from the paper and sticking them into a book...get really personal and add your own annotations!

three
Tool kits are a pretty standard dad's day gift...this one is a bit different though...it's a mini, all-in-one. Although it's technically a bike tool, it has a number of allen keys, and both types of screw-drivers, making it perfect for basic fixing-up around the house

four
If your dad's a suit, how about some gorgeous new stationery for him? This A4 leather compendium from kikki.K is currently on sale... and will give dad the perfect place to jot down meeting notes, and keep all those loose papers.

five
How about a bottle of his favourite expensive alcohol? I think the trick with this one though, is that you need to then volunteer to come around and have a glass with him. Although gifts are great, and everyone loves getting them, I think the most important thing that all parents want is to spend more time with their kids. ESPECIALLY as their kids get older and move out and get their own lives...

six
This is the adult version of the DIY gift you would give as a child! I found this one on pinterest, and it's been doing the rounds lately. Basically, use a sharpie to draw, write, decorate a plain ceramic mug, bake in the oven for 30 minutes at 220C (pop the mug in while the oven is still cold) and voila! Cool, personal gift!
Check out this blog post for awesome tips and instructions!

What are you getting Dad for father's day??

post signature

Twitter | Youtube | Instagram | Pinterest | Bloglovin
SHARE:

Monday, May 27, 2013

My Week in Pictures # 31


I've spent a lot of this week relishing in the colder weather...I've pulled out my thick PJ's and pretty much living exclusively in them. I have not been loving the rain though, and was really happy the sun was out on Sunday so I could go for a long bike ride. 

I've been catching up on Game of Thrones (finally!), and Dany is absolutely my favourite character on television ever. 

Over the past few weeks I've had quite a few low days, and getting way too caught up in my own negativity. So I bought this 'gratitude' journal from kikki.K. I don't necessarily fill it out every day, but I make a special point to fill it out and concentrate on the good things in life on those days that I don't feel so great. I really believe in the power of thought, and so far it's helping. 


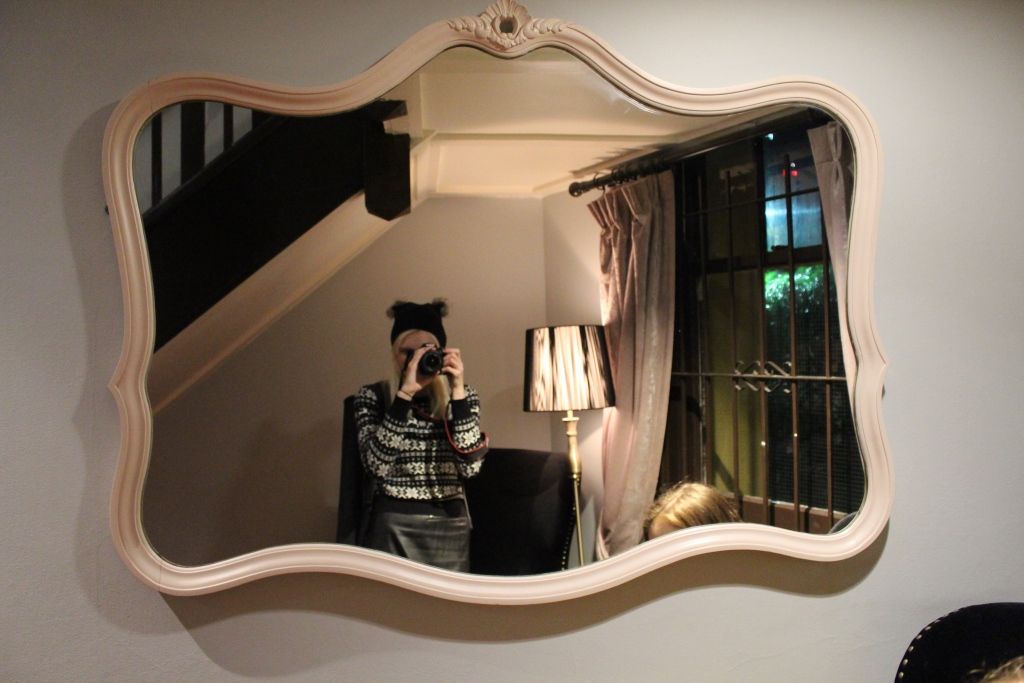
Went out with a couple of girls from work last night, to Circular Quay. I am  in love with this sitting area outside the bathrooms at the pub we went to, and I want that mirror. 


We checked out Vivid, a light show that's on in Sydney at the moment, and I practiced playing around with nighttime long exposures.

We also spent some time checking out the birdcage installation;


So pretty when it's all lit up at night, and it has a very whimsical feel to it. 

I love Sydney. 

Have you been to Vivid before? What did you get up to this past week?

post signature

Twitter | Youtube | Instagram | Pinterest | Hellocotton | Bloglovin
SHARE:

Tuesday, April 23, 2013

My New Journal


So, recently I've gotten back into journalling. I try and record an entry every day, but sometimes I don't do much or I just plain old forget. 

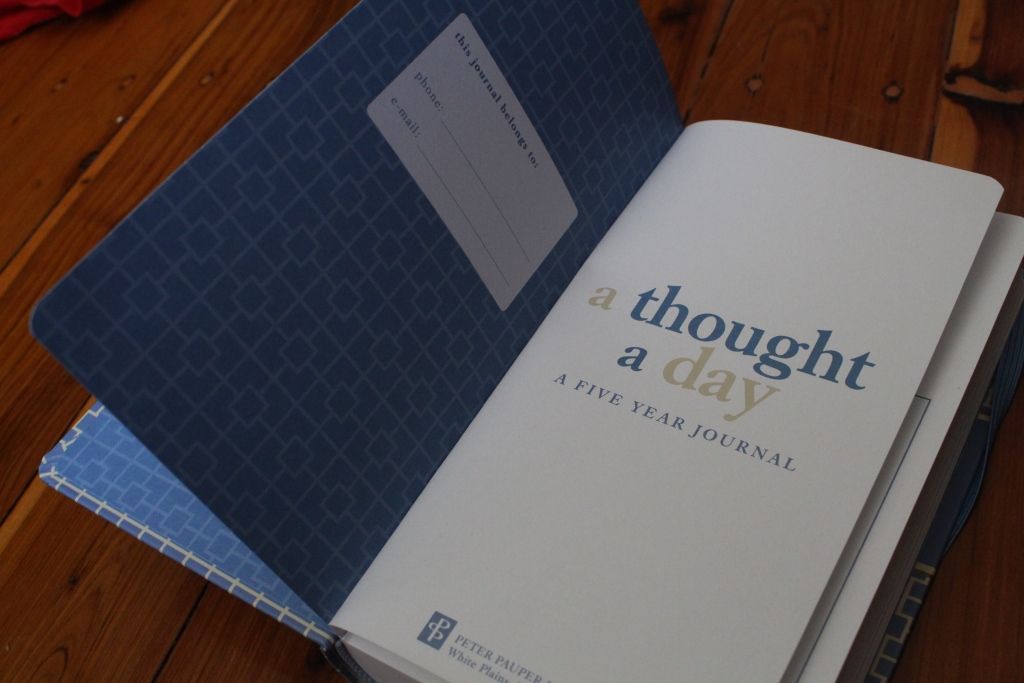
I picked up this "a thought a day" journal in Dymocks the other week, and have been loving it so far. 


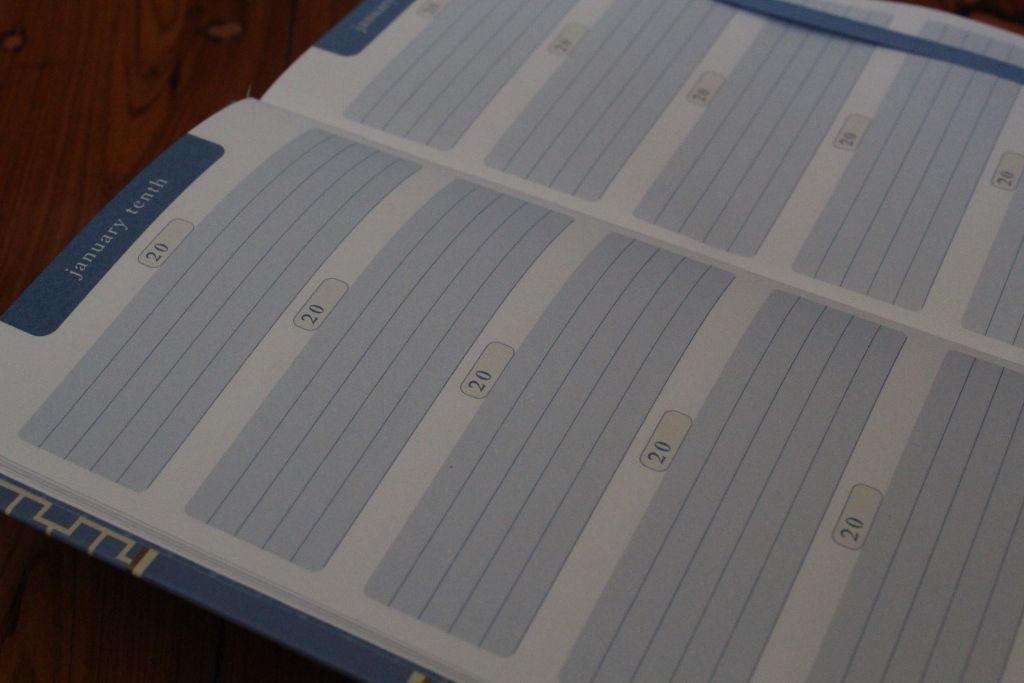
The premise is simple; write down one thought a day, for five years. I love that the small writing space means there's no pressure to write a lot...I can literally right a sentence if I feel like and I don't feel like I've "wasted" an entire page. I still use my "page a day" journal to write more detailed entries, but I'm loving this as a "snapshot" of my days. I also love that you keep this for five whole years. I can't wait to see what I'm writing years from now and how I change as a person. 


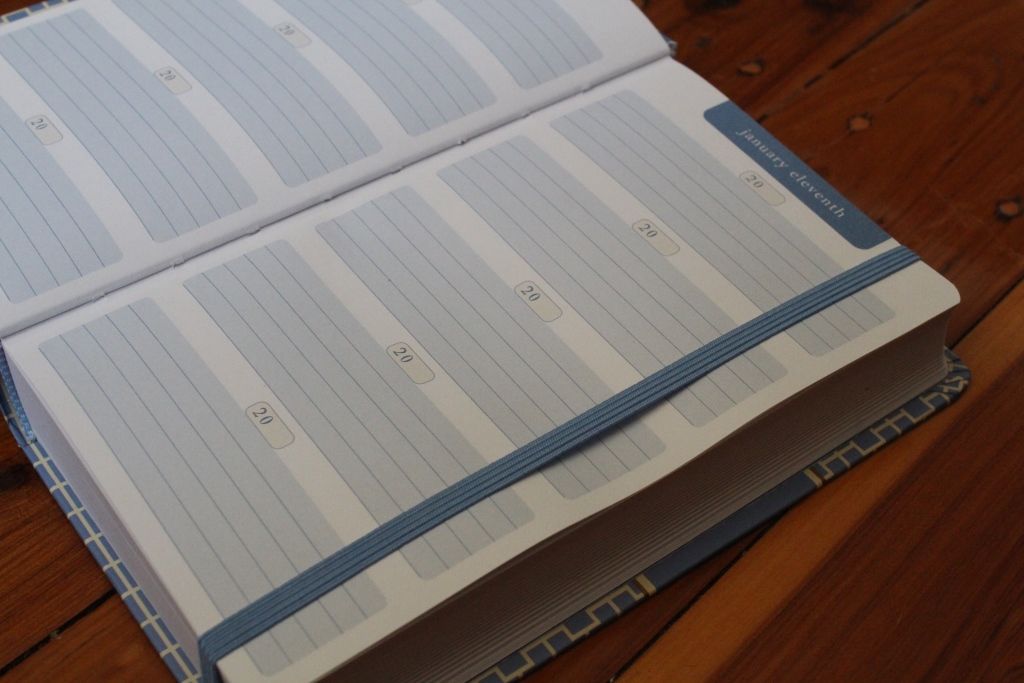
The book design is really simple. As you can see in the above images, each date gets its own page, with every year getting its own paragraph. Finish off the "20..." with whatever year, write down your thought, and turn the page. I also love the elastic band place holder. 


So far I've kept it up every day. Let's see how long that lasts.

Do you like journalling? Do you like reading back on things you've written in the past, or is that too cringe-worthy?

post signature

Twitter | Youtube | Instagram | Pinterest | Hellocotton | Bloglovin
SHARE:

Monday, December 3, 2012

Christmas Gift Guide...for her!


Following on from my Christmas Gift Guide...for him I present to you, the Christmas Gift Guide...for her.
P.S. I love everything in this collage...so if you're looking for a pressy for me *hint hint* hehe!

Girls are so much easier to buy for than guys, but if you're still stuck for ideas, how about something like this:

Christmas Wish List


1. Candles - Almost every major candle company release special limited Christmas edition candles around this time of year and they make perfect gifts! I love these ones from Ecoya, but Glasshouse also do some great smelling ones.
2. Make-Up - If you're not sure what specifically, then a best-seller like the Urban Decay Naked 2 palette is a great idea. Most make-up counters have really helpful staff, so don't be afraid to go in and ask!
3. Skincare - I've included a photo of the Dermalogica Pre-Cleanse because I've fallen in looooove with it, haha, but some great skincare is appreciated by almost everyone!
4. Clothes - You could go with something festive, like a holiday themed shirt or jumper, or something like shorts or a classic blazer. Spikes are sooo in at the moment, and totally not goth at all (14 year old me was so ahead of the fashion, clearly).
5. Tea - T2 have some beautiful tea gift sets for tea enthusiasts of all ages.
6. Stationery - I really don't know many people who don't like nice, quality stationery. If the lady you're buying for works in an office or is going back to uni next year, think about investing in some nice stationery for them!

Anything here catch your eye? Is there a particular lady in your life who is hard to buy for?

post signature

Twitter | Youtube | Instagram | Pinterest | Hellocotton | Bloglovin
SHARE:

Tuesday, October 16, 2012

Nails of the Week #4

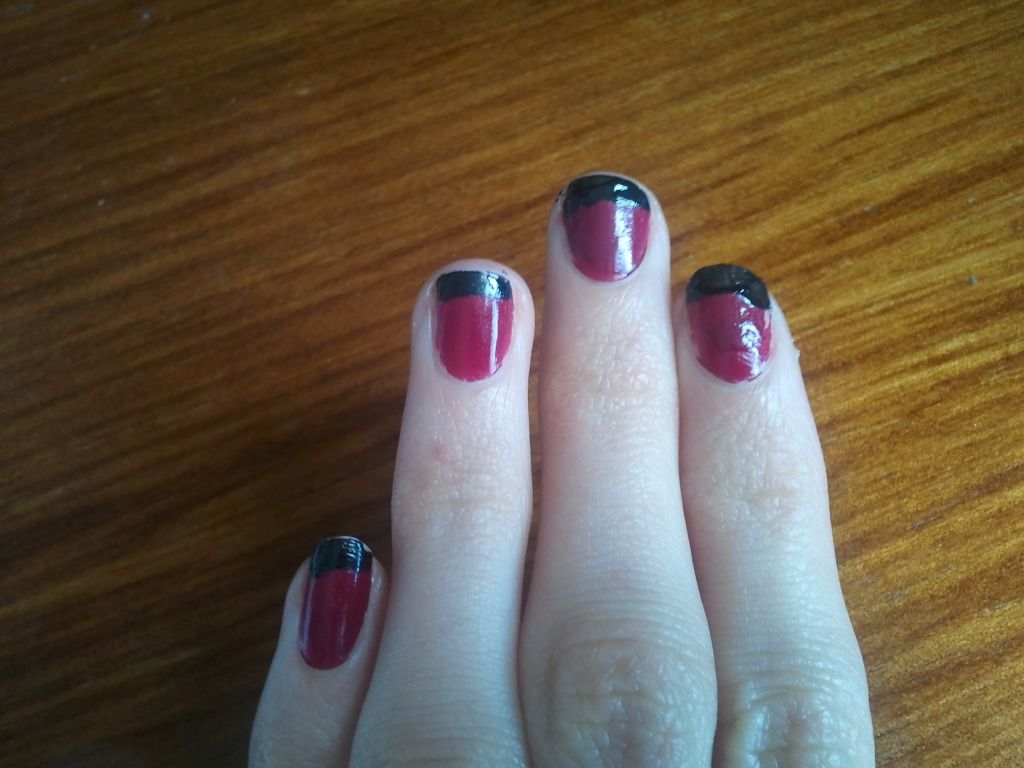
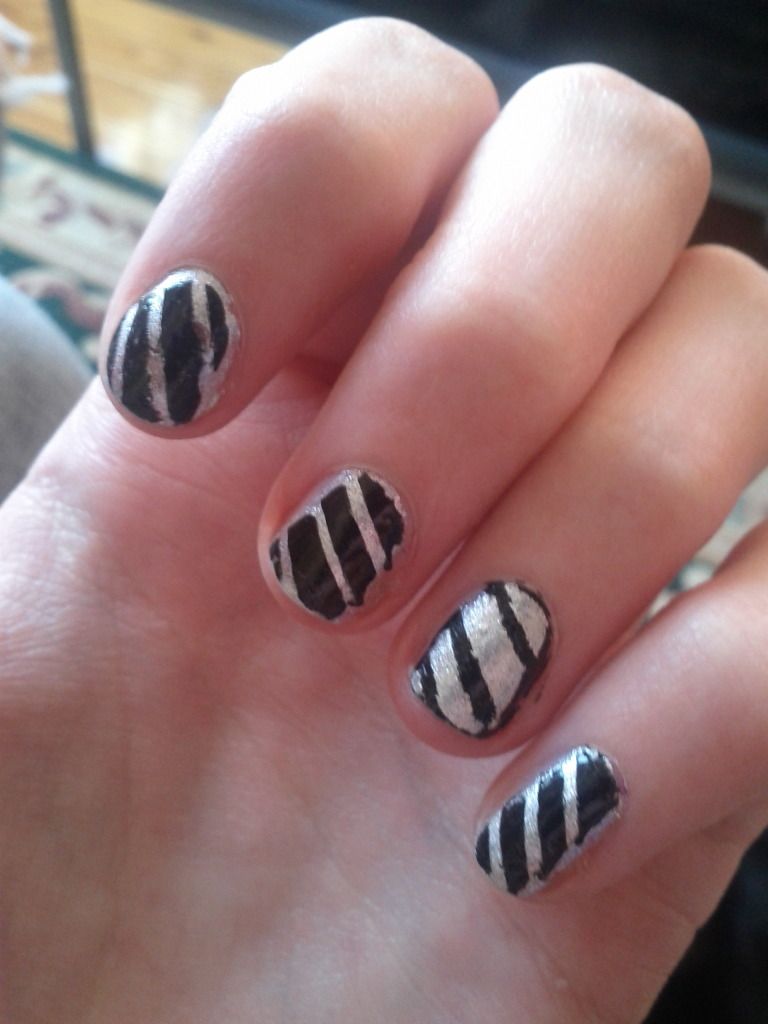
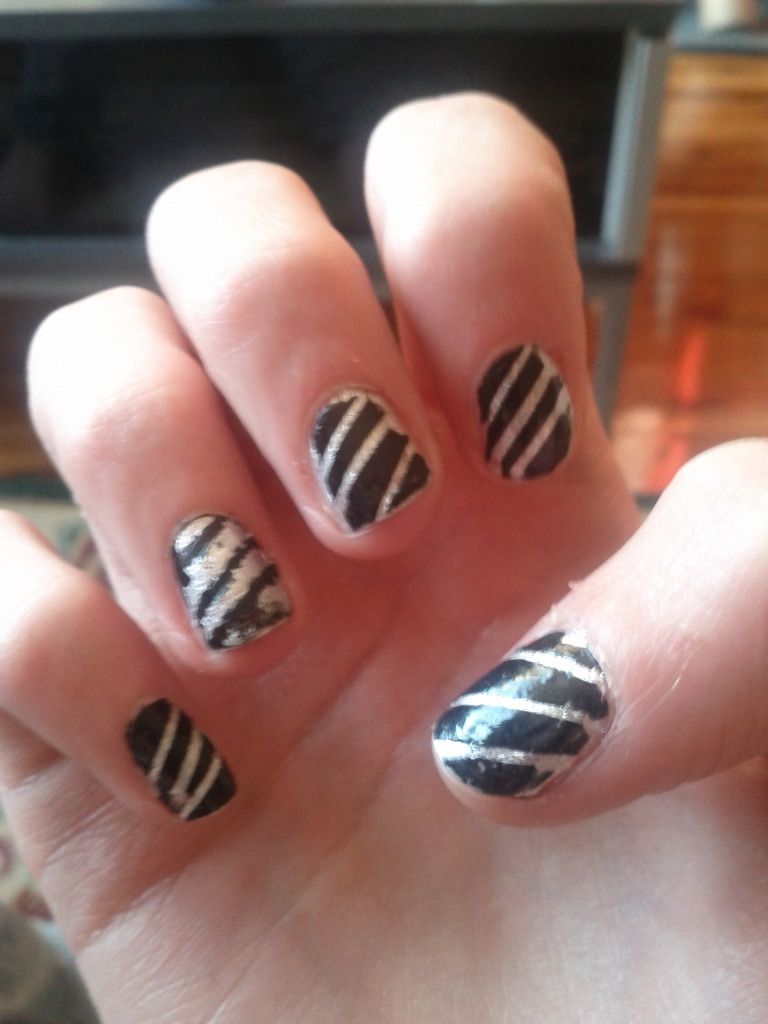
This week on my nails I'm sporting a bit of a twist from your classic 'French Manicure'. Take a look:


Excuse the slight messiness on some of the nails. I'll explain below why it didn't turn out perfect, how you can create the look yourself, and what not to do (so yours turn out better than mine!)
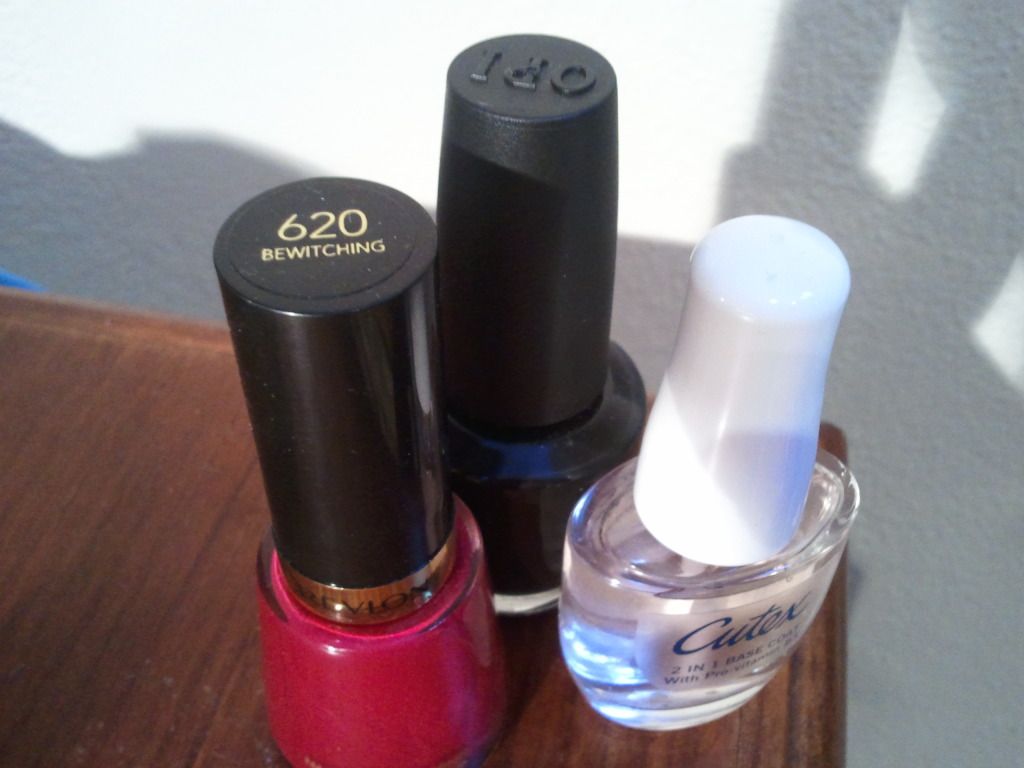
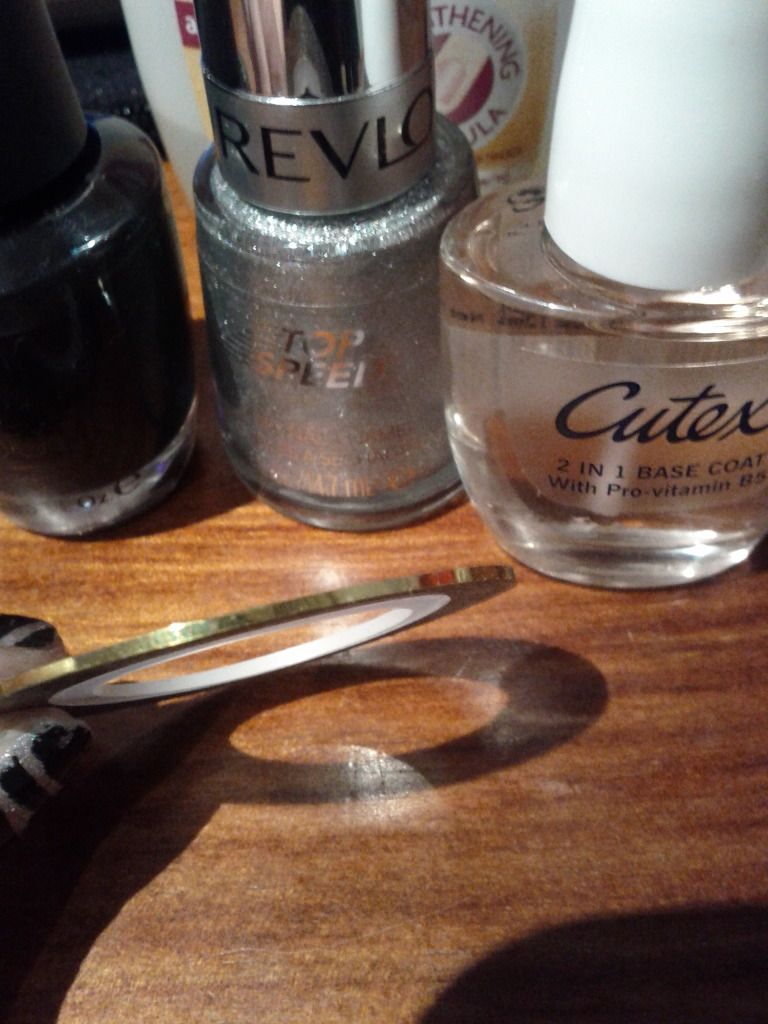
But firstly, these were the colours I used:

 
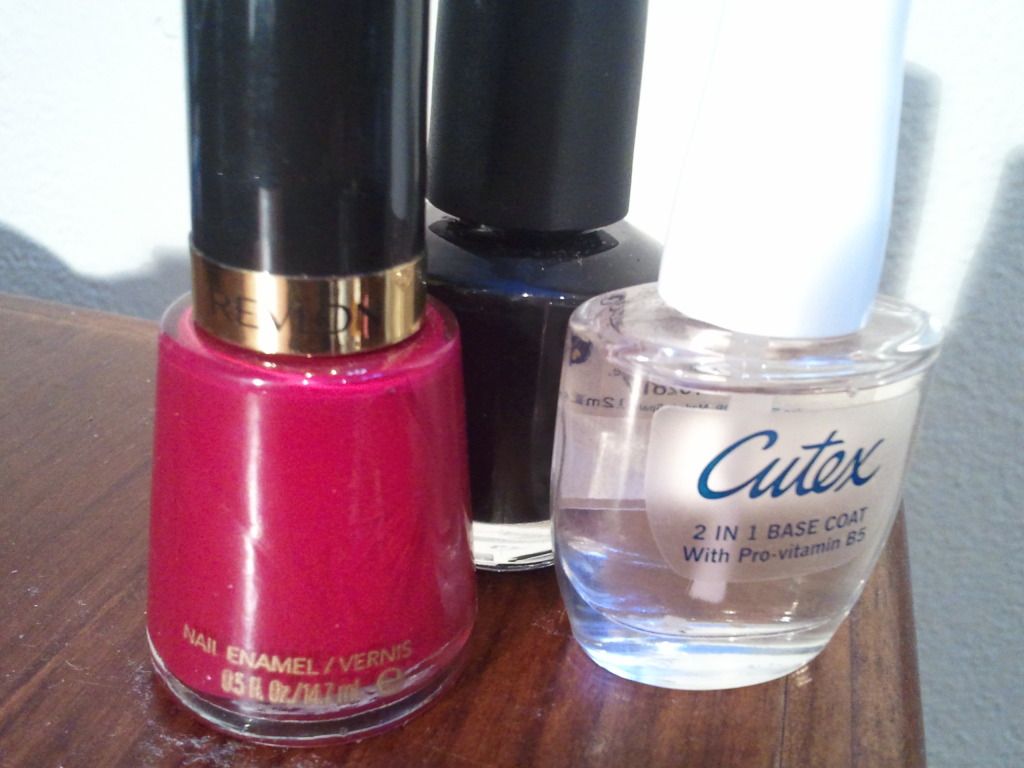
Cutex 2-in-1 base coat, Revlon 620 "Bewitching" and O.P.I "Black Onyx". 

You can use any colours you want, but I find using two colours that really contrast against eachother work really well. 

How to do it:

1. Firstly you're going to want to make sure you have no excess nail polish on your nails, and file and shape them. Then add your base coat. I always, always, always apply a base coat every time I paint my nails. Not only does it make your nail polish last longer by creating a smooth base but it also stops discolouration of your nails. 

2. Then apply your base colour. I'm using "Bewitching" by Revlon. 

Don't worry too much about messiness at this point. You can go back and remove excess nail polish on your fingers with a cotton bud dipped in nail polish remover. 

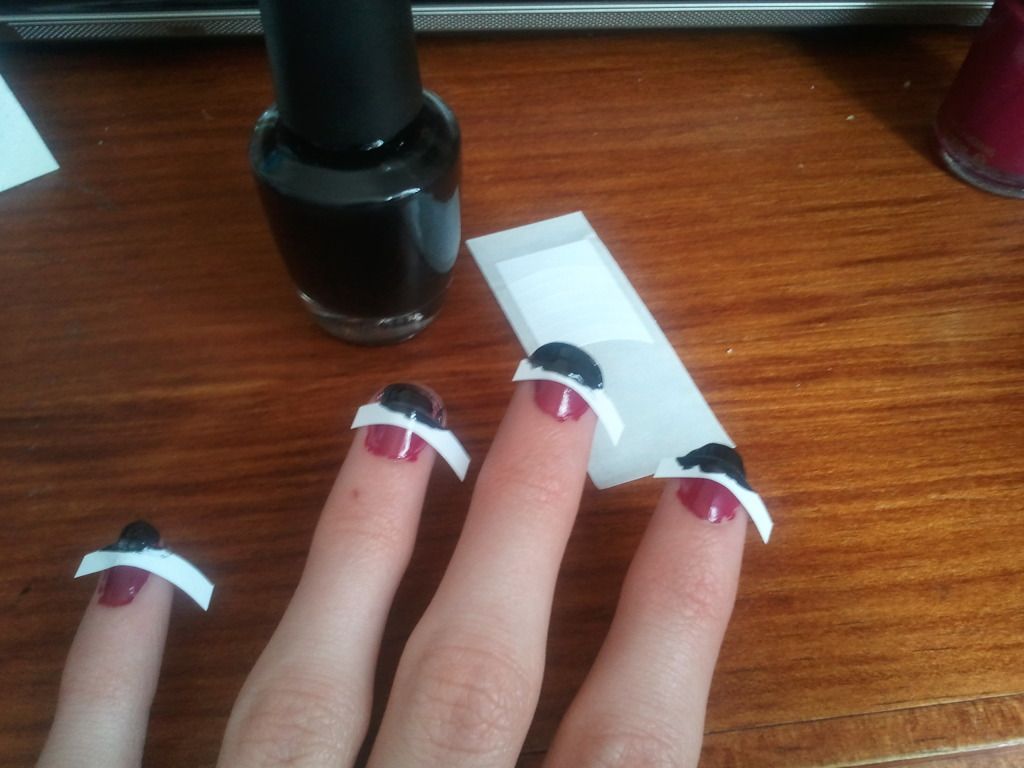
3. Wait at least 20 minutes for that colour to dry thoroughly. Then, apply some tape at the tips of your nails. Leave enough room to create a noticeable line. 


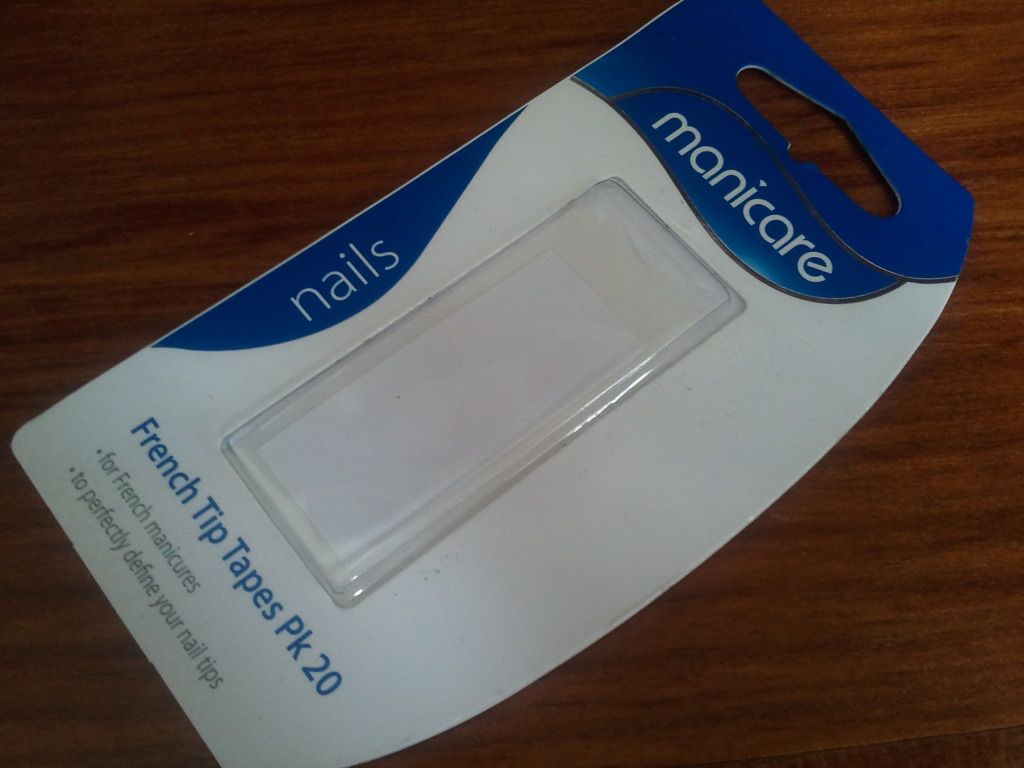
I used this french tip tapes by Manicare, but honestly you could use masking tape. Just make sure you cut a nice 'half moon' shape. Whatever you do use though, the trick really is to make sure it's not too sticky. 

4. Wait again, until that colour is completely dried, and carefully peel the tape off. Voila! Clean off the excess polish, apply a top coat and you're done!


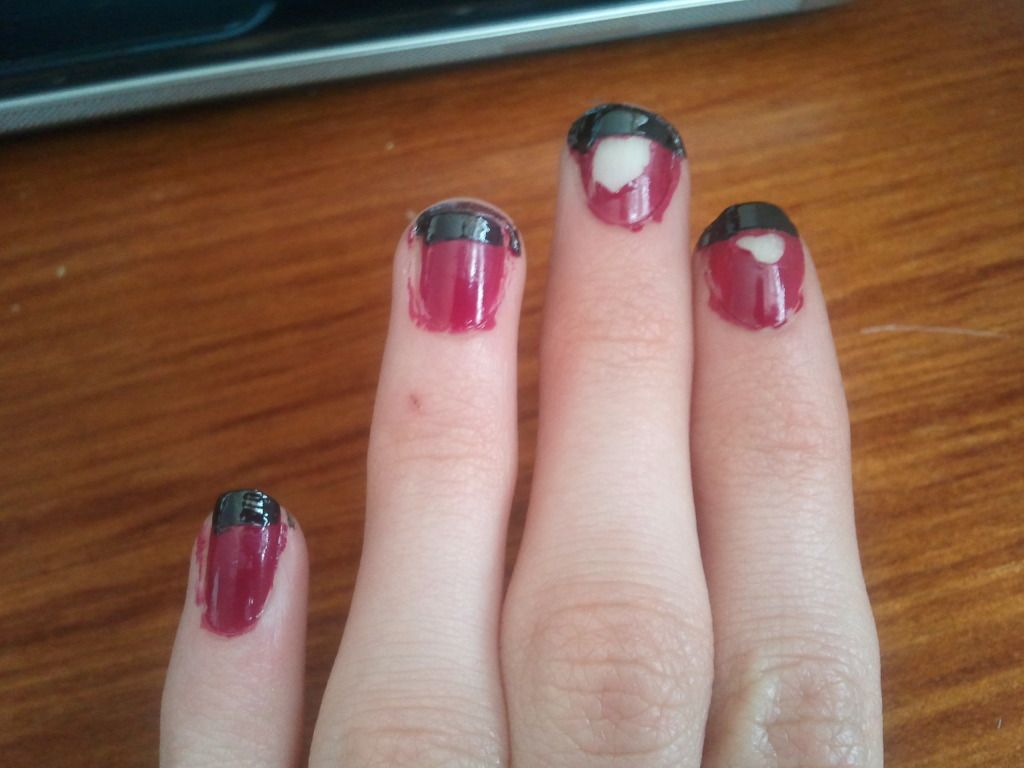
I really need to stress how important it is to wait until the nail polish is completely dry. Otherwise the tape will  lift up the colour and you'll be left with something ugly like this:


Honestly, I don't know if I would re-purchase those Manicare tapes for this type of french tip. On the packet, they advise that you paint the tip white, then go over with the light pink. Obviously that's not really going to work if you're using two bright colours, which is why I did my base coat before the tips. They are a bit too sticky and do tend to rip the polish right off. Obviously this creates an issue when you go back and repaint it. Too much polish layered on top of eachother just makes it more likely to chip, and in this case - this look didn't really last that long.

When I try it again, I'll probably stick to masking tape.

What's your best "french tip" tip? Do you go for the more subtle pink / white look, or do you prefer bold, dramatic colours?

\ post signature

Twitter | Youtube | Instagram | Pinterest | Hellocotton | Bloglovin
SHARE:

Saturday, October 13, 2012

TAG: 5 Minute Makeup Challenge!

I've decided to do the 5 minute makeup challenge tag that's been floating around Youtube.
(In other news: check out the massive bitch face going on in that thumbnail!)

It's exactly what it sounds like; do a full face of makeup in 5 minutes or less. The challenge was a bit easier than I thought it would be, but you definitely feel a bit pressured as the timer counts down!


Check out how I went here:


How long does it take you to put on make-up in the mornings? 

post signature

Twitter | Youtube | Instagram | Pinterest | Hellocotton | Bloglovin
SHARE:

Tuesday, September 25, 2012

The Hair-care Series Part One: Organisation

INTRODUCING...

THE HAIR-CARE SERIES. 

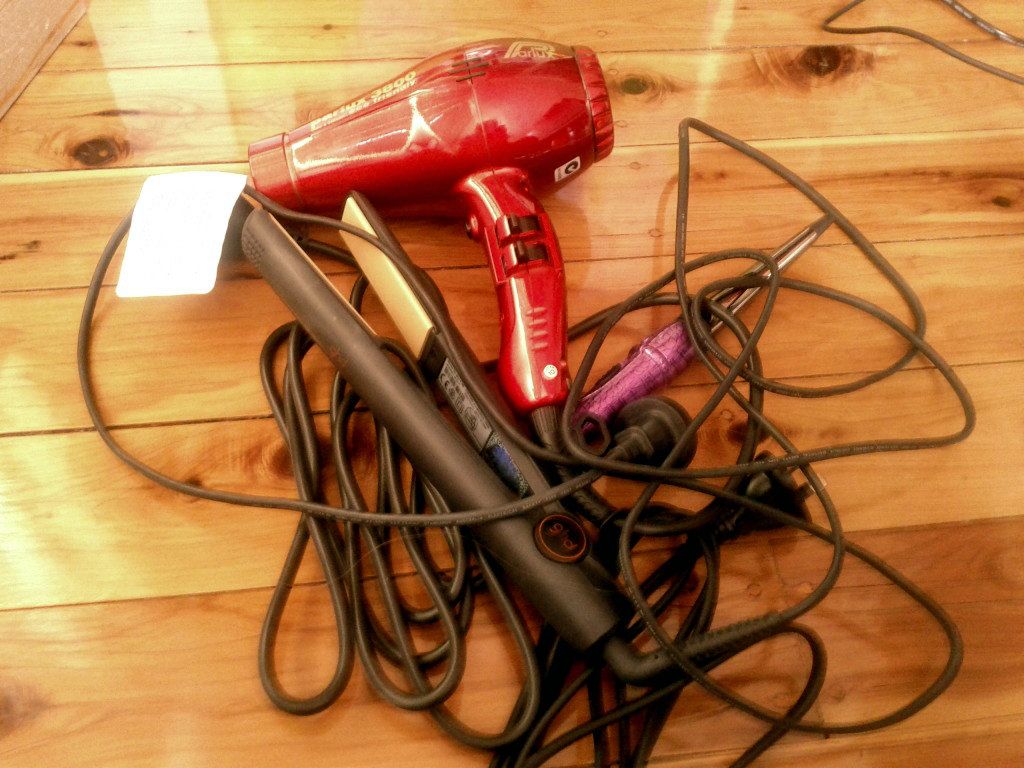
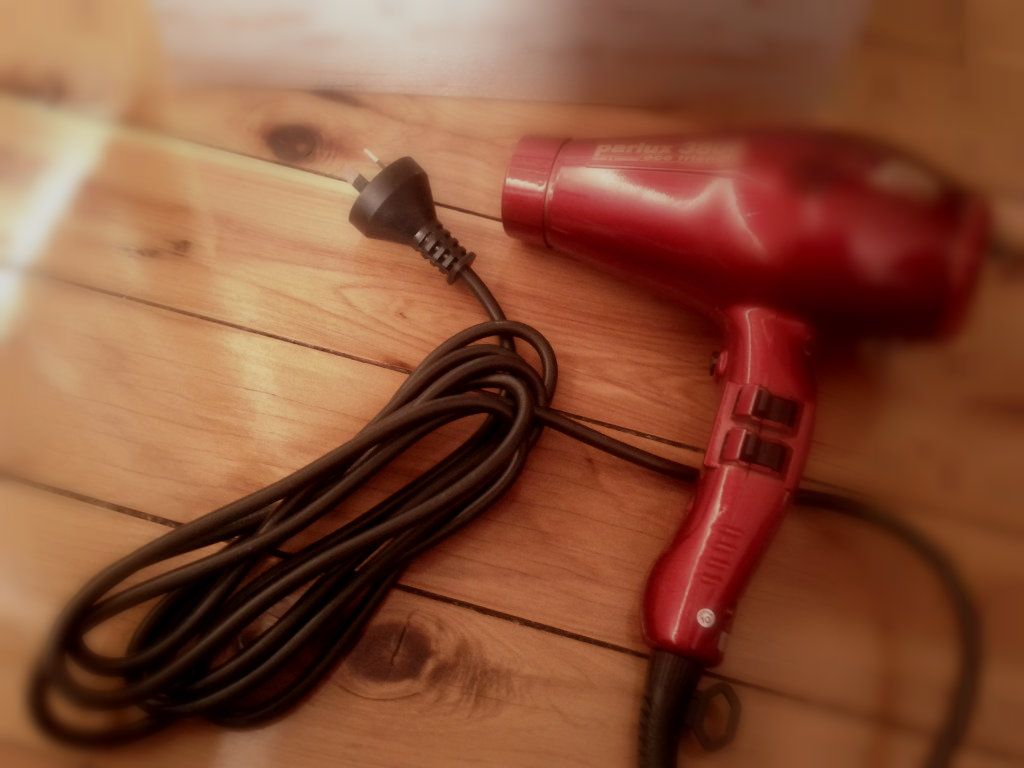
For the next few weeks, I'm going to do regular posts related to haircare. I get asked a lot in real life about how I keep my hair shiny and healthy, so I'm going to share my secrets with you all in the form of a series of posts. For the first 'episode' I'm going to cover organising your hair appliances. The apartment I live in has virtually zero storage - the bathroom also has no powerpoints and a tiny, shitty mirror. So you can imagine the issues I have with doing my hair. For ages, my appliances were tucked under the coffee table looking like this:


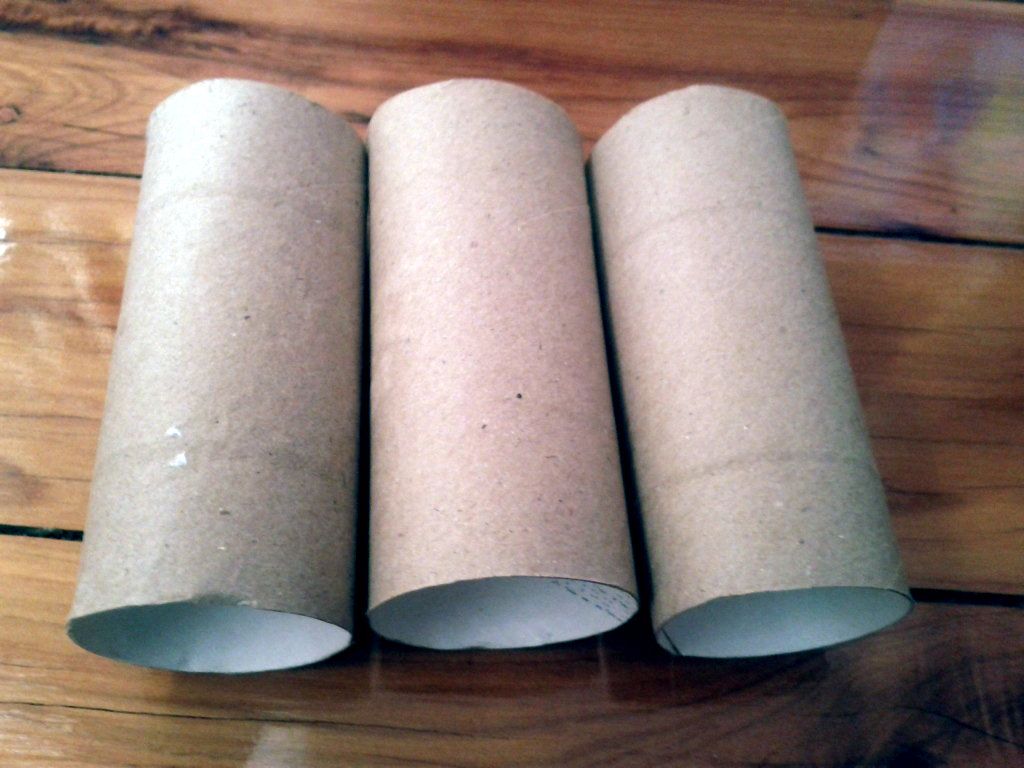
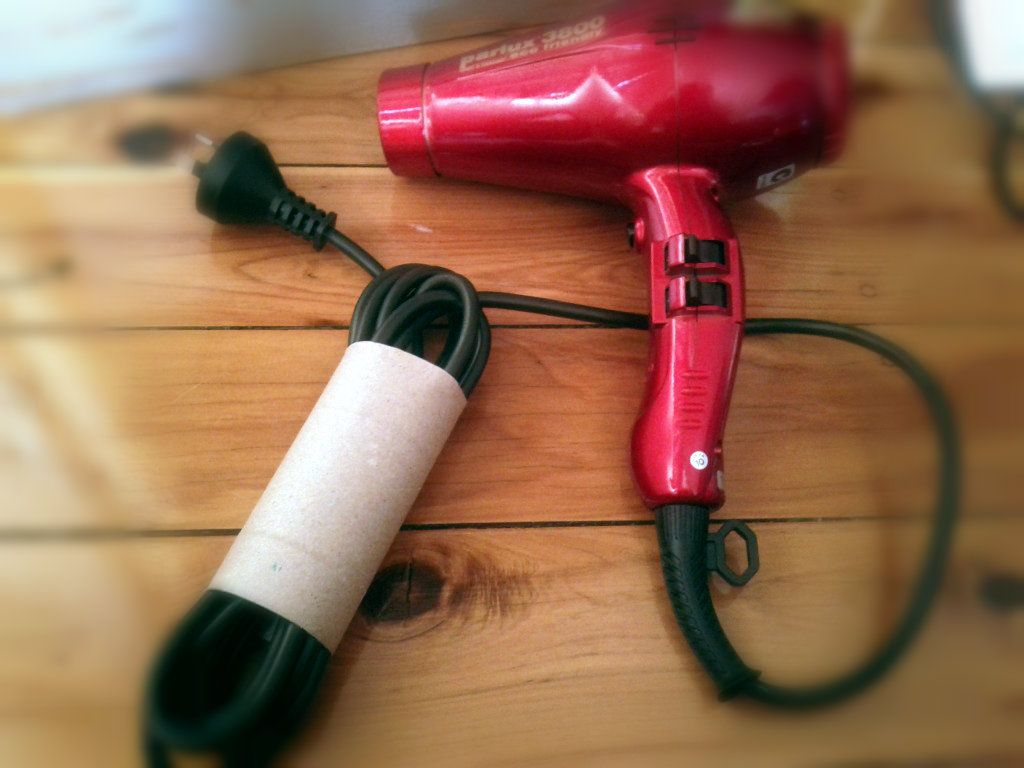
and although I'm probably the only one who just shoved their appliances under furniture, I bet I'm not alone in battling with the mess that is cords. Why can't appliances be wireless already!? So one day, when cleaning out my bathroom, I noticed I had a bunch of old toilet rolls and realised they would be perfect for cord-keeping:


Just wind the cords up, slip the toilet roll over the top and your cords are instantly organised and immune from tangling! Just make sure that you live a bit of slack where the cord starts from the appliance - you don't want to bend this too much or it will lessen the life of your appliances. 
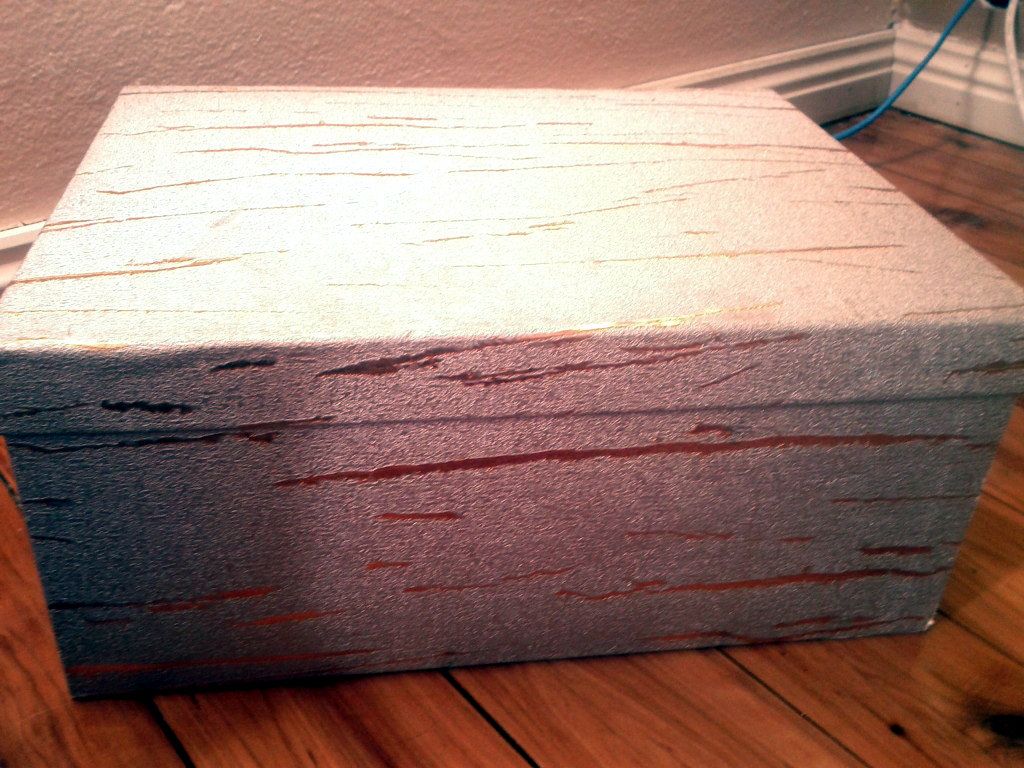
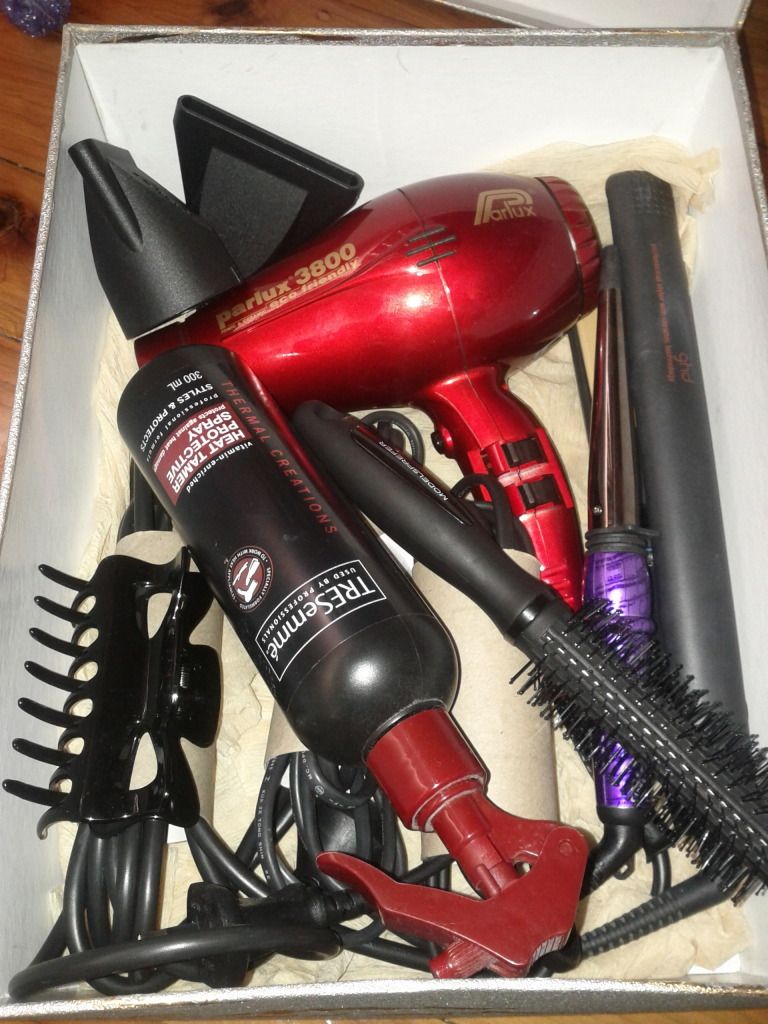
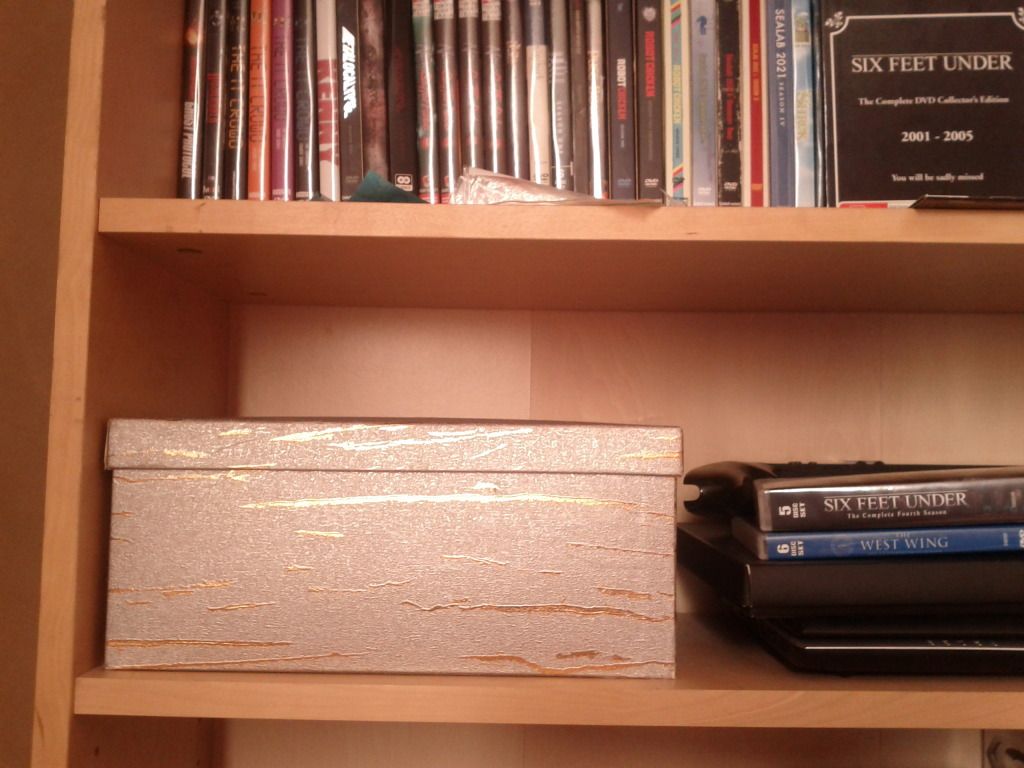
Now on to storage! My sister gave me this beautiful box for my birthday, and I've used it to now house my hair appliances: 


As you can see, everything fits in there neatly and easily, the cords are free from being tangled with each other and I can easily grab my appliance and go. I also keep my heat protector spray, a round barrel brush and a hair clip in there as well - everything I need to blow dry and style my hair. The thing that works best about this 'system' is how easy it is to maintain - it takes less than 2 minutes for me to wrap up the appliance cord and shove the toilet roll back on when I'm done. 

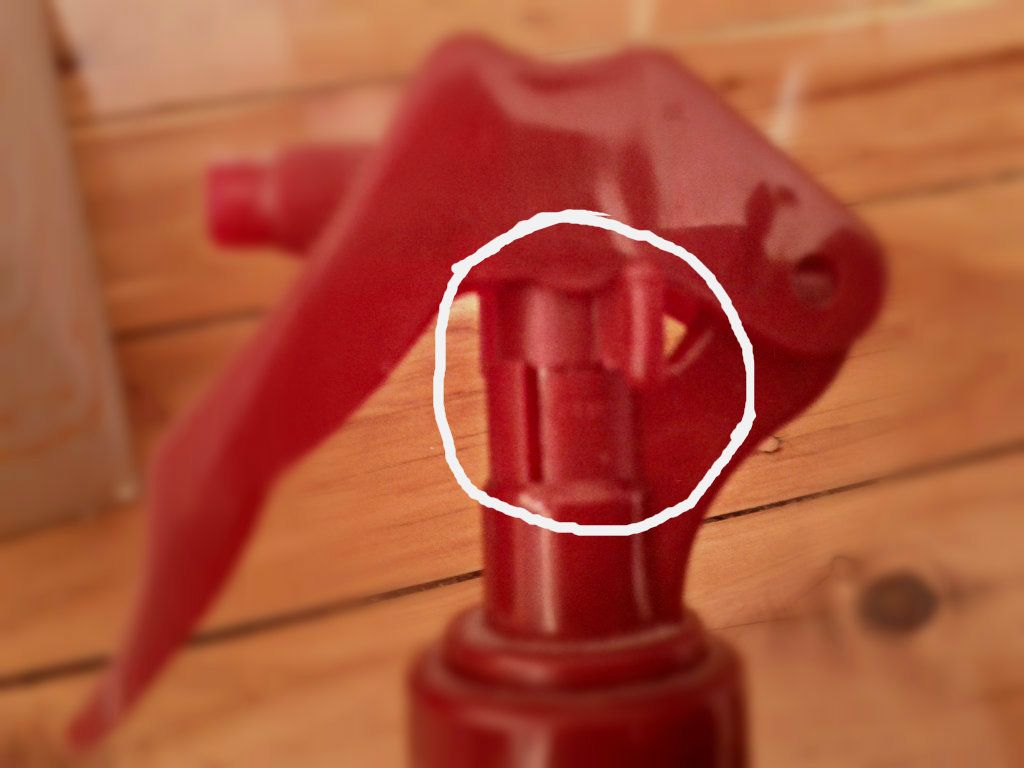
Just a tip with keeping in sprays / liquids: most packaging of these products will give you the option to 'close' the spray / nozzle. Make sure you do that before you pop it back (especially if it's laying flat) to keep it from leaking / spraying everywhere. 
I've included an image below to show you where to look. Obviously it will differ between products, but it's more or less the same. In the image below the setting is 'closed'. If I were to move the toggle to the slit, it would be open and the trigger would be able to be pulled. 


The best part about using this box is that when I'm done with it I can easily just store it on the shelf and it looks nice and tidy:


So there you have it! That's how I organise my hair appliances! 

How do you organise yours? Are you lucky enough to have drawers and powerpoints in your bathroom? 

post signature

Twitter | Youtube | Instagram | Pinterest | Hellocotton | Bloglovin
SHARE:

Tuesday, September 11, 2012

Spring! - Fashion Inspiration

How great has the weather in Sydney been lately? In my opinion, Mid-20's are the optimum temperature - the "Goldilock" temperature; not too hot / not too cold. Just warm enough.

Anyway, it's got me thinking about a new S/S 2012 Wardrobe. I don't currently have a lot of colour in my wardrobe, and most of my clothes are geared around A/W. So for that reason, I've been procrastinating like a motherlover having a bit of a play on Polyvore and cooking up some inspirational moodboards to get me in the mood for Spring dressing! I don't have very much any money at the moment, so for now these are just ideas, but hopefully soon I'll be able to save a bit of money and get some more season-appropriate clothing.


Spring has sprung


spring


What key pieces are in your Spring / Summer wardrobe?


 post signature

Twitter | Youtube | Instagram | Pinterest | Hellocotton | Bloglovin
SHARE:

Saturday, September 8, 2012

Nails of the Week #2


For something a bit different, I used Revlon nailpolish in 860 “Metallic”, OPI’s Black Onyx and some nail tape to create this design. This is my first real attempt at nail art and I’m pretty happy with the results. J seemed very impressed at my efforts, although there were definitely some messy lines and some smudging, but I know what to do in future to prevent that from happening. 


Let me know if you would be interested in nail tutorials – they’re a lot of fun and I’d love to post some (if there would be interest for it!)


post signature


Twitter | Youtube | Instagram | Pinterest | Hellocotton | Bloglovin
SHARE:

Saturday, August 25, 2012

Beauty Tips: Cleaning Your Brushes

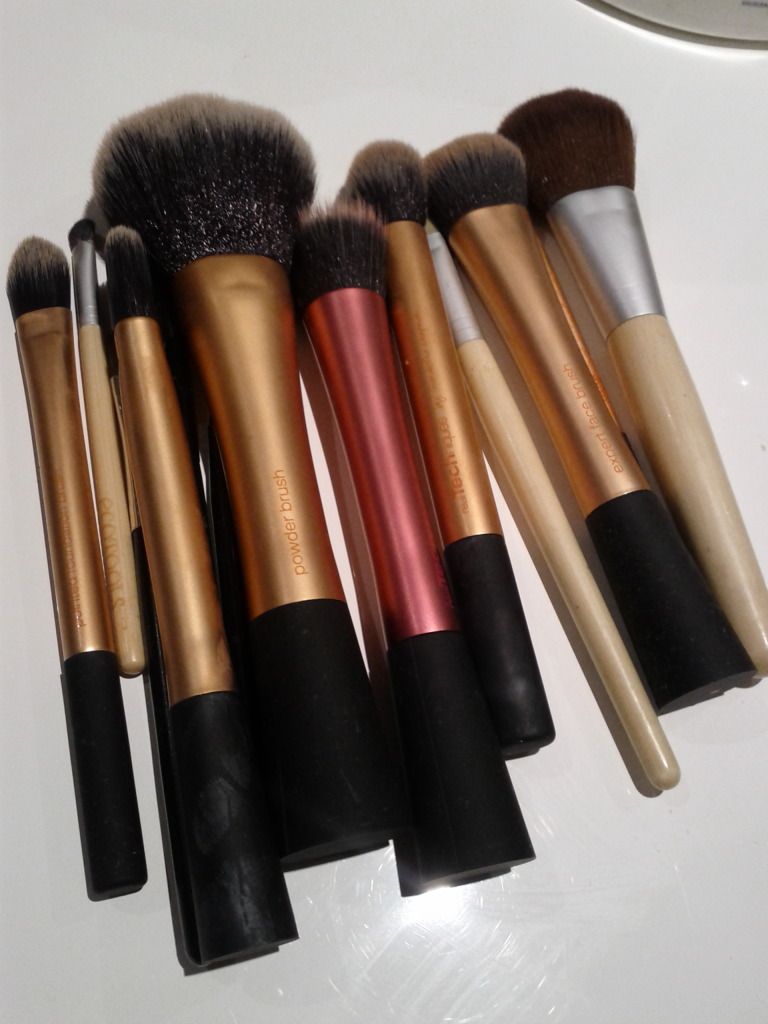
I thought that today I'll quickly take you through how I wash my brushes. It's taken me a bit of trial and error to get a method that really works for me and helps get my brushes spotless. Now that I've got it down though, I'm going to share it with you!

How often should I wash my brushes?
This is a question that is often asked. And its answer really depends on how often you use your brushes, and with what products. If you have a foundation brush that you use daily with liquid foundation, then you should wash that about once a week to help keep germs away. If you use a powder foundation, you can get away with washing your brushes a lot less often - maybe once every three weeks, or once a month.
I spot-clean my eye brushes every time I use them. The method I am going to show you is super quick so not only is it really easy, but you don't really have the excuse of it being too much of a hassle.

The method I'm going to show you below is my montly full-on clean. But it also includes spot cleaning at the beginning.

What do I need?

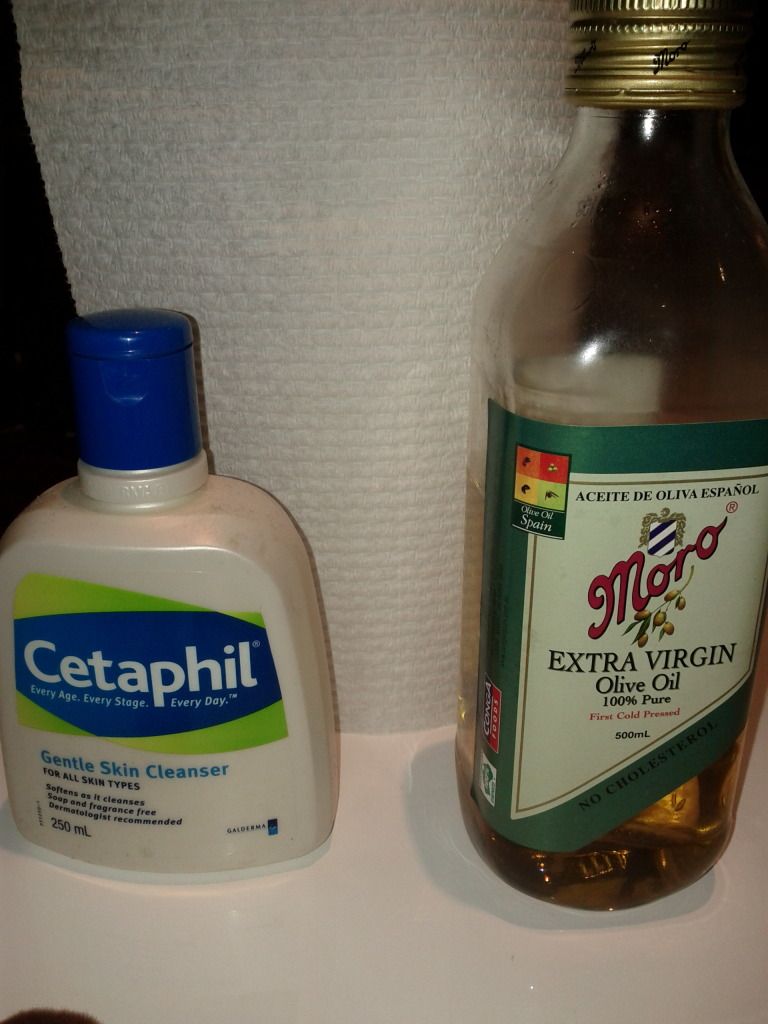
This is literally all you will need to clean your brushes. The brushes (obviously), some paper towels, olive oil and a cleanser. Some people like to use shampoo - but I don't like the way that it makes my brushes smell (I'm really particular with scents...) so I use Cetaphil. This is a really gentle cleanser, with no scent. I've heard of people also using anti-bac dishwashing liquid but I feel that not only is that taking it a bit too far, but you don't really need anti-bac since you're cleaning everything off the brushes anyway.

How do I clean my brushes?


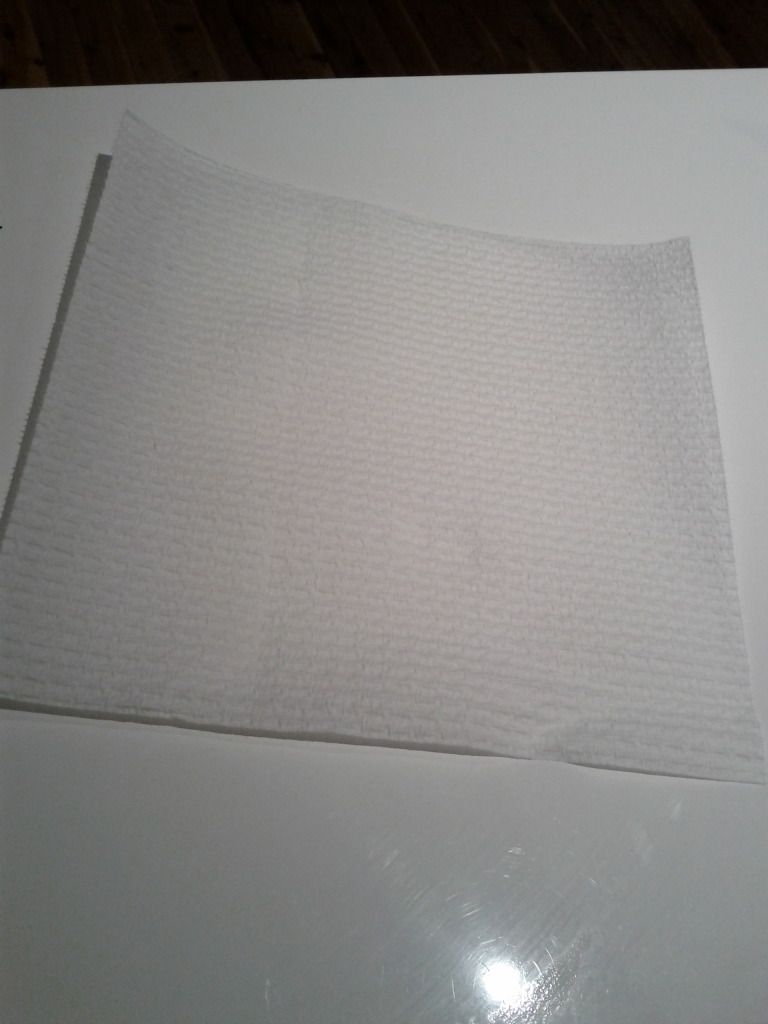
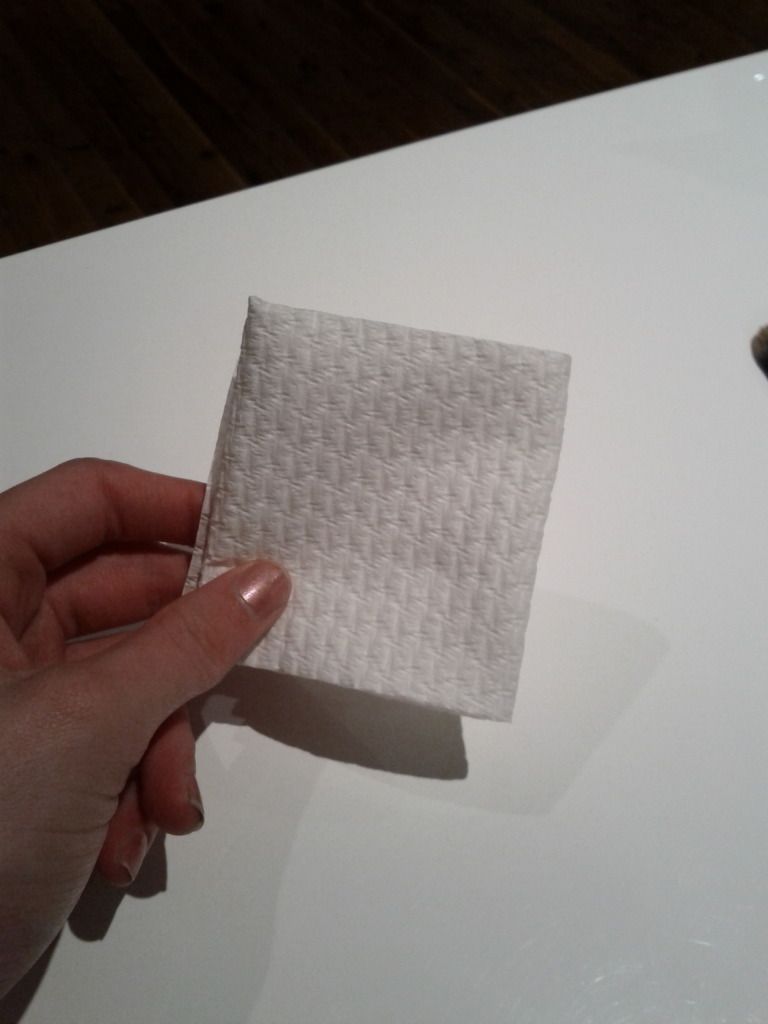
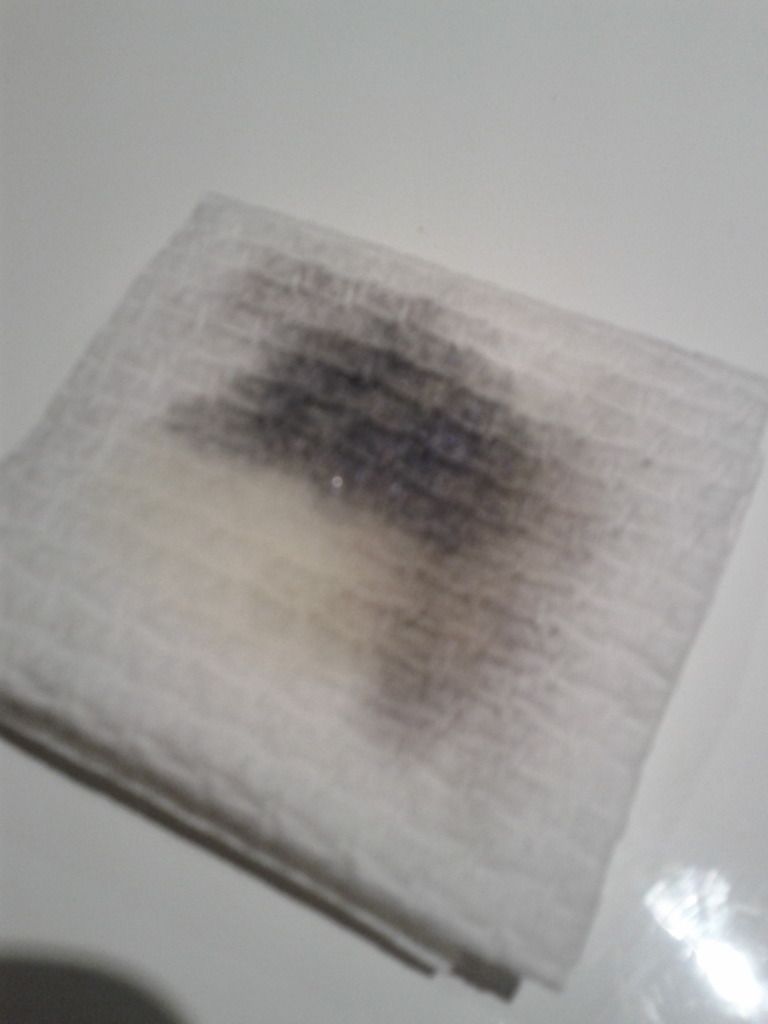
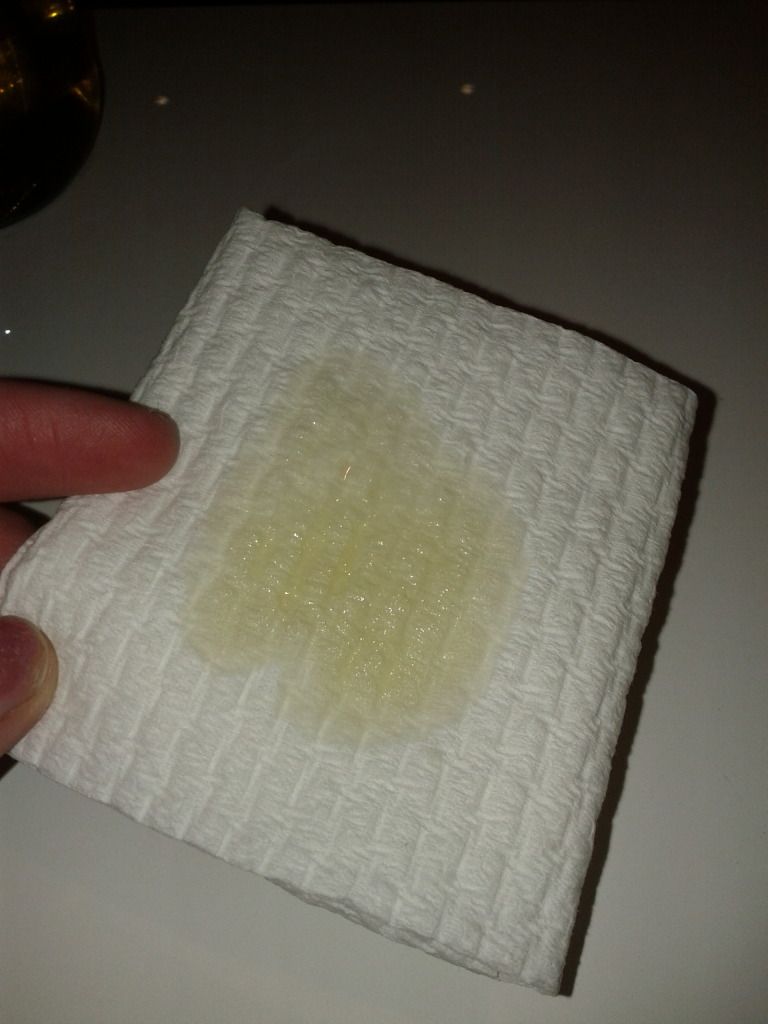
I start with a paper towel, and fold it into ninths so you end up with a little square. 
This is how you're going to spot clean the brushes. 


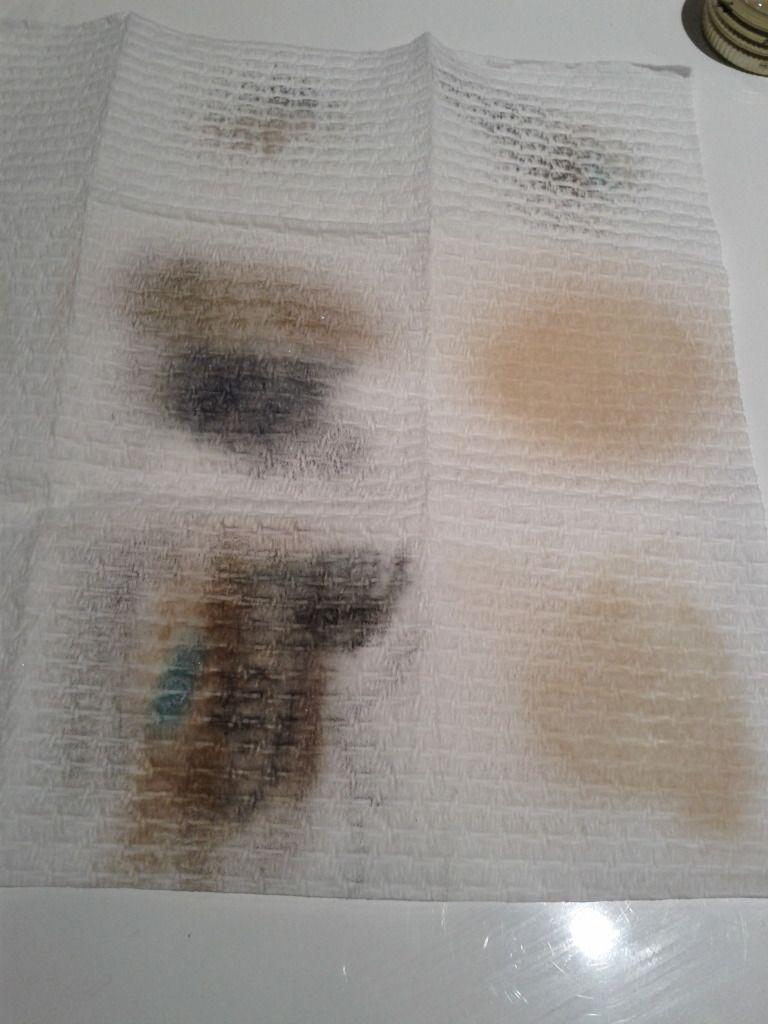
Dab some olive oil on it, and then wipe the brushes in the olive oil. This is going to get all the colour and product off the brushes to begin with. This is why this part is so good for spot-cleaning, especially with eye brushes. If you're going from a dark to light eyeshadow, just wipe the dark colour off, leave it to dry for about 5 minutes and continue on your merry way. 
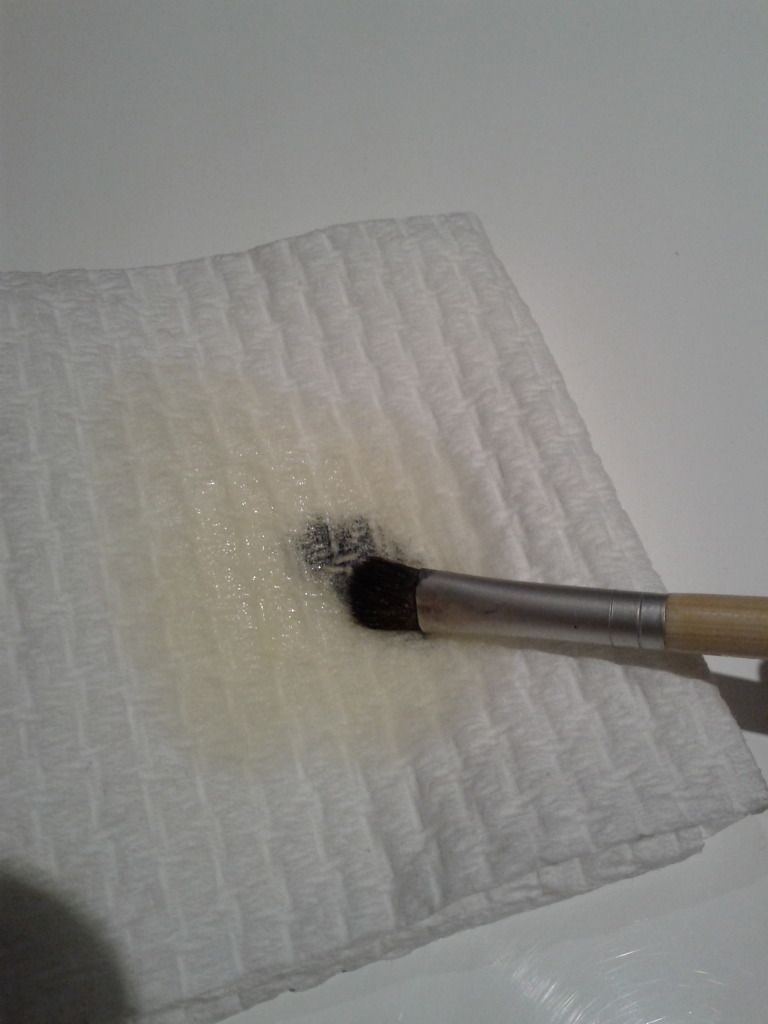

Continue to do this with all your brushes. You'll probably be a bit horrified at first at just how much product comes off them. Gross, yeah?

But once you're done that, your brushes are more or less clean. It's just on to giving them a bit more of a scrub. 


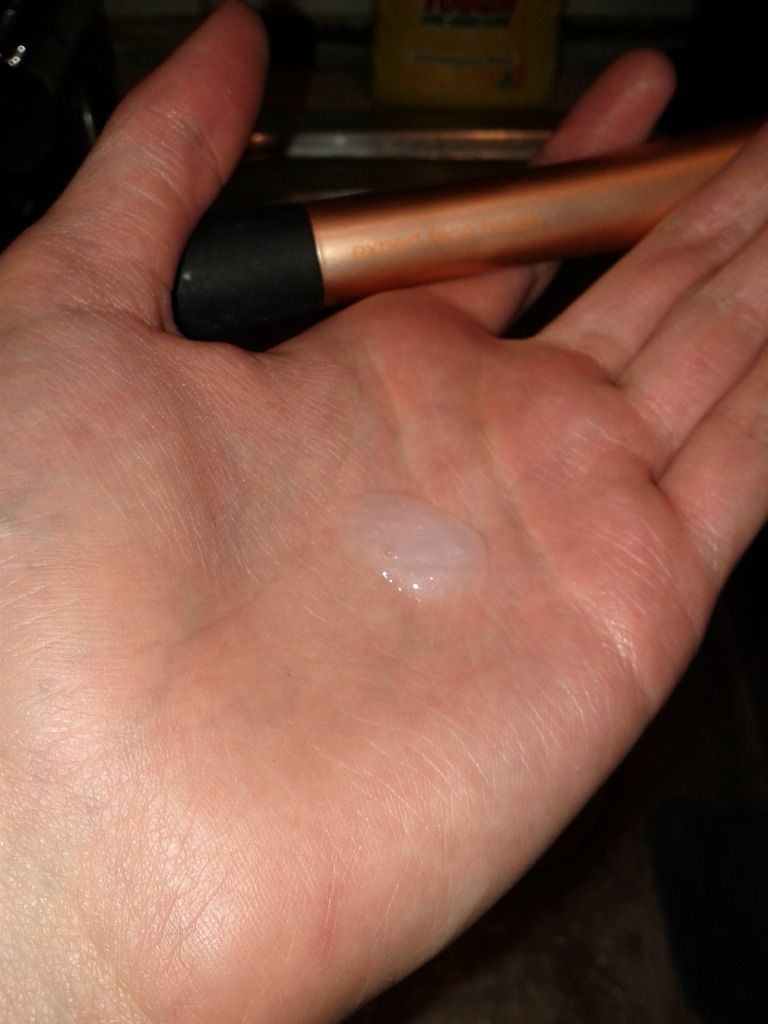
Get a tiny amount of the soap / shampoo that you've chosen to use and put it in the palm of your hand. Add a bit of water, and just gently swirl the brush into your palm. This will really help clean it. 
NB: If you're using Cetaphil - this product doesn't lather that much. But! Fun fact of the day: Lathering is a marketing scam and makes no difference to how well the soap actually cleans. So don't be put off by that. If anything, I think it's better for your brushes because it's not as harsh. 

Anyway, continue to do this with all your brushes, and make sure they're rinsed thoroughly. Be careful to not let any water or soap get into the ferrule. That's the metal bit that binds your brush hairs together. Getting water in there can upset the glue and make your brushes fall apart. And, I'm guessing, that since you've paid good money for them that's the last thing you want to happen. 


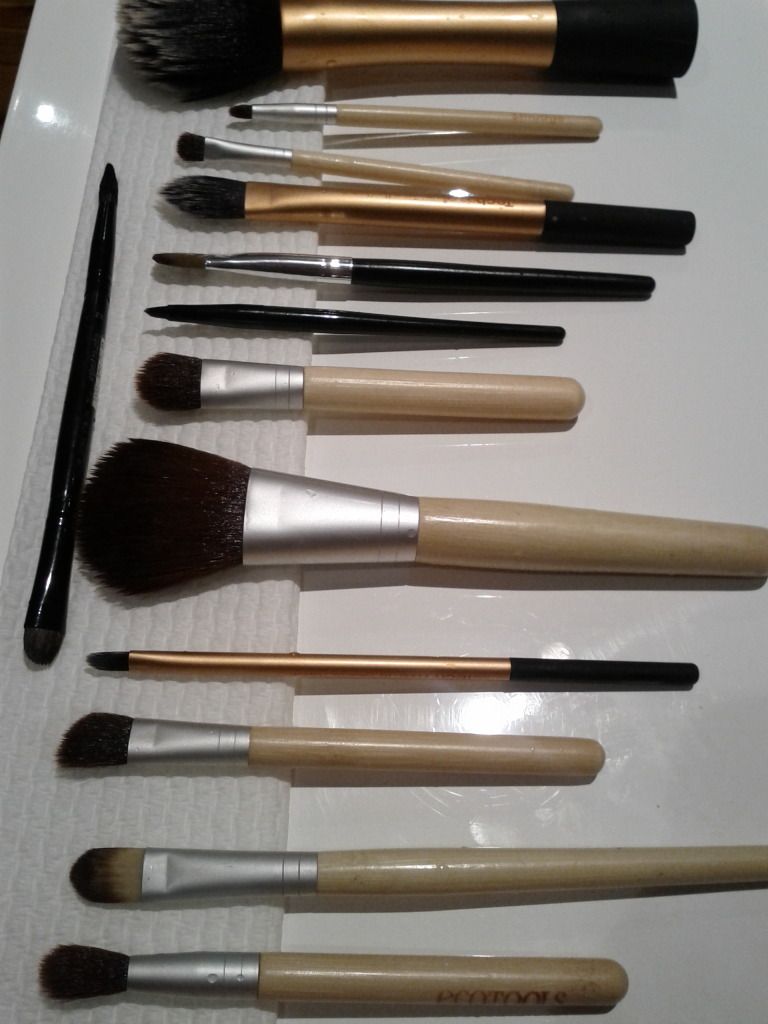
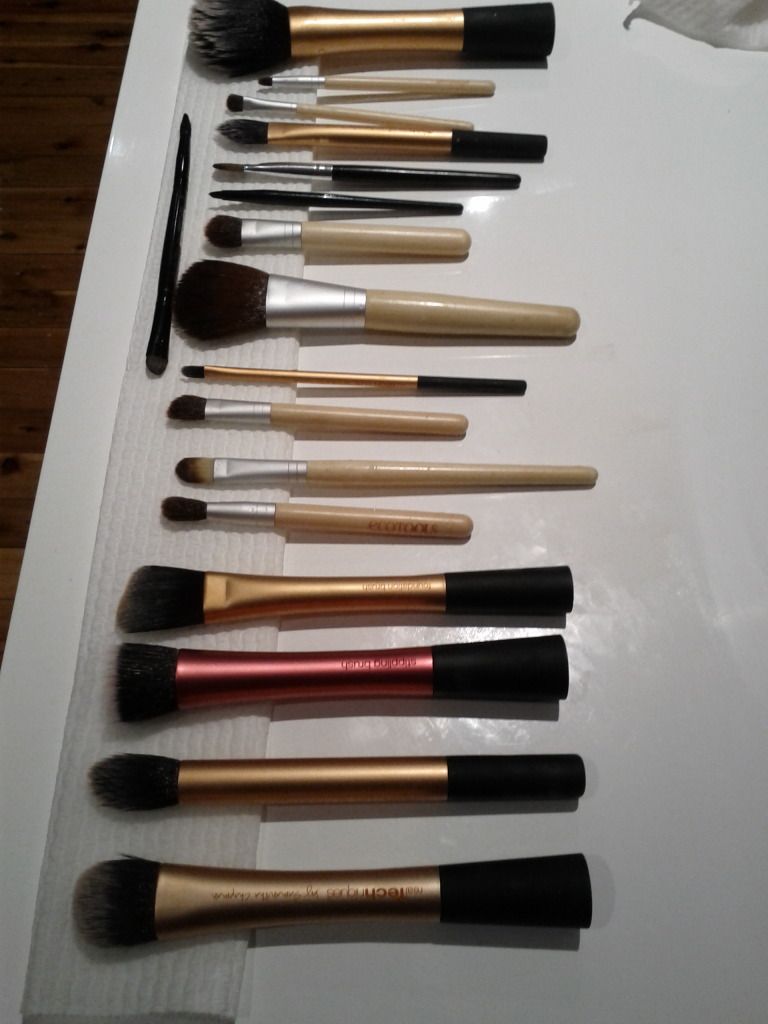
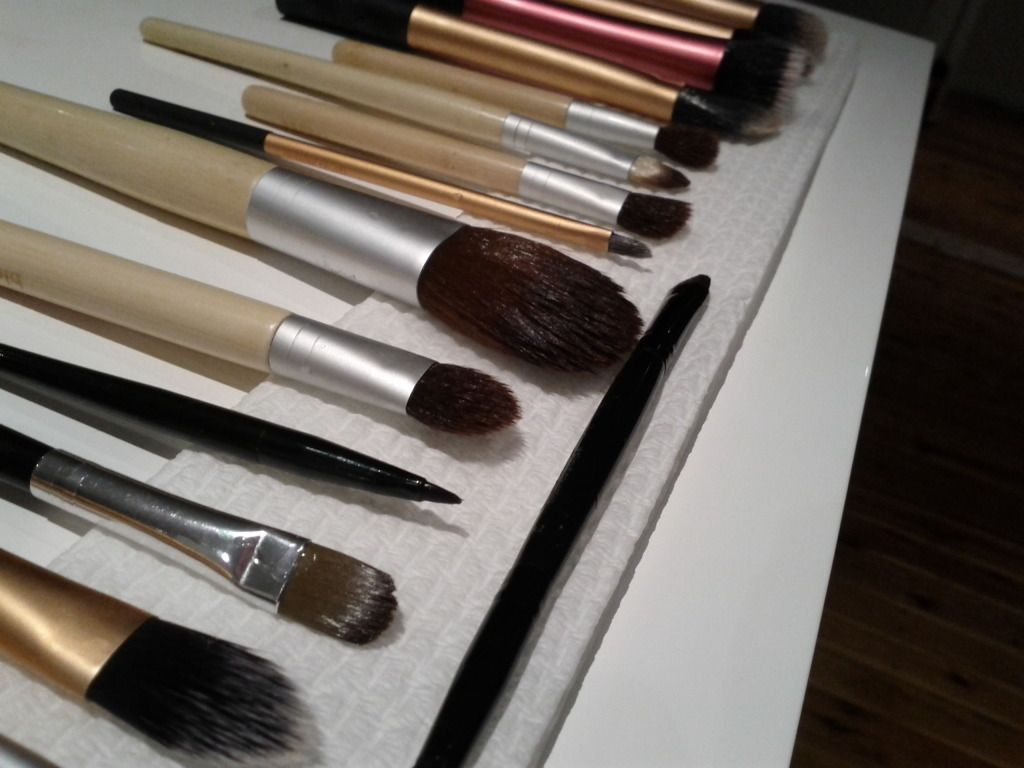
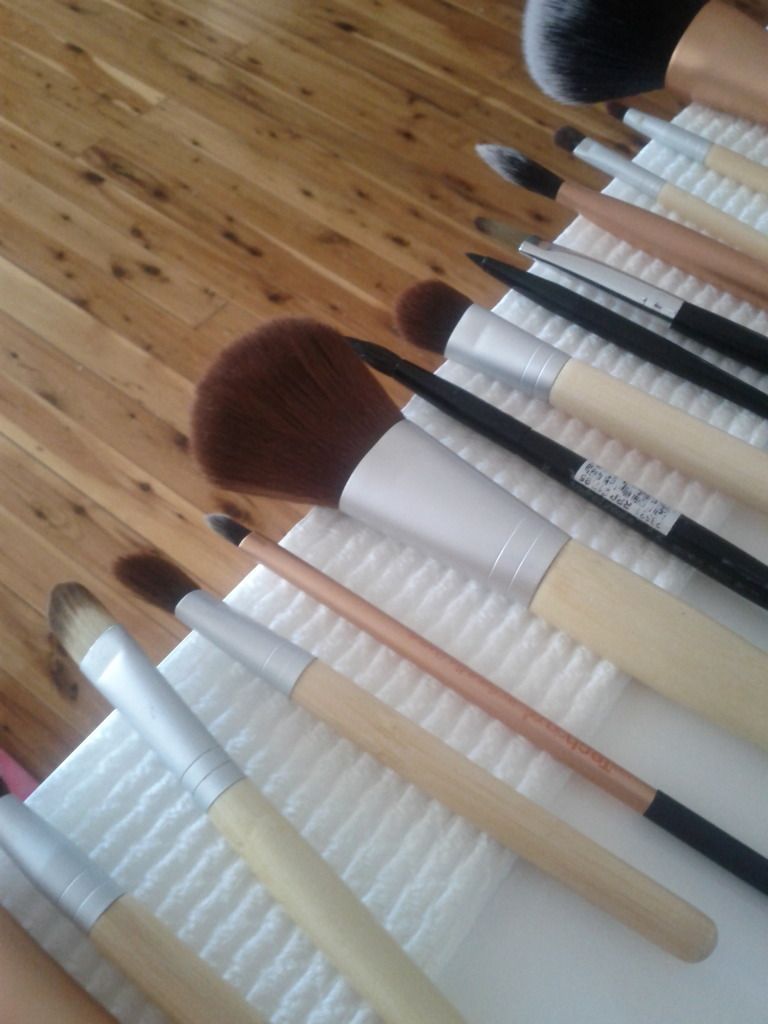
Finally - lay them all flat to dry, on top of a paper towel. I prefer to use quality paper towels (like Viva) because they do actually absorb more water. 


Be careful that you don't pull on the brushes, and don't fan them out or tug on them while they're wet. Again, this can damage them and pull the fibres out. 


I usually leave them laying flat like that on my kitchen bench for about an hour or two, then will move them so  the brush heads lean over the edge. That way, they continue to air-dry. I'd leave them there overnight, come back in the morning and have them all dry and fluffy!

SHARE:
© Where is my mind?. All rights reserved.
Blogger Template by pipdig